If you want to create a Project attached to a Listing, you navigate to the Project List view (https://myatrealty.com/v2/projects) and click on Create Project.
A Project will add additional information specific to new developments be they Land, House & Land, Townhouses or Units.
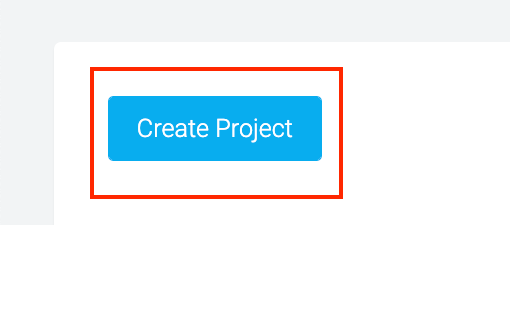
This will open a modal so you can begin creating the project.
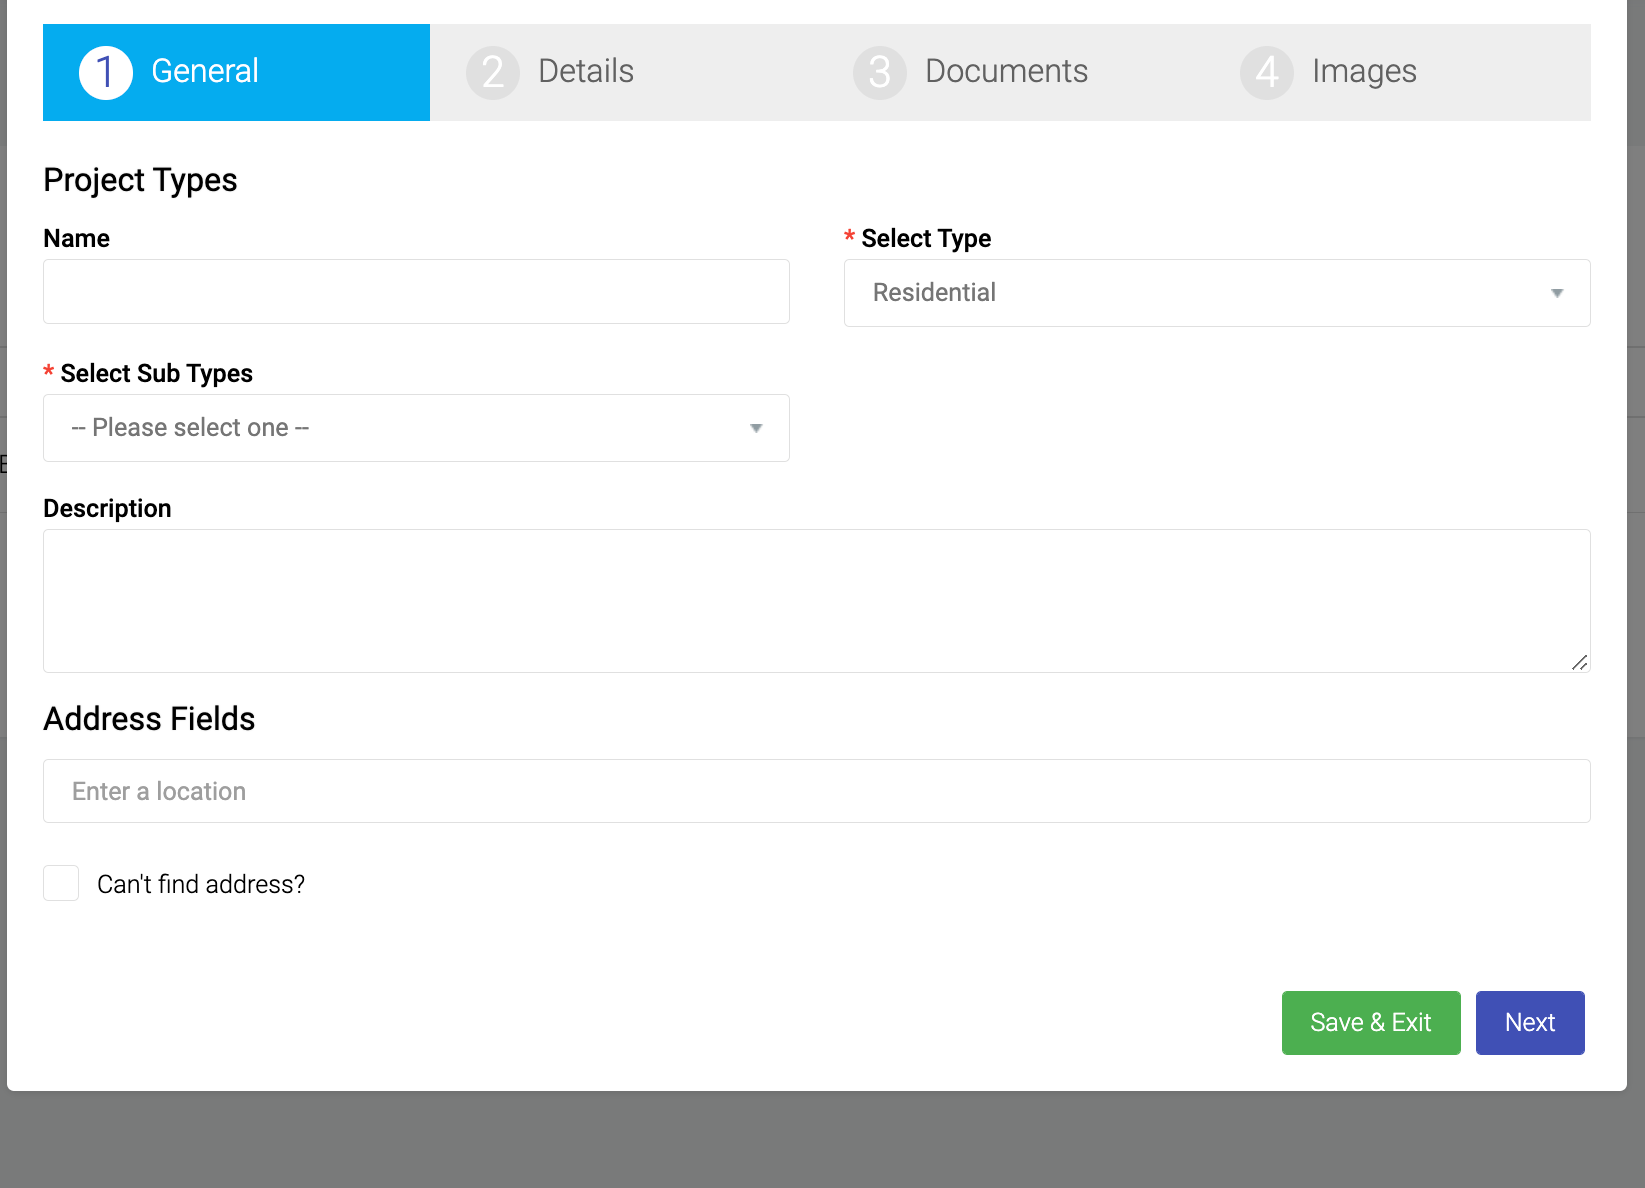
Select the appropriate available Property Type.
There are 4 sub-types available:
Units
House and Land
Land
Townhouse
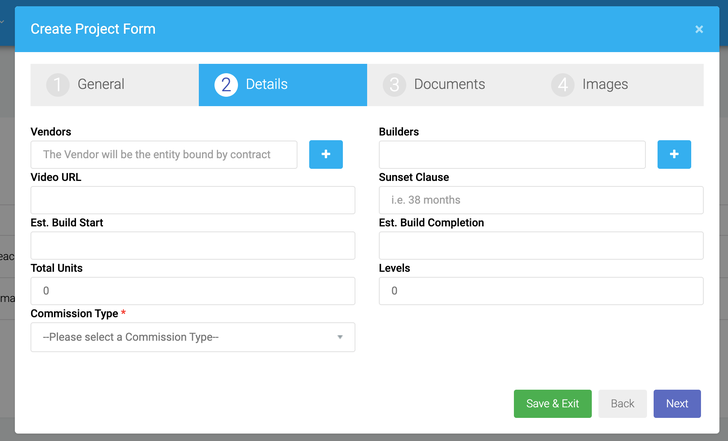
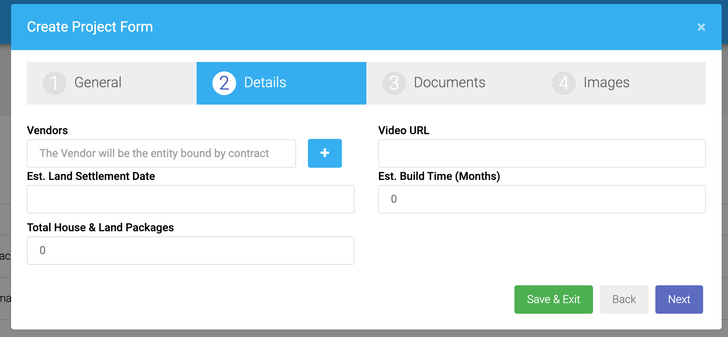
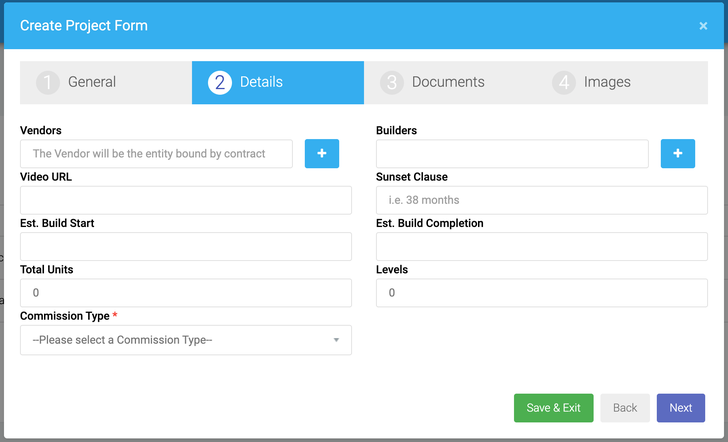
The fields in Step 2 will change depending on the Type selected in Step 1:
UNITS
HOUSE & LAND
LAND
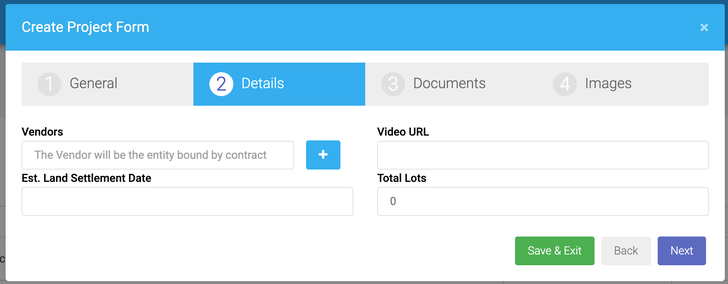
TOWNHOUSES
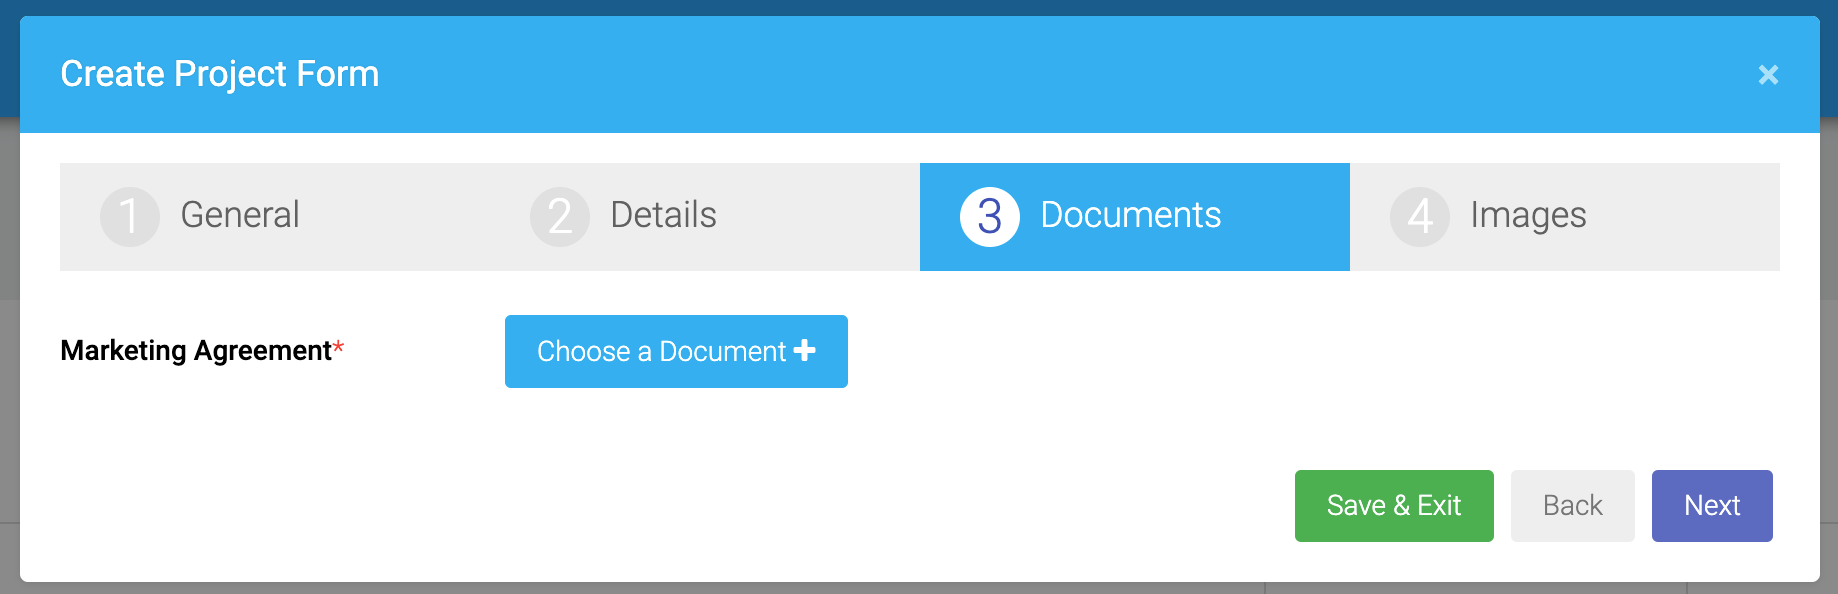
Step 3 is where you will upload the Marketing Agreement
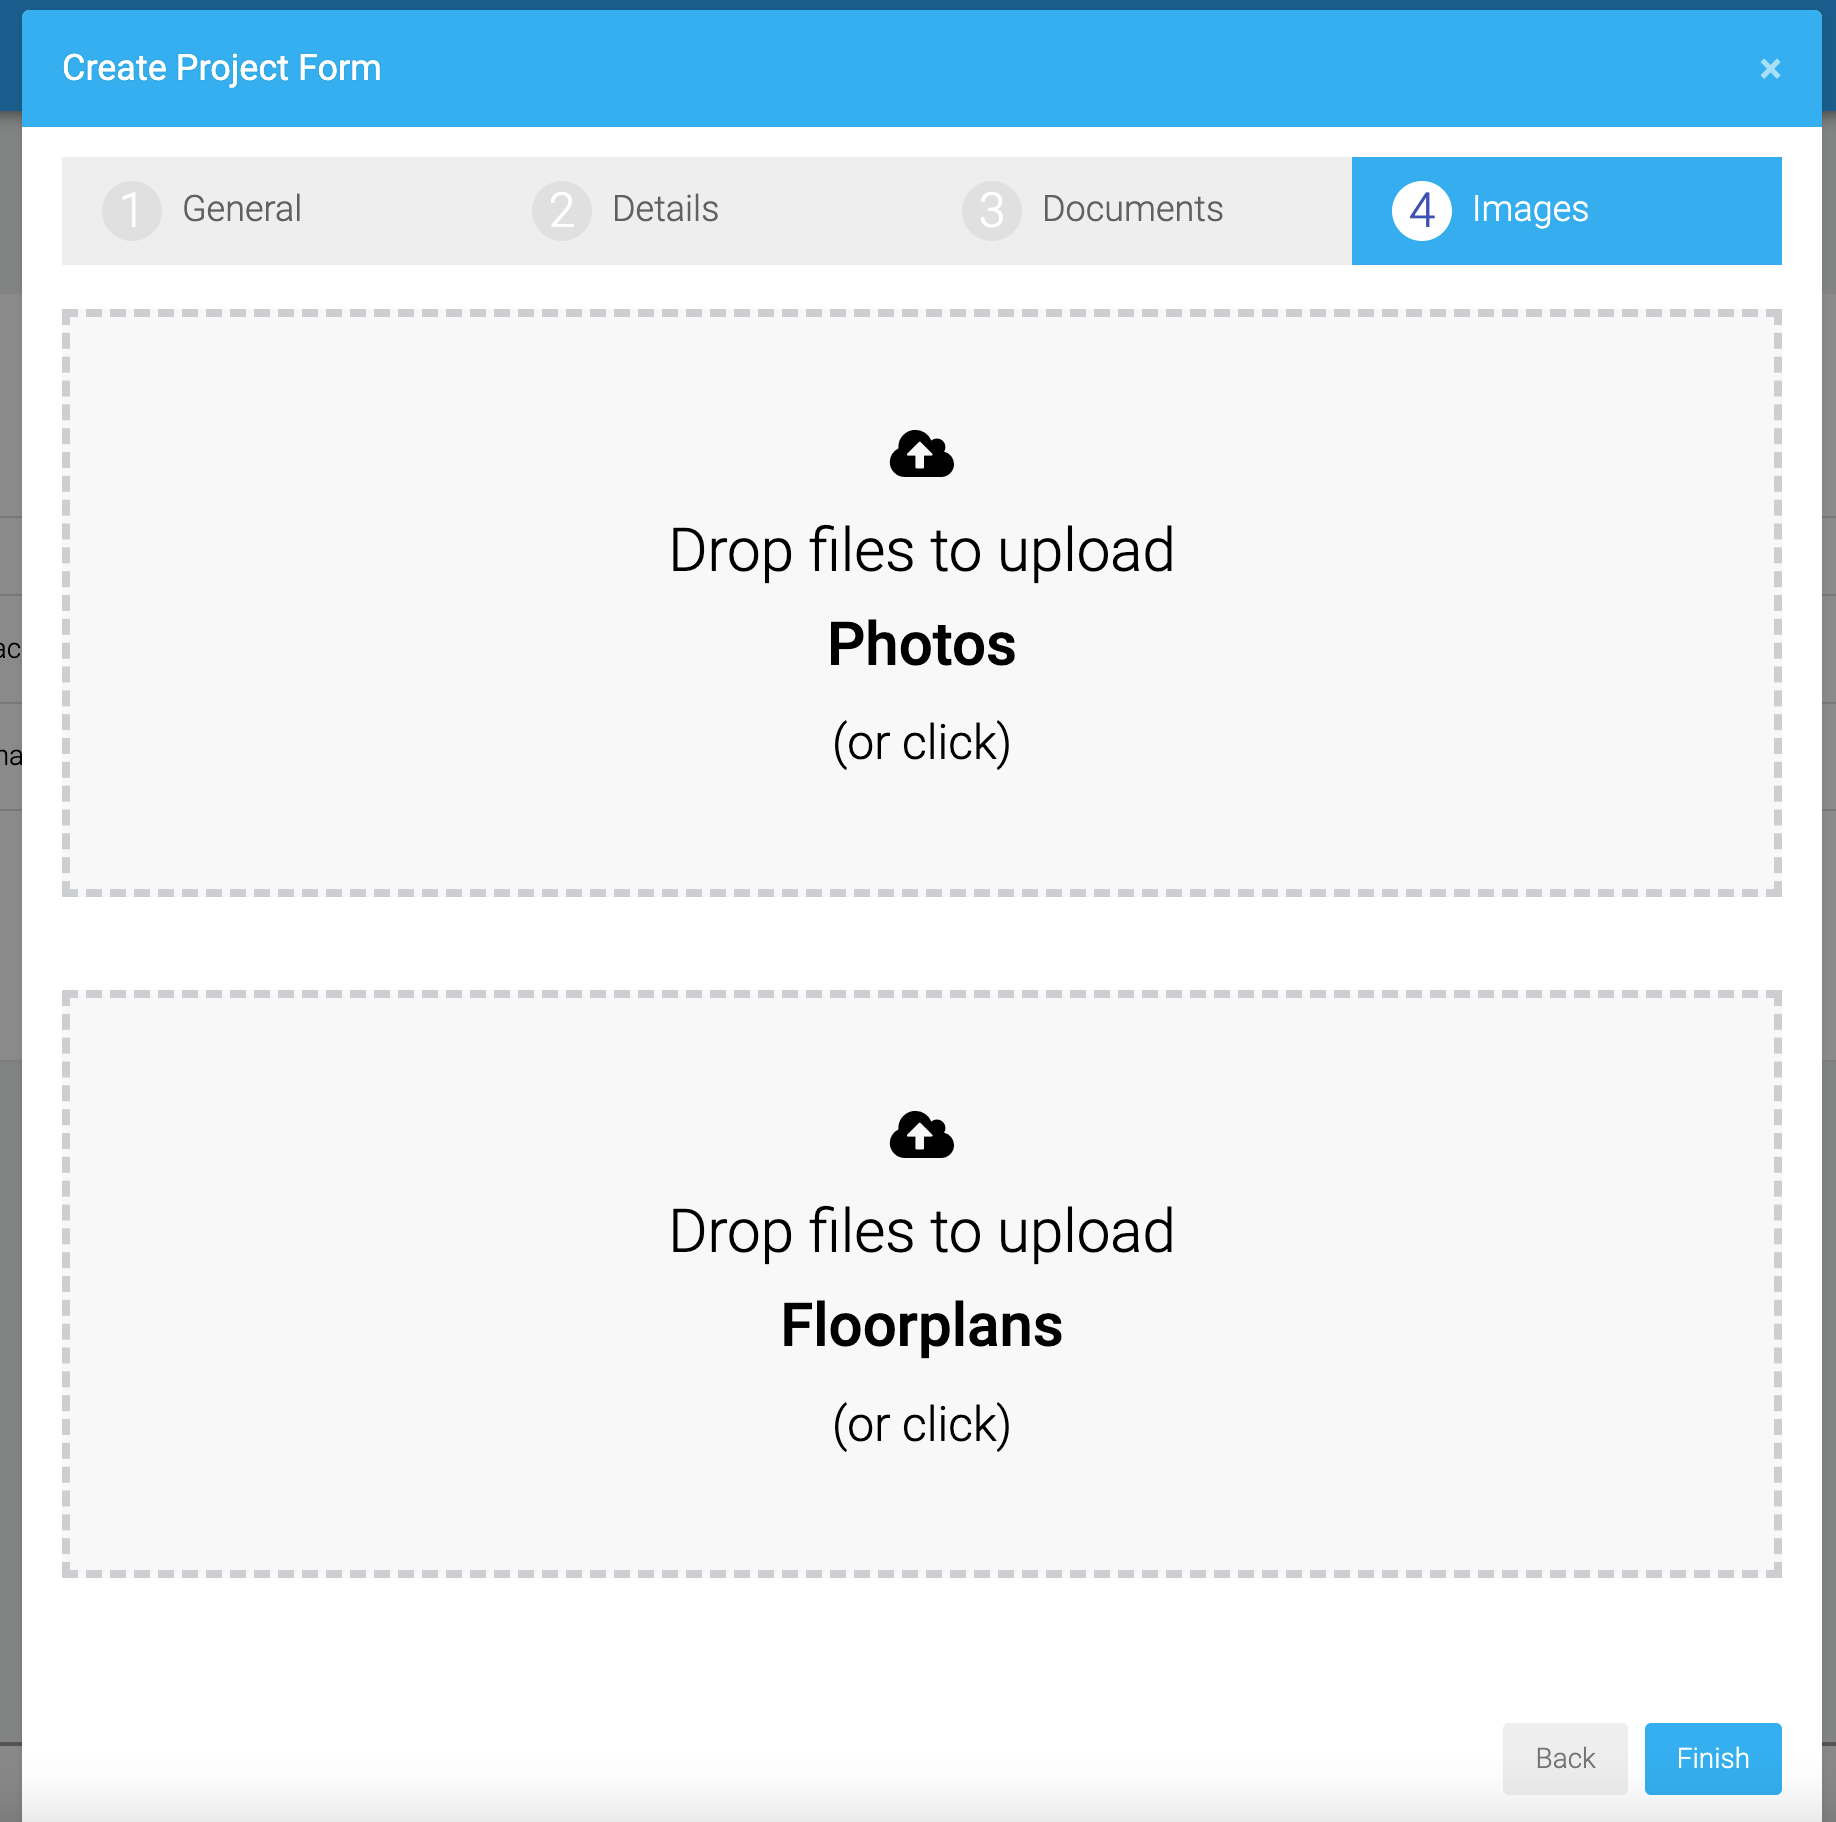
Step 4 is where the User will upload the photos and floorplans
NZ developer workflow contents
- Create the Project
- Create and link each Property Record
- Add shared Project documents
- Convert each linked Property
- What this workflow does not do
NZ developer workflow: Project to Property to Listing
Use this workflow in the @realty Cloud (Old CRM) when selling a New Zealand developer's stock. Keep shared details and documents on the Project, then create and convert each linked Property Record individually.
IMPORTANT: This is a streamlined workflow, not bulk creation. Each Property Record is created and linked separately, then converted into its own Draft Sale Listing.
1. Create the Project
- Open the Project List and select Create Project.
- Enter the Project details. For a New Zealand address, use the address search and select a matching suggestion. Review the Region, District, TradeMe Suburb, street address and postcode.
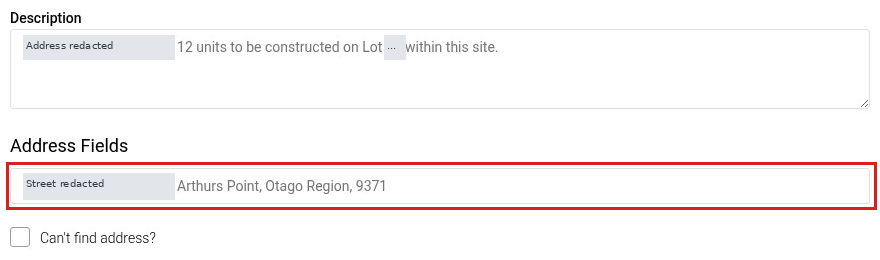
- Complete the Project details, including the vendor and Project description, then save. Check and complete the address when creating each child Property Record. The Project description carries across when that Property Record is converted to a Listing.
2. Create and link each Property Record
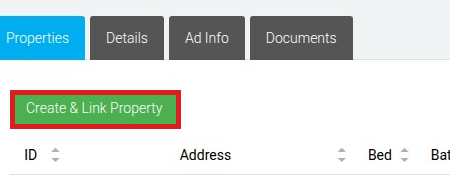
- Open the Project Record and select Create & Link Property.
- On the Address step, check the address-search summary and complete the address fields, including Region, District, TradeMe Suburb, street address, suburb and postcode. Review Property Type/Sub Type. On the Details step, check Owners against the Project vendor and choose the correct owner if needed.
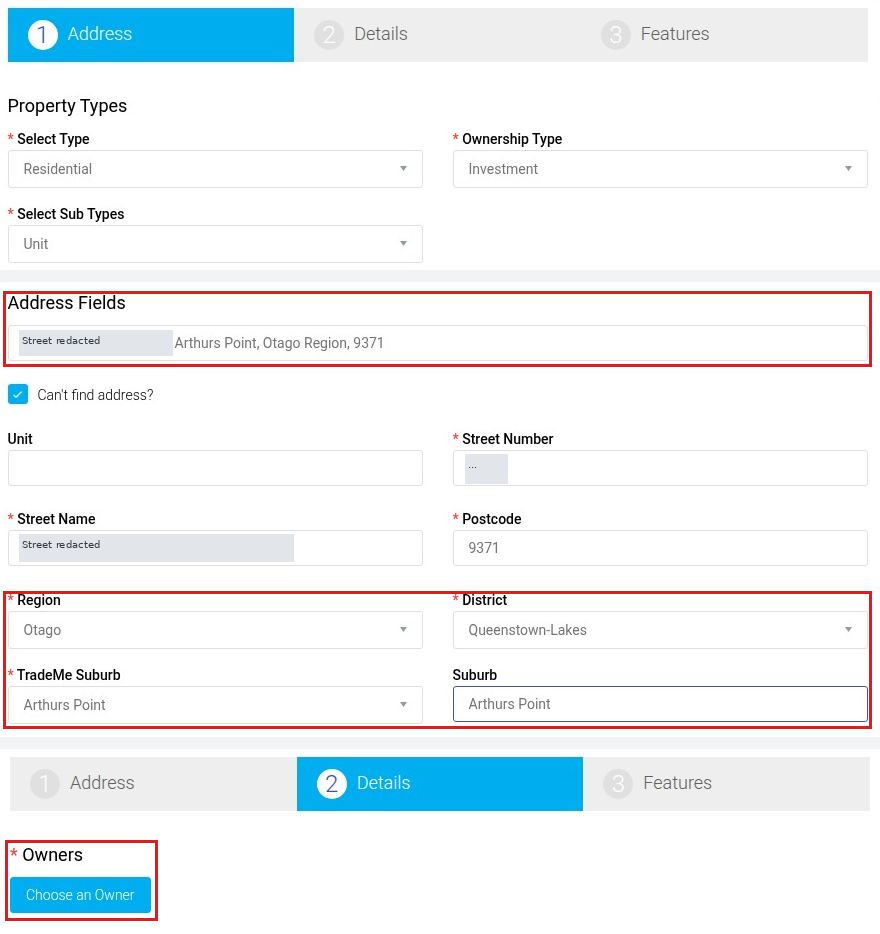
Combined Address and Details views of the same unsaved form. Structured address fields were entered or selected for this illustration.
- Enter the details specific to this Property, such as its street number, then save.
- Repeat for each Property under the Project. Saving creates the Property Record and links it to the Project.
For other Property creation entry points, see Creating a Property Record. For this workflow, create the Property from its Project so it is linked.
3. Add shared Project documents
- Open the Documents section of the Project Record and select the upload option.
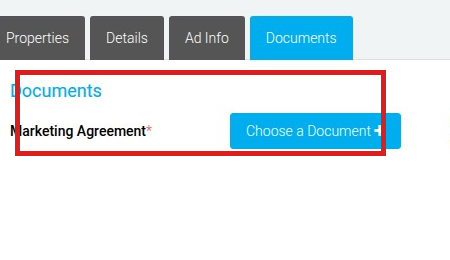
- Select the file and document type, then upload it.
- Open a linked Property Record. The shared document appears in its Documents section labelled From Project.
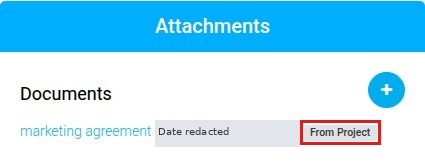
Existing From Project badge, contrast-adjusted for readability.
Upload shared documents once on the Project instead of uploading the same document separately to each Property Record. Removing or replacing a document on the Project is reflected on its linked Property Records.
IMPORTANT: Do not assume these documents are attached to the generated Listing. This workflow covers document inheritance on the Property Record only.
4. Convert each linked Property to a Draft Sale Listing
- Open the Property Record linked to the Project.
- Open Create + on the linked Property Record and select Convert to Listing. This action is available on Property Records linked to a Project.
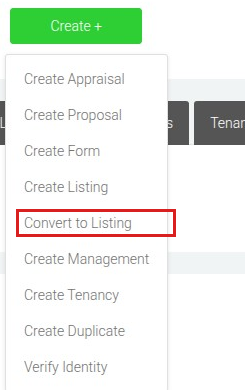
- Review the fields pre-filled from the Project and Property Record, including the Project's ad description. Edit anything that needs changing.

- Save to create a Draft Sale Listing linked to that Property Record. Complete the Listing as normal.
- Repeat the conversion separately for each linked Property Record that needs a Listing.
Note: The example Listing used to check the description was already created and now displays Withdrawn. The screenshots do not show a newly saved Draft Listing or verify the current conversion result.
What this workflow does not do
- It does not bulk-create Property Records or Listings.
- It does not automatically approve AML.
- It does not create Contracts or Offers.
- It does not automatically attach the Project documents to the generated Listing. Shared documents are inherited by the linked Property Record.
Was this article helpful?
That’s Great!
Thank you for your feedback
Sorry! We couldn't be helpful
Thank you for your feedback
Feedback sent
We appreciate your effort and will try to fix the article