Learn how to access the Marketing Hub to generate and edit professional property brochures. This guide walks you through merging property details, updating listing descriptions, and exporting your final brochure as a PDF.
Template Selection
1. From the Marketing drop down menu in the CRM, select Marketing Hub
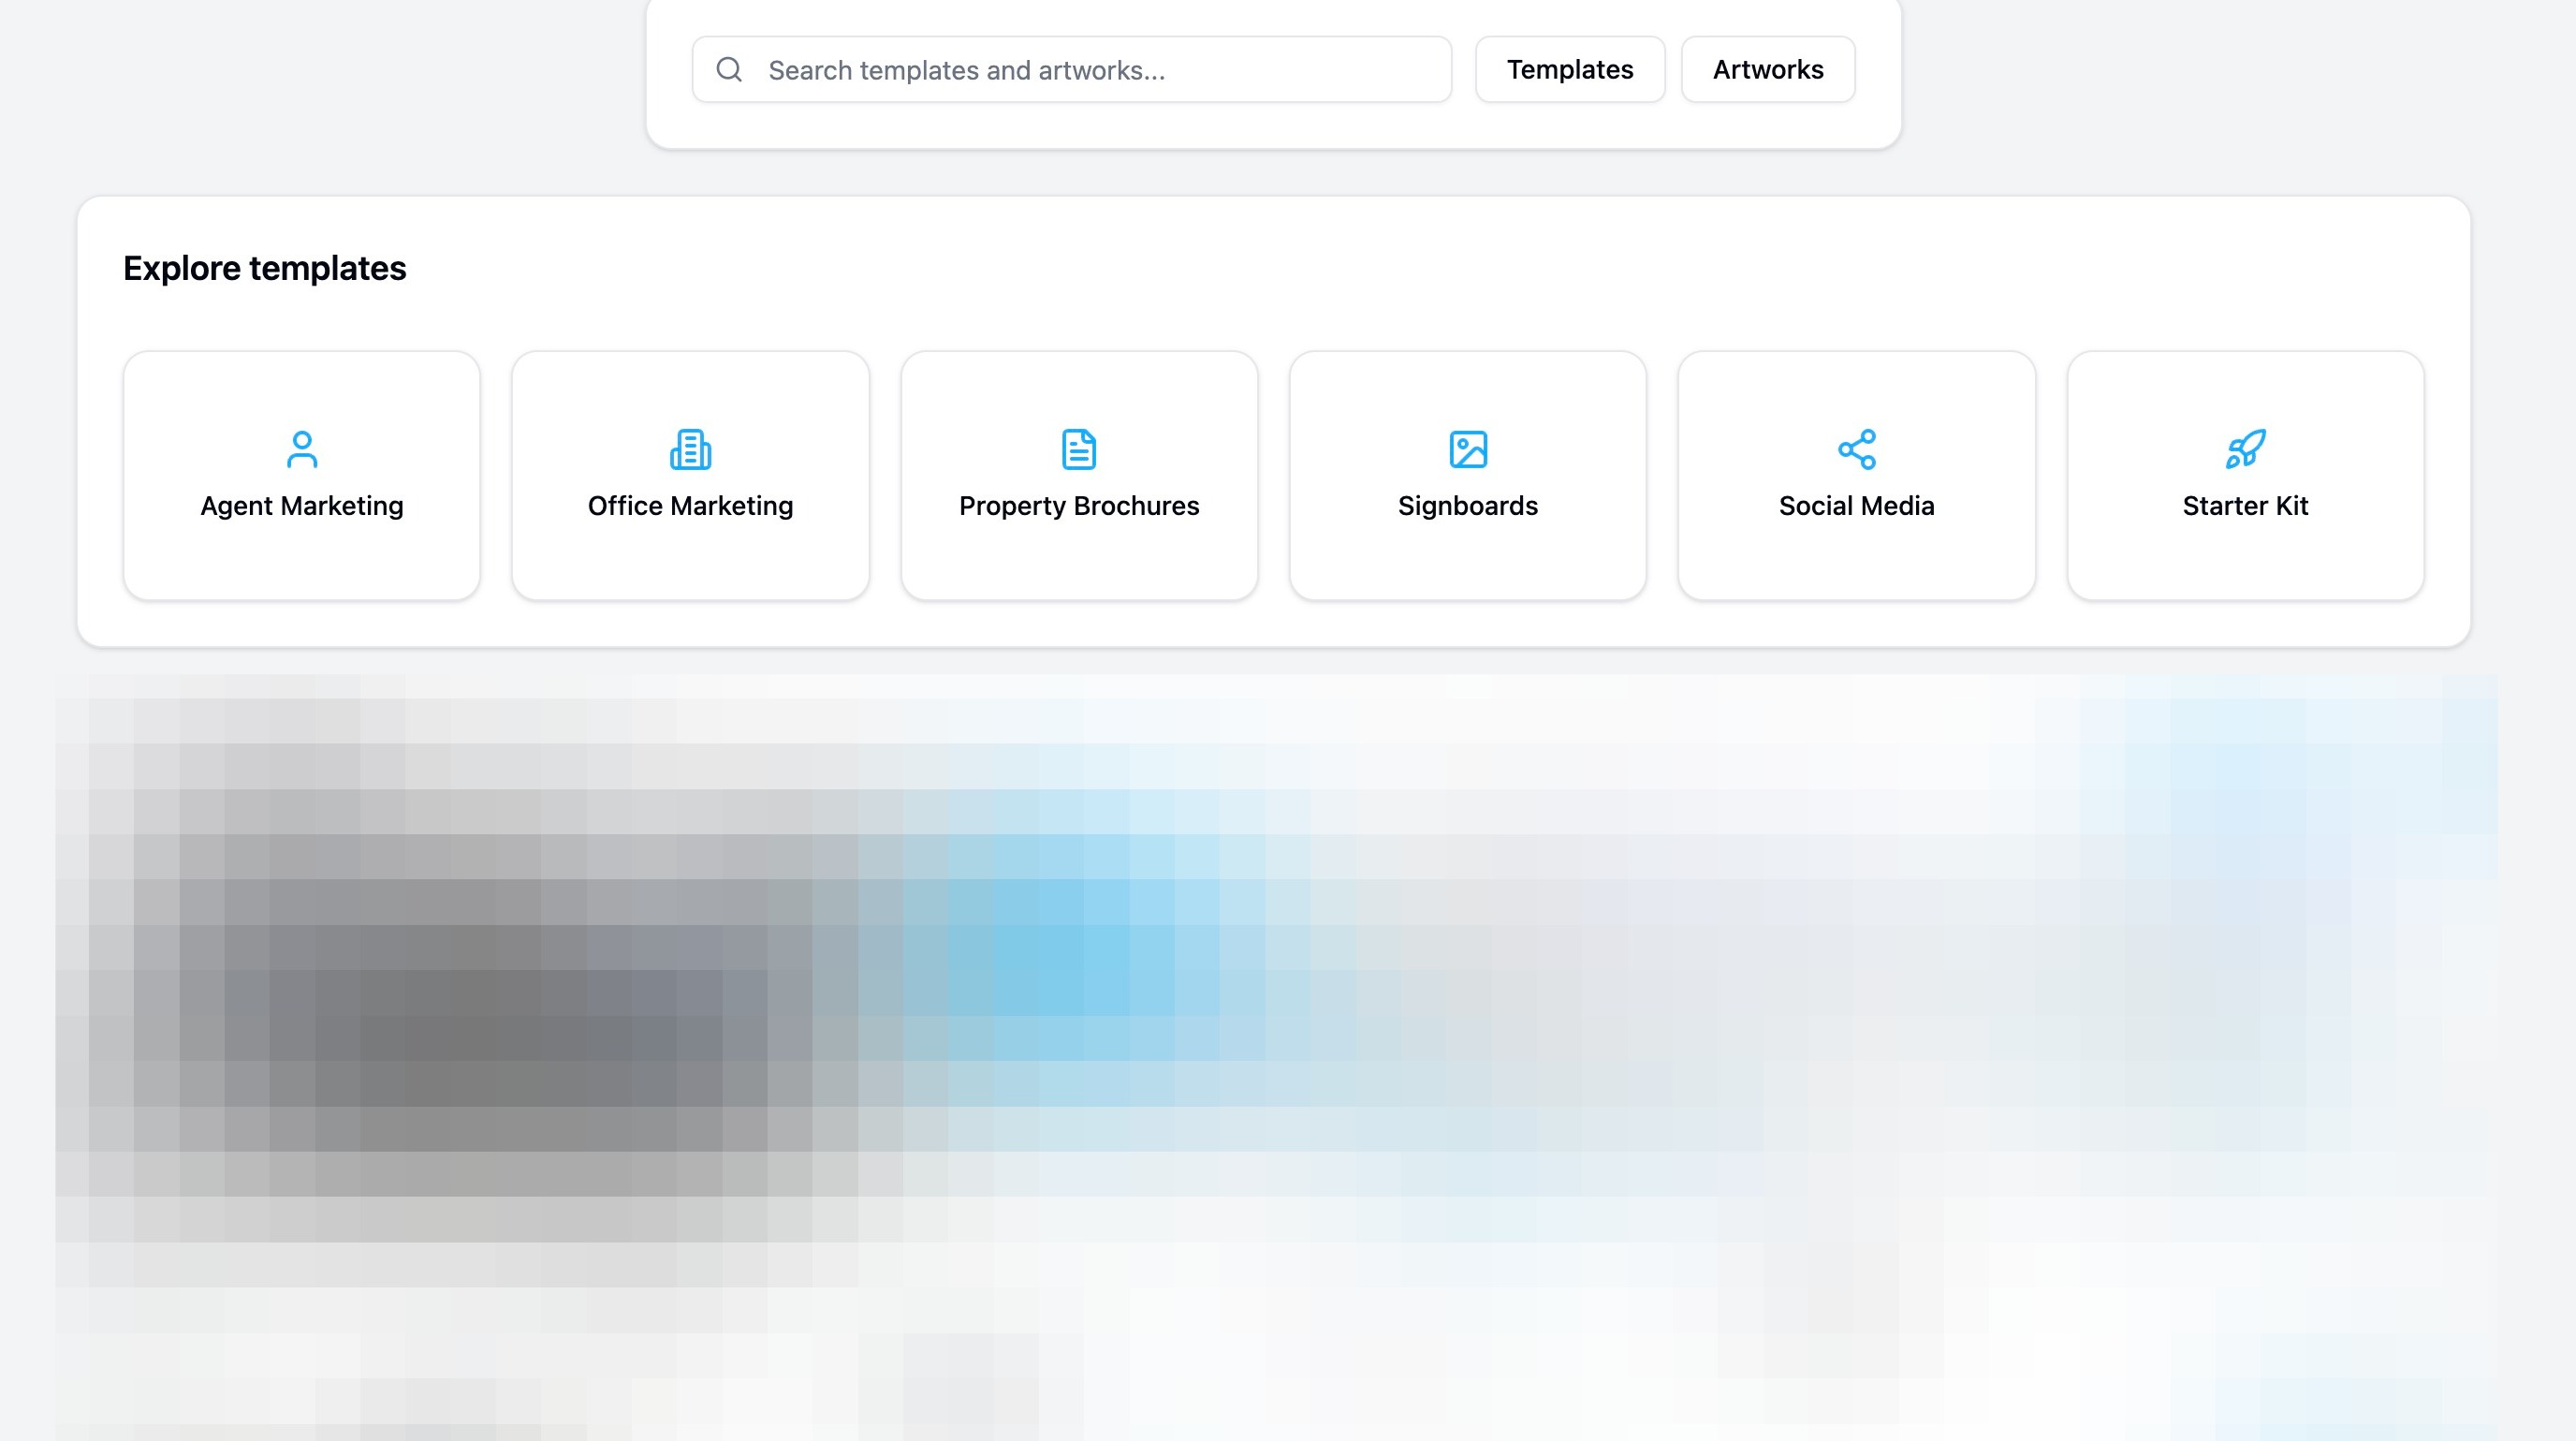
2. Select 'Property Brochures' from the template categories
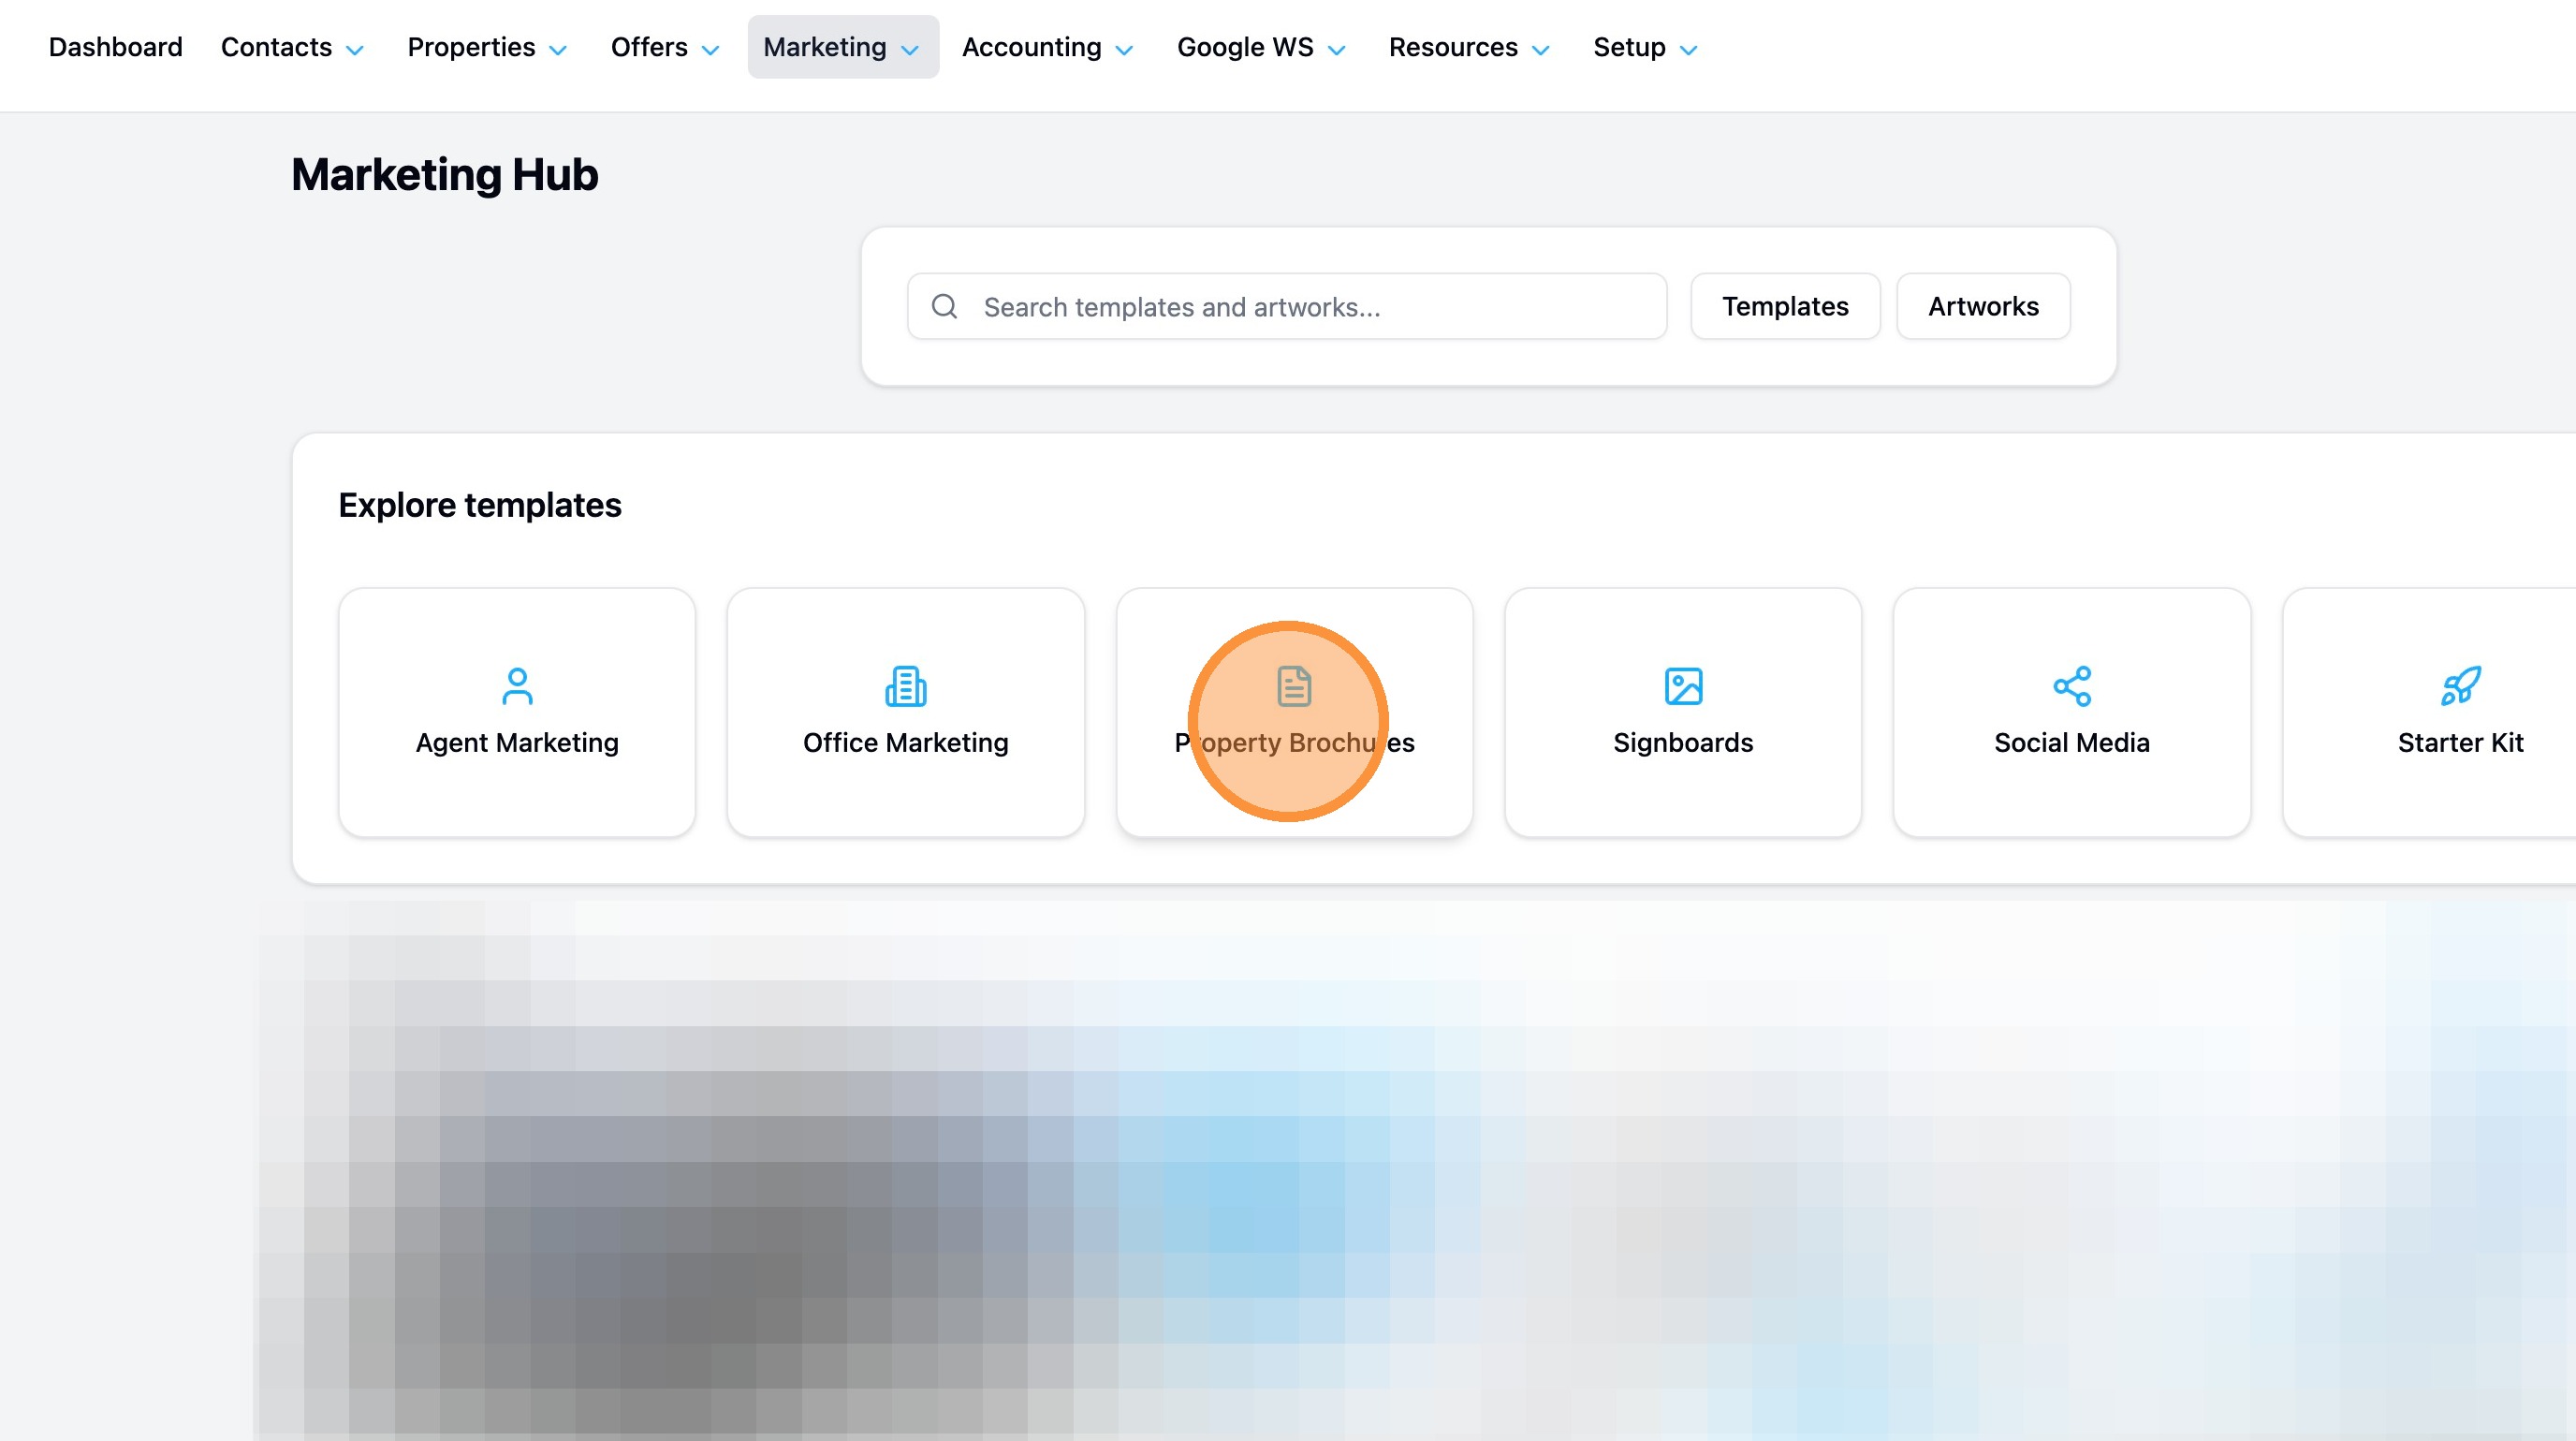
3. Click the 'Brochures' folder
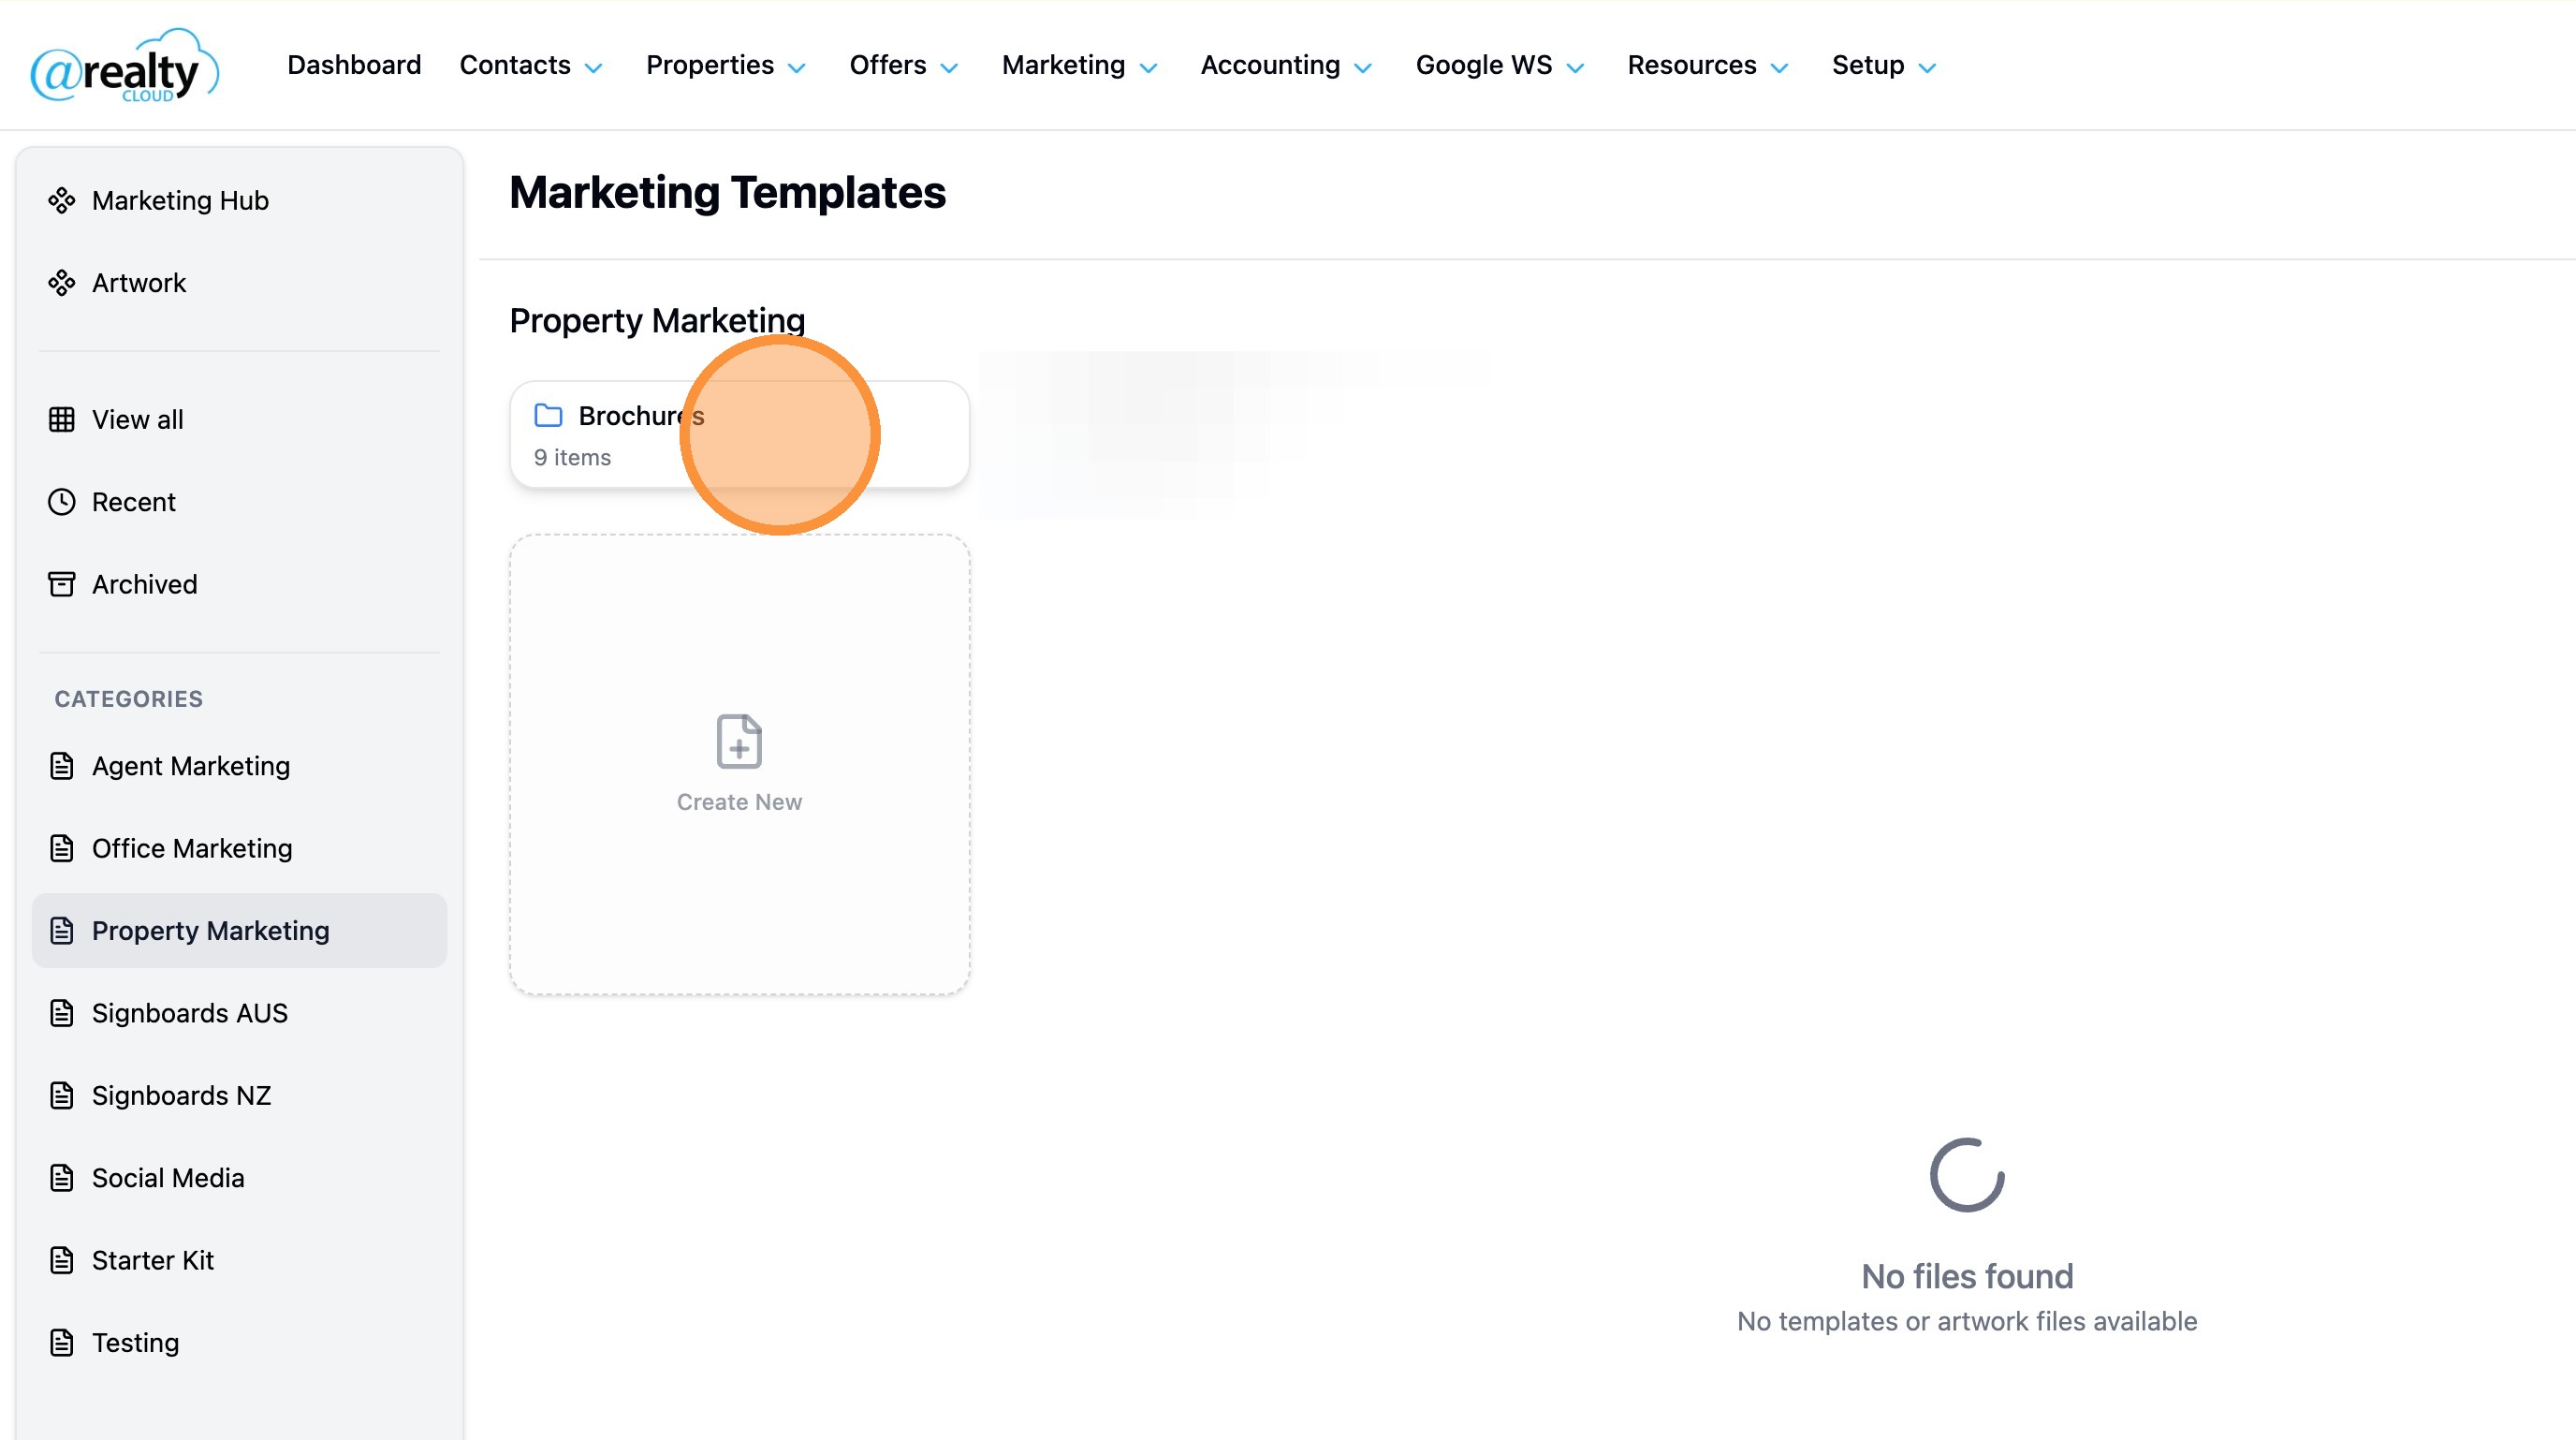
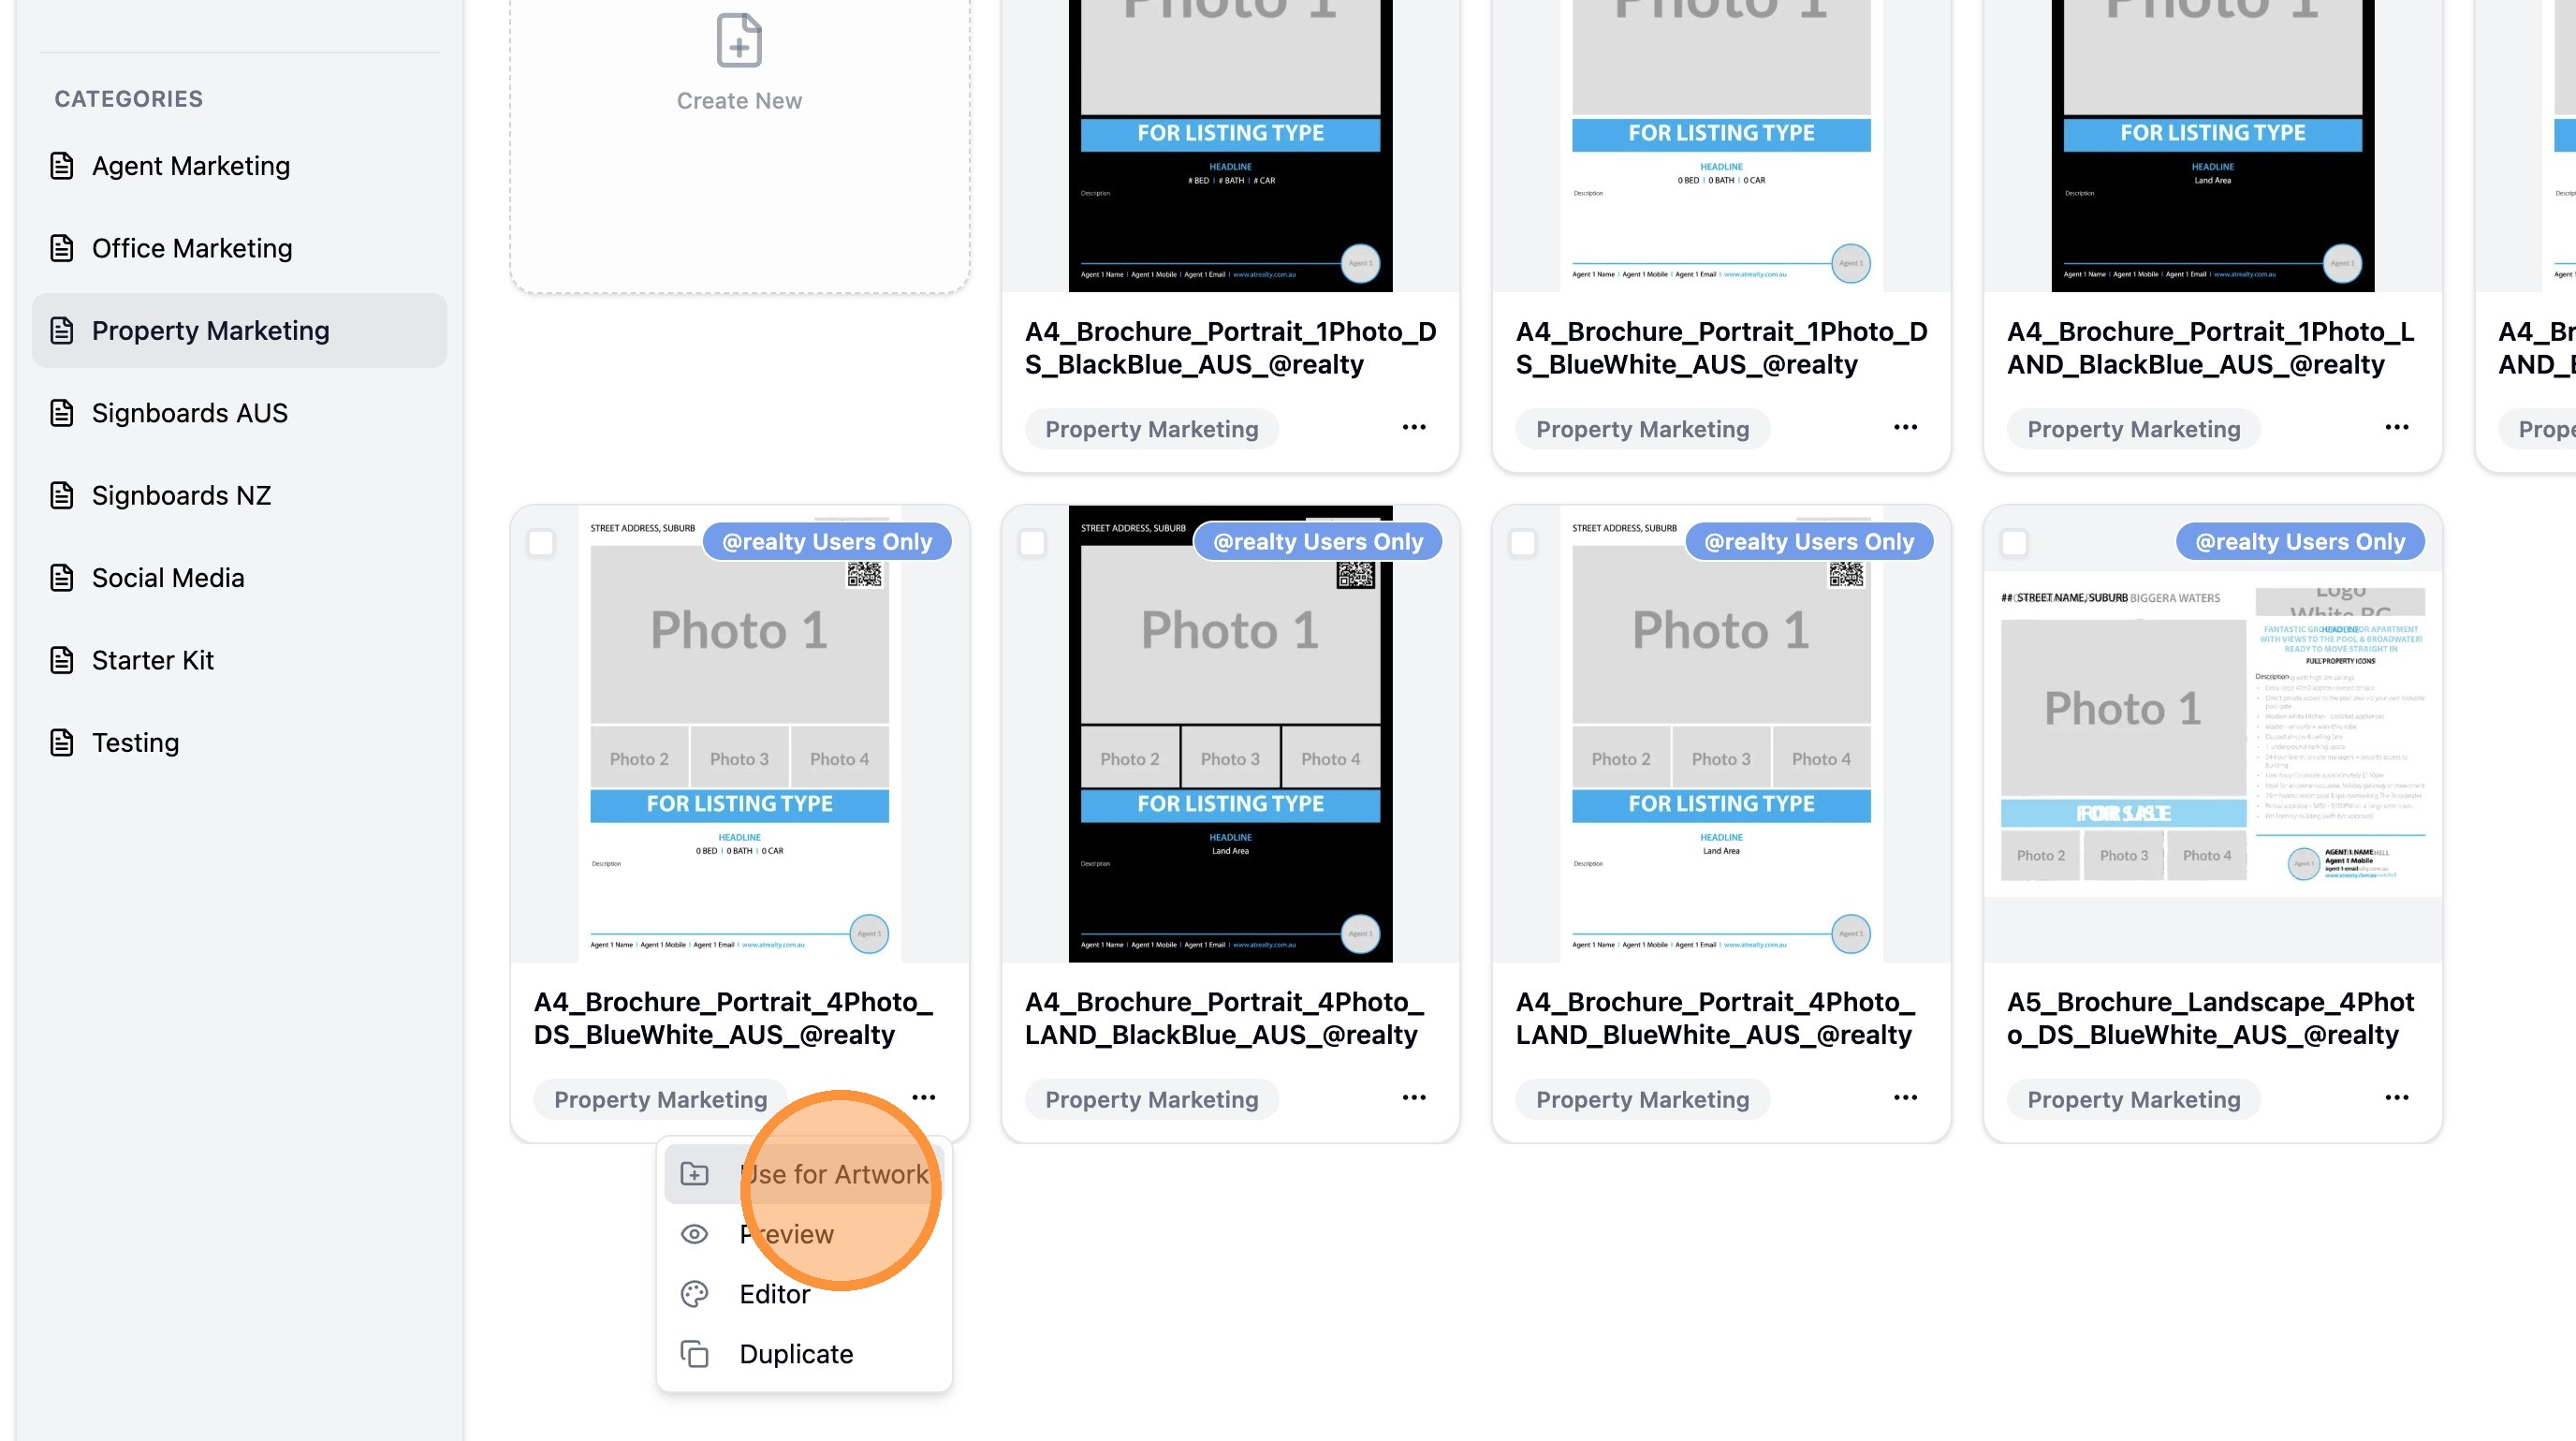
4. Click the 3 dots.
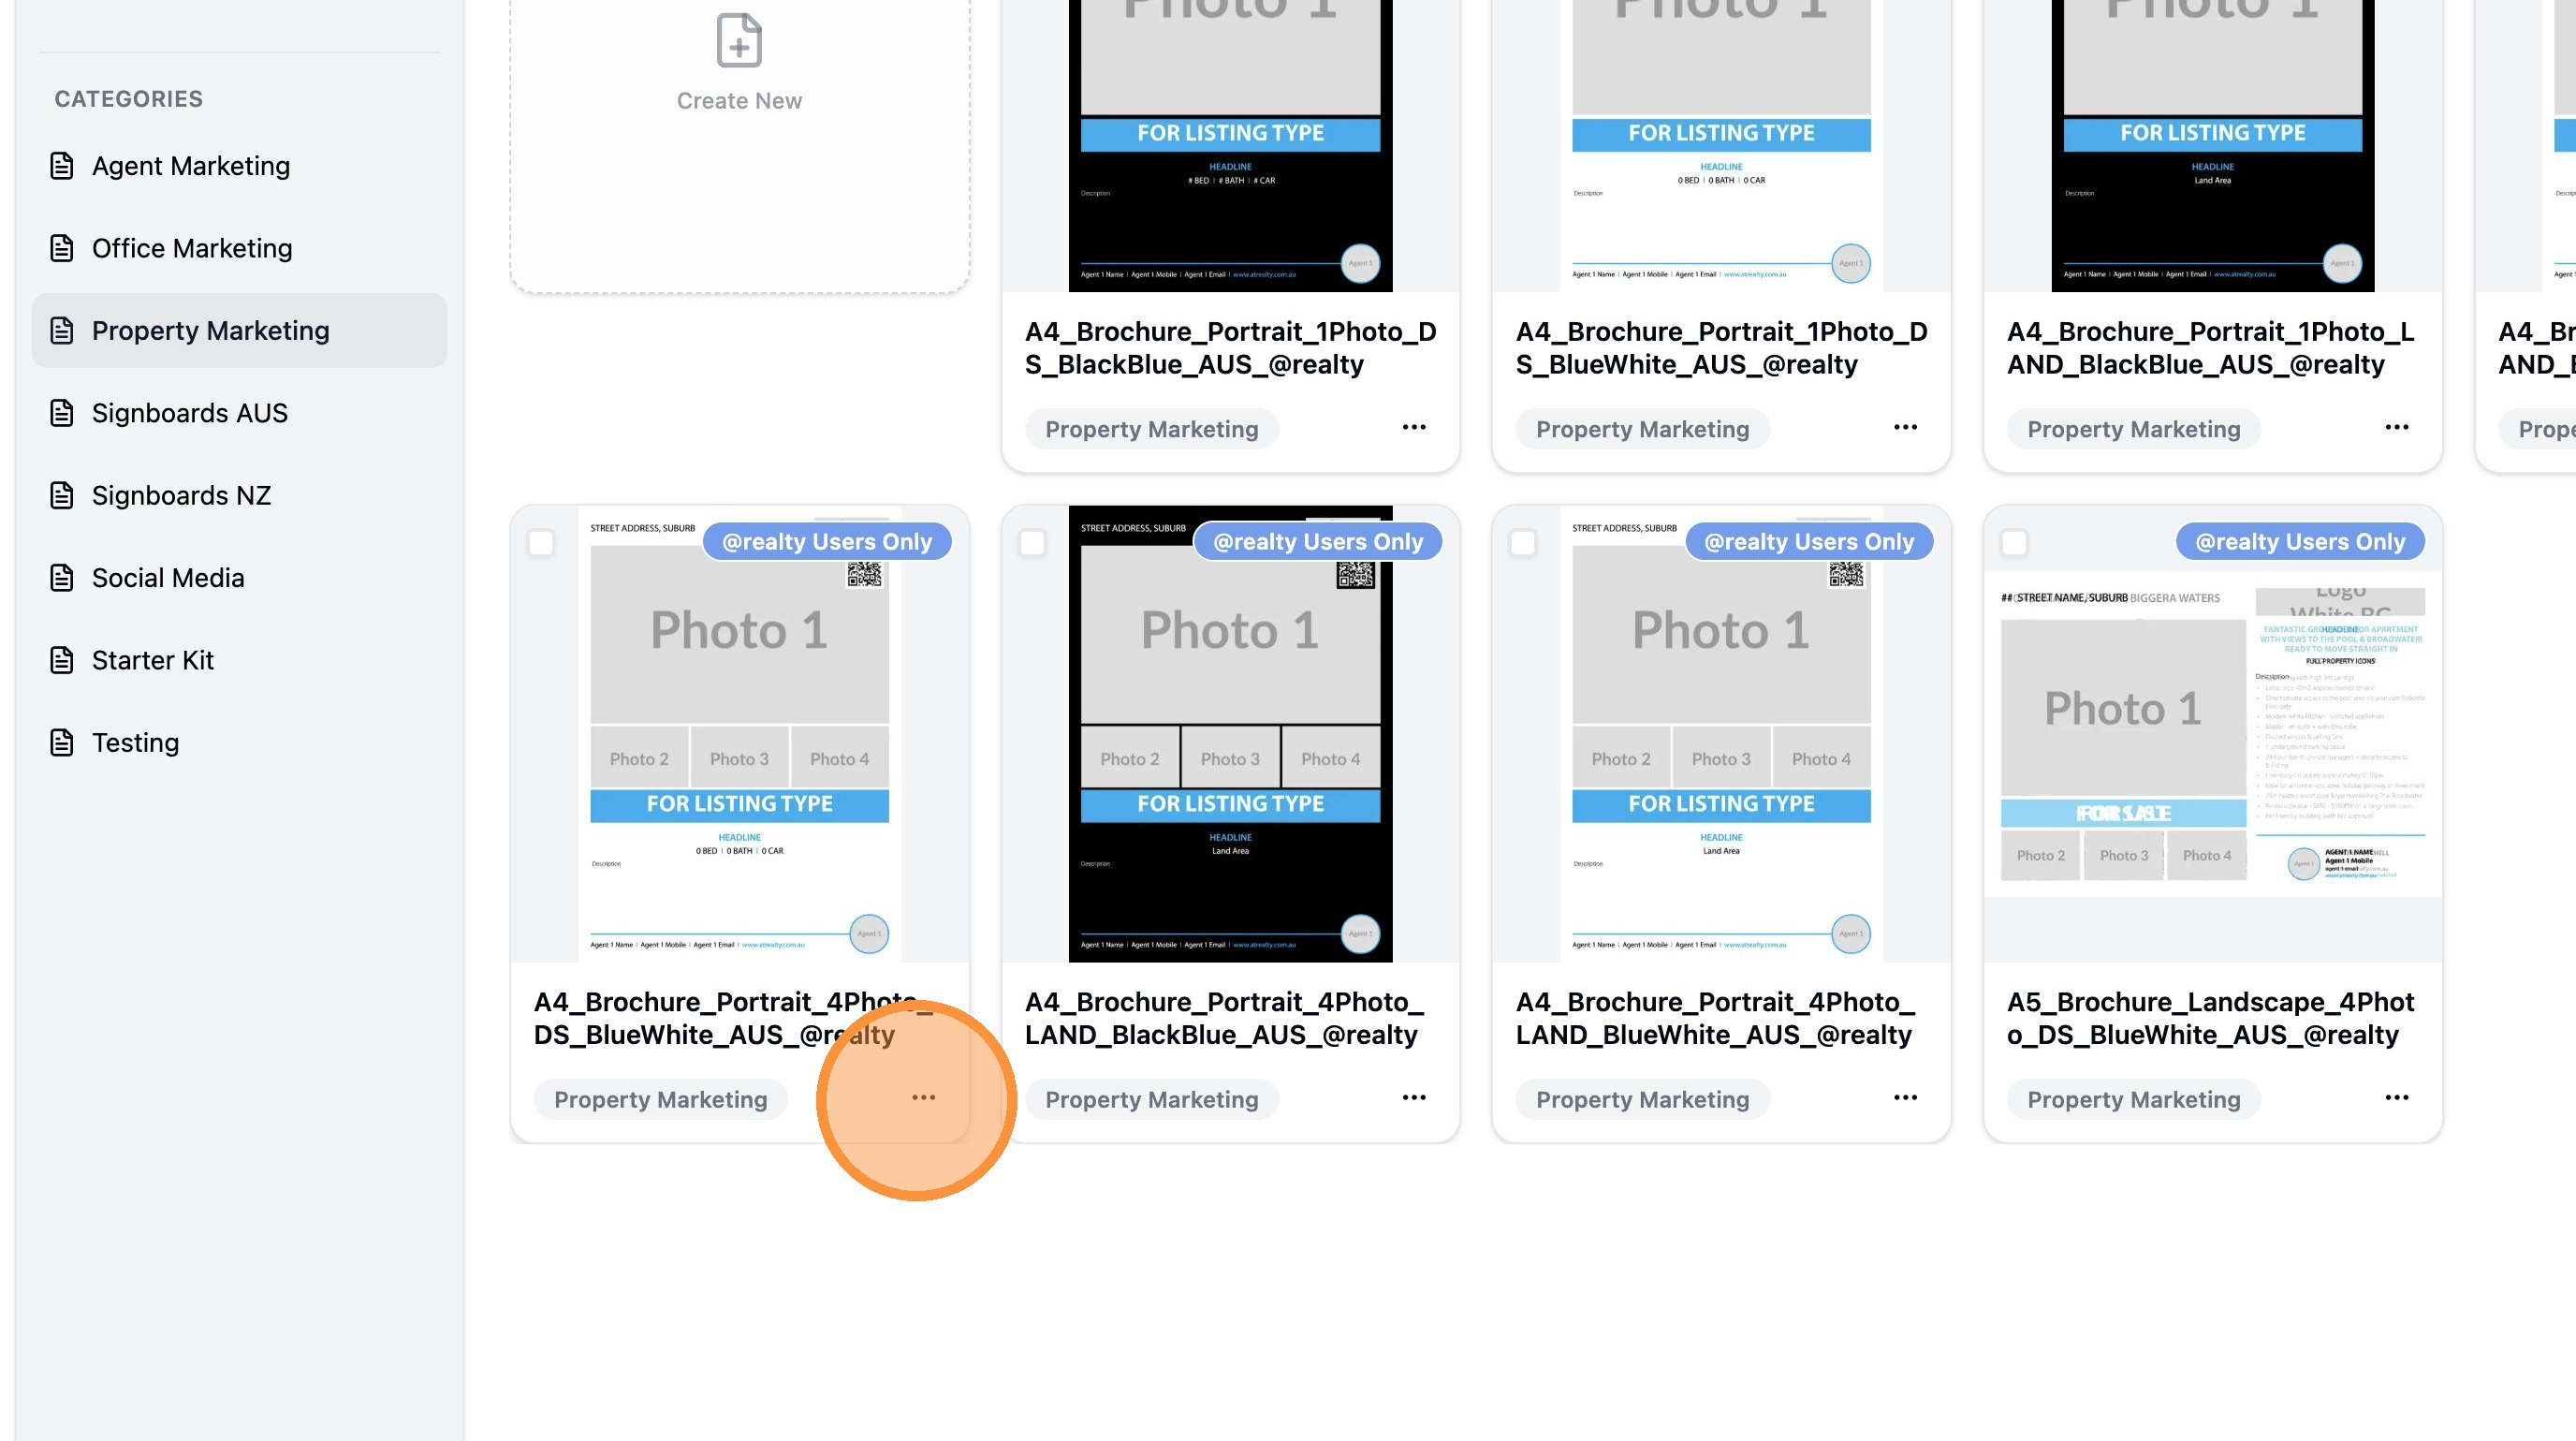
5. Click "Use for Artwork"
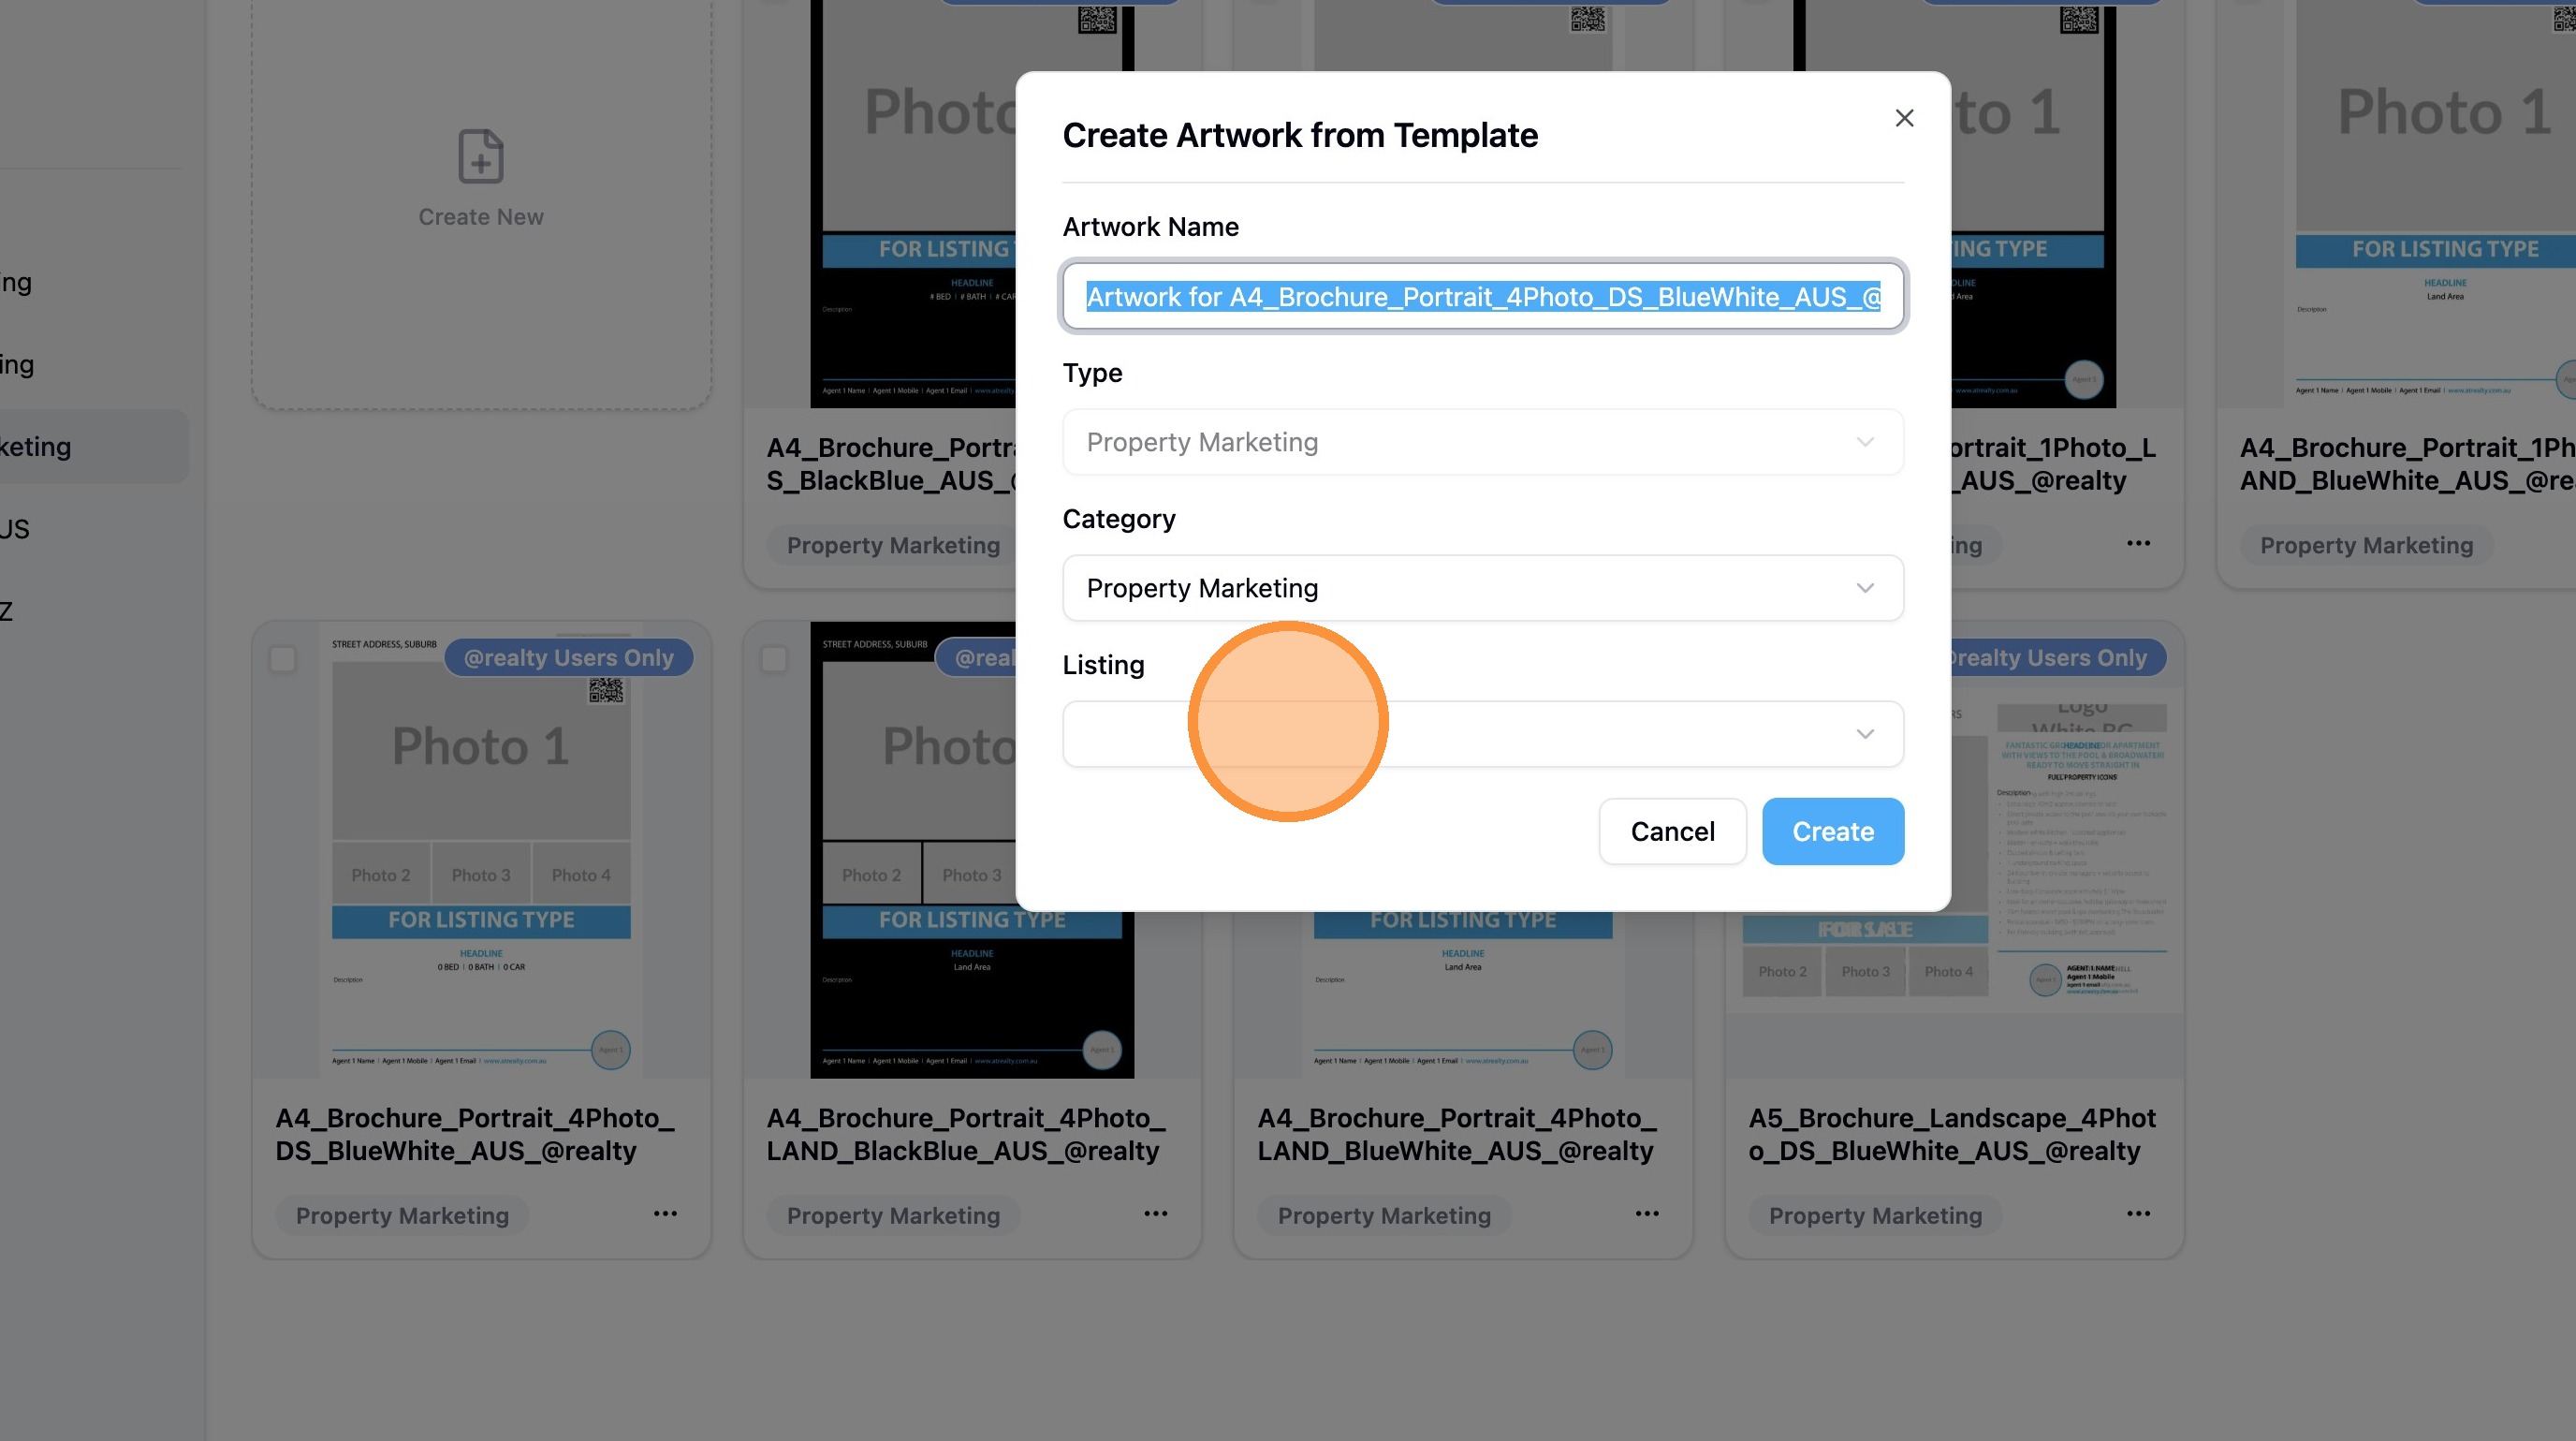
Artwork Setup
6. Click this button.
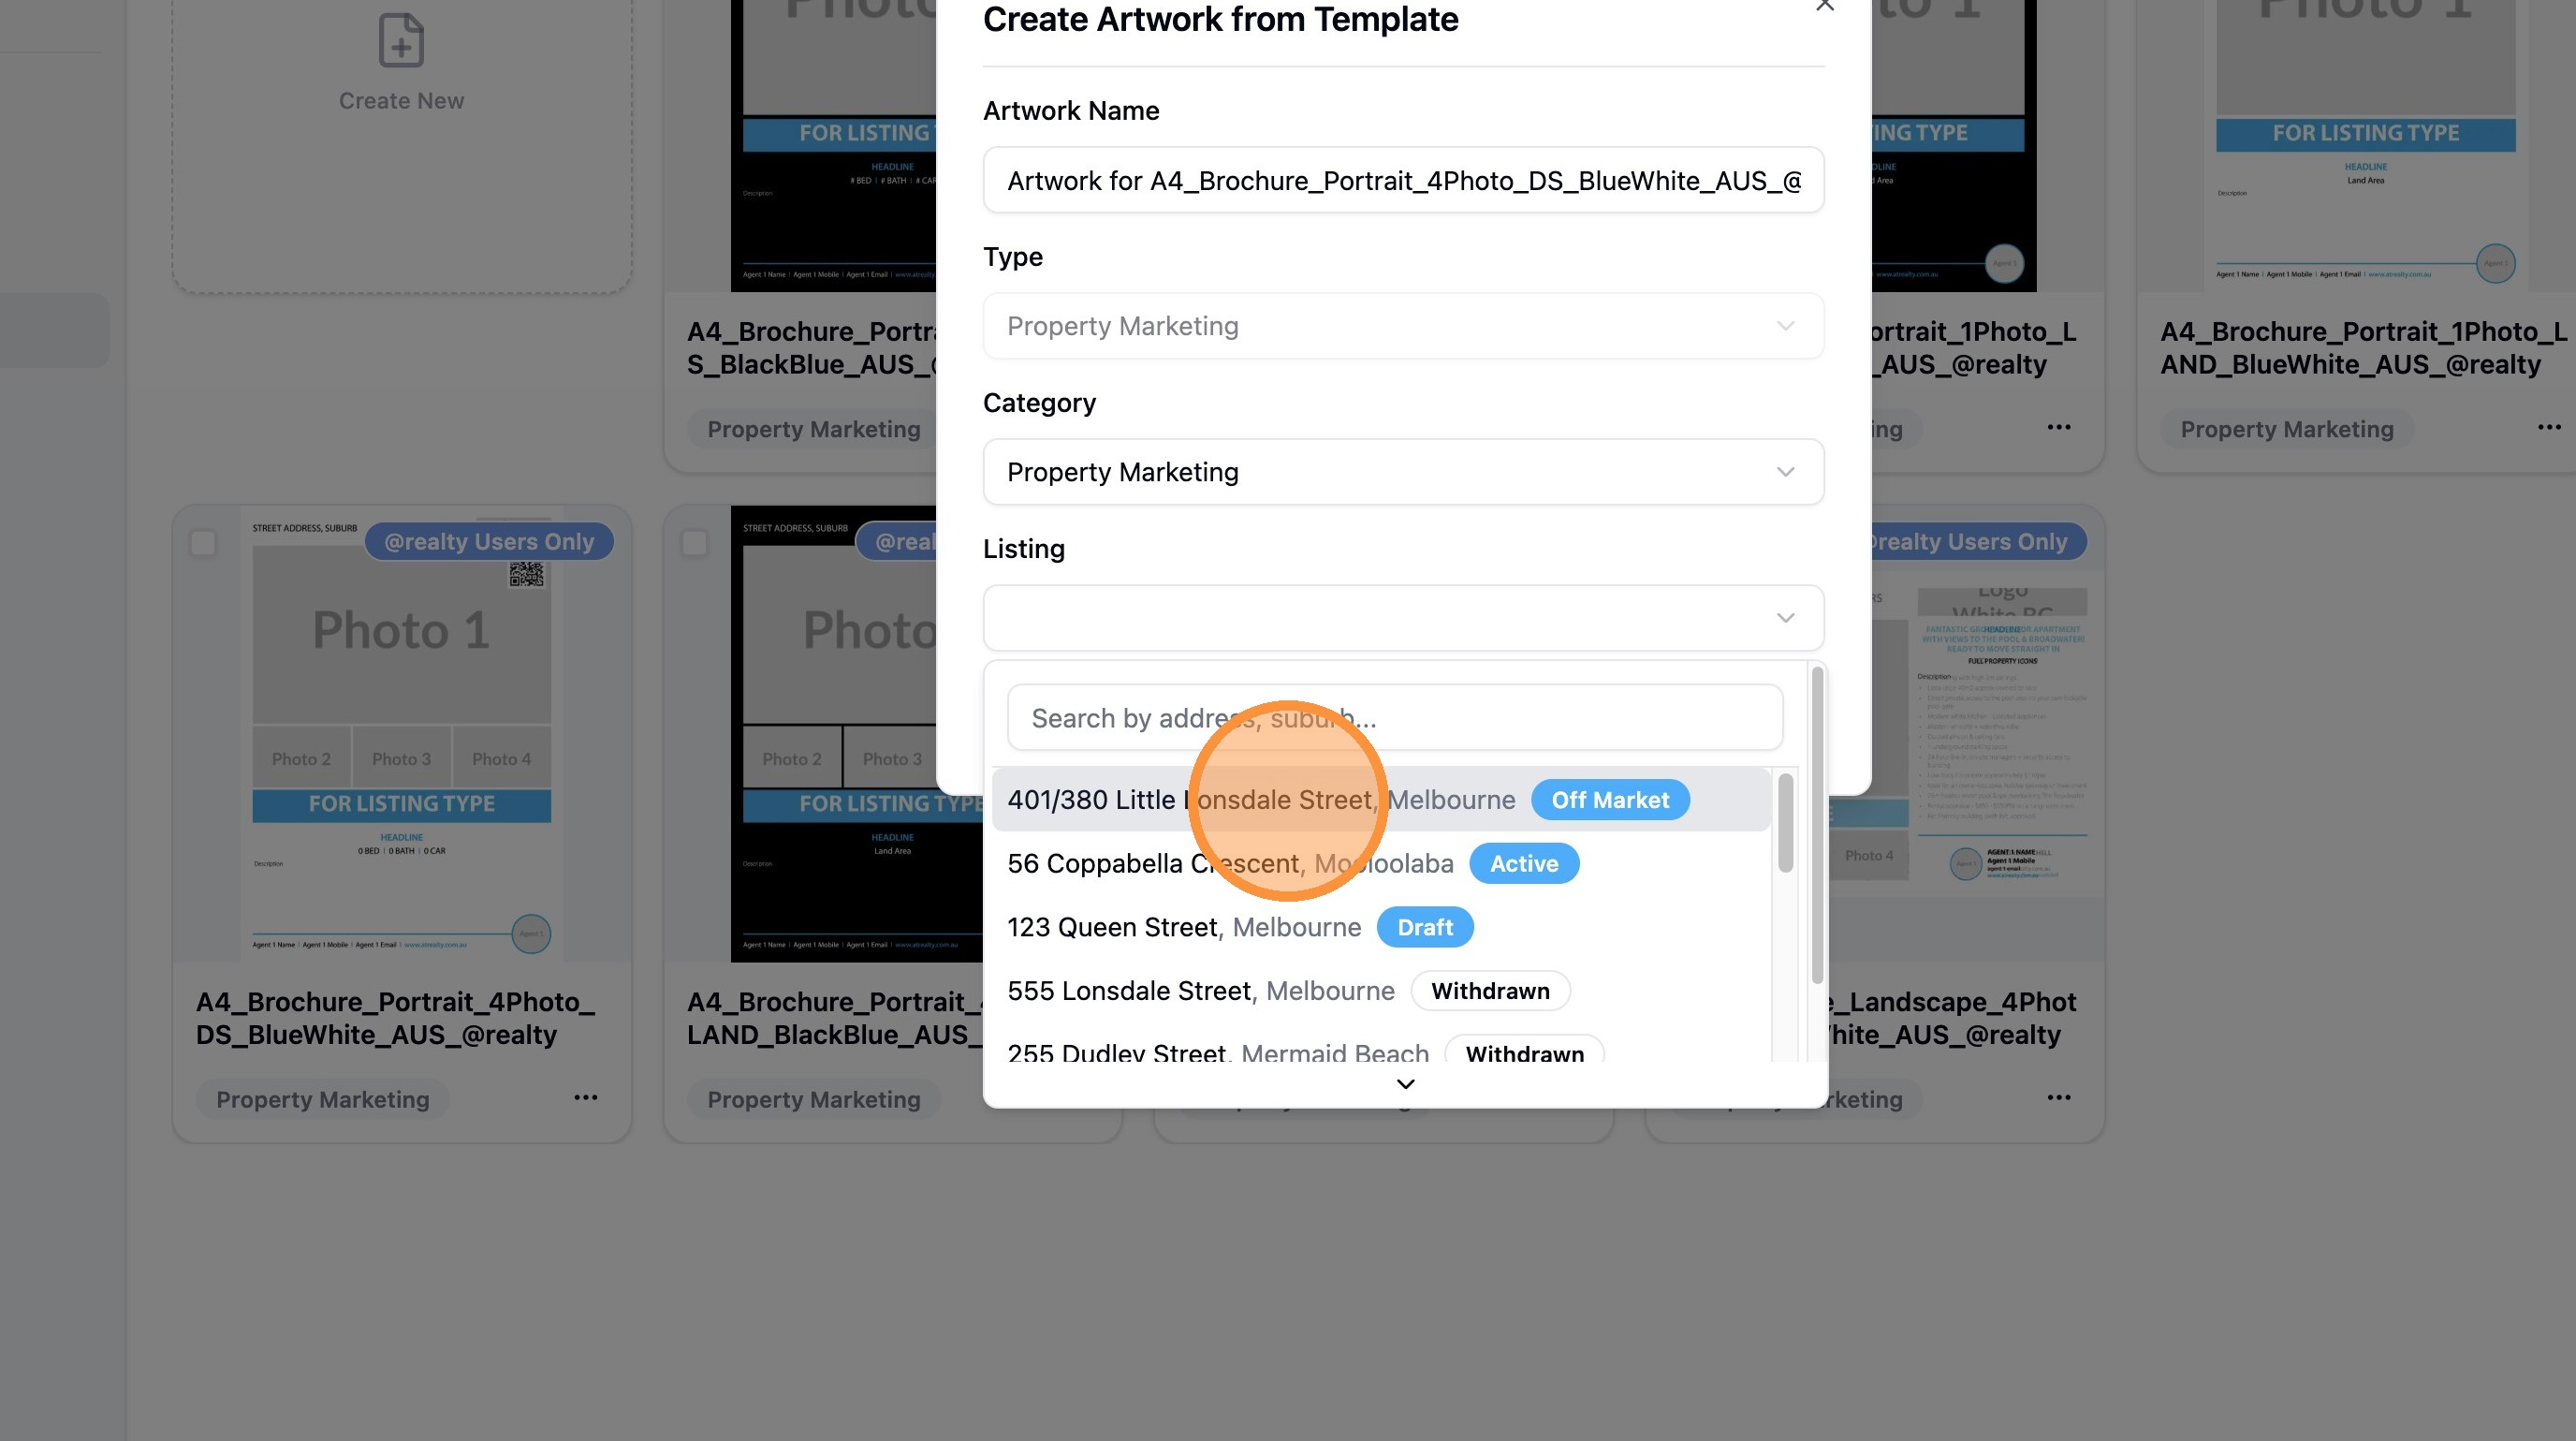
7. Click the listing you want to create a brochure for.
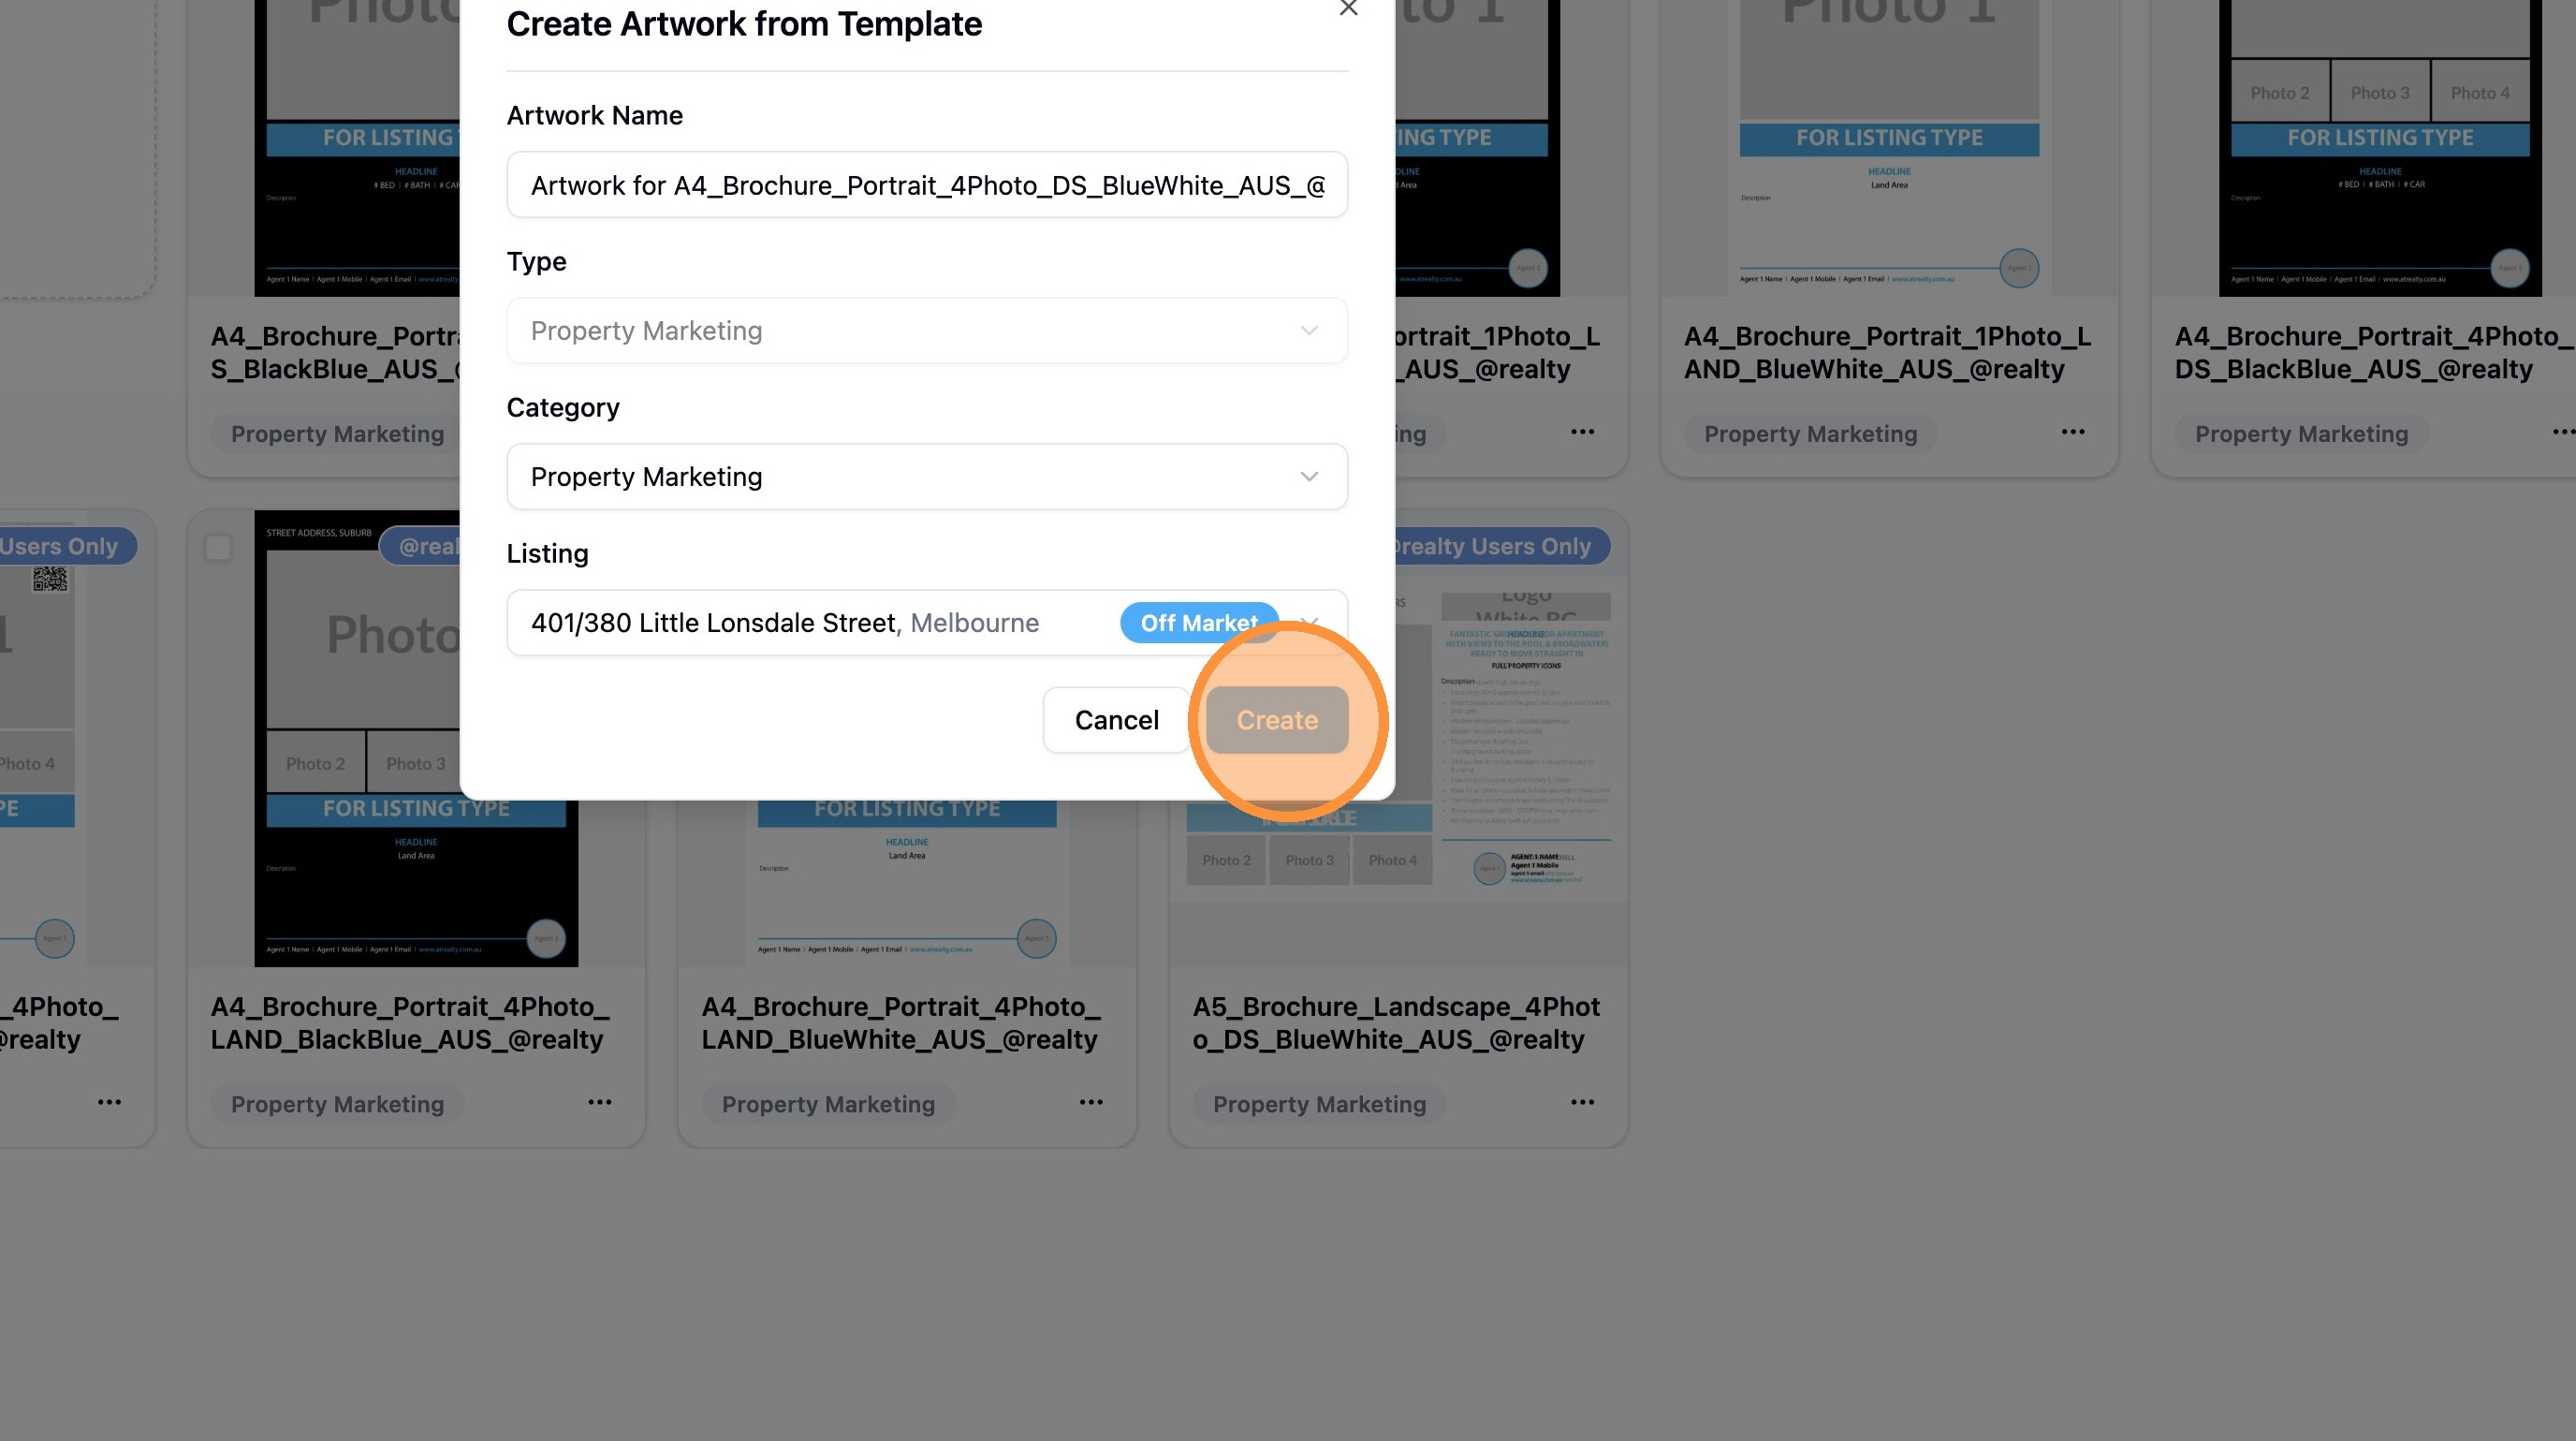
8. Click "Create"
9. Wait for the creative editor to load the template
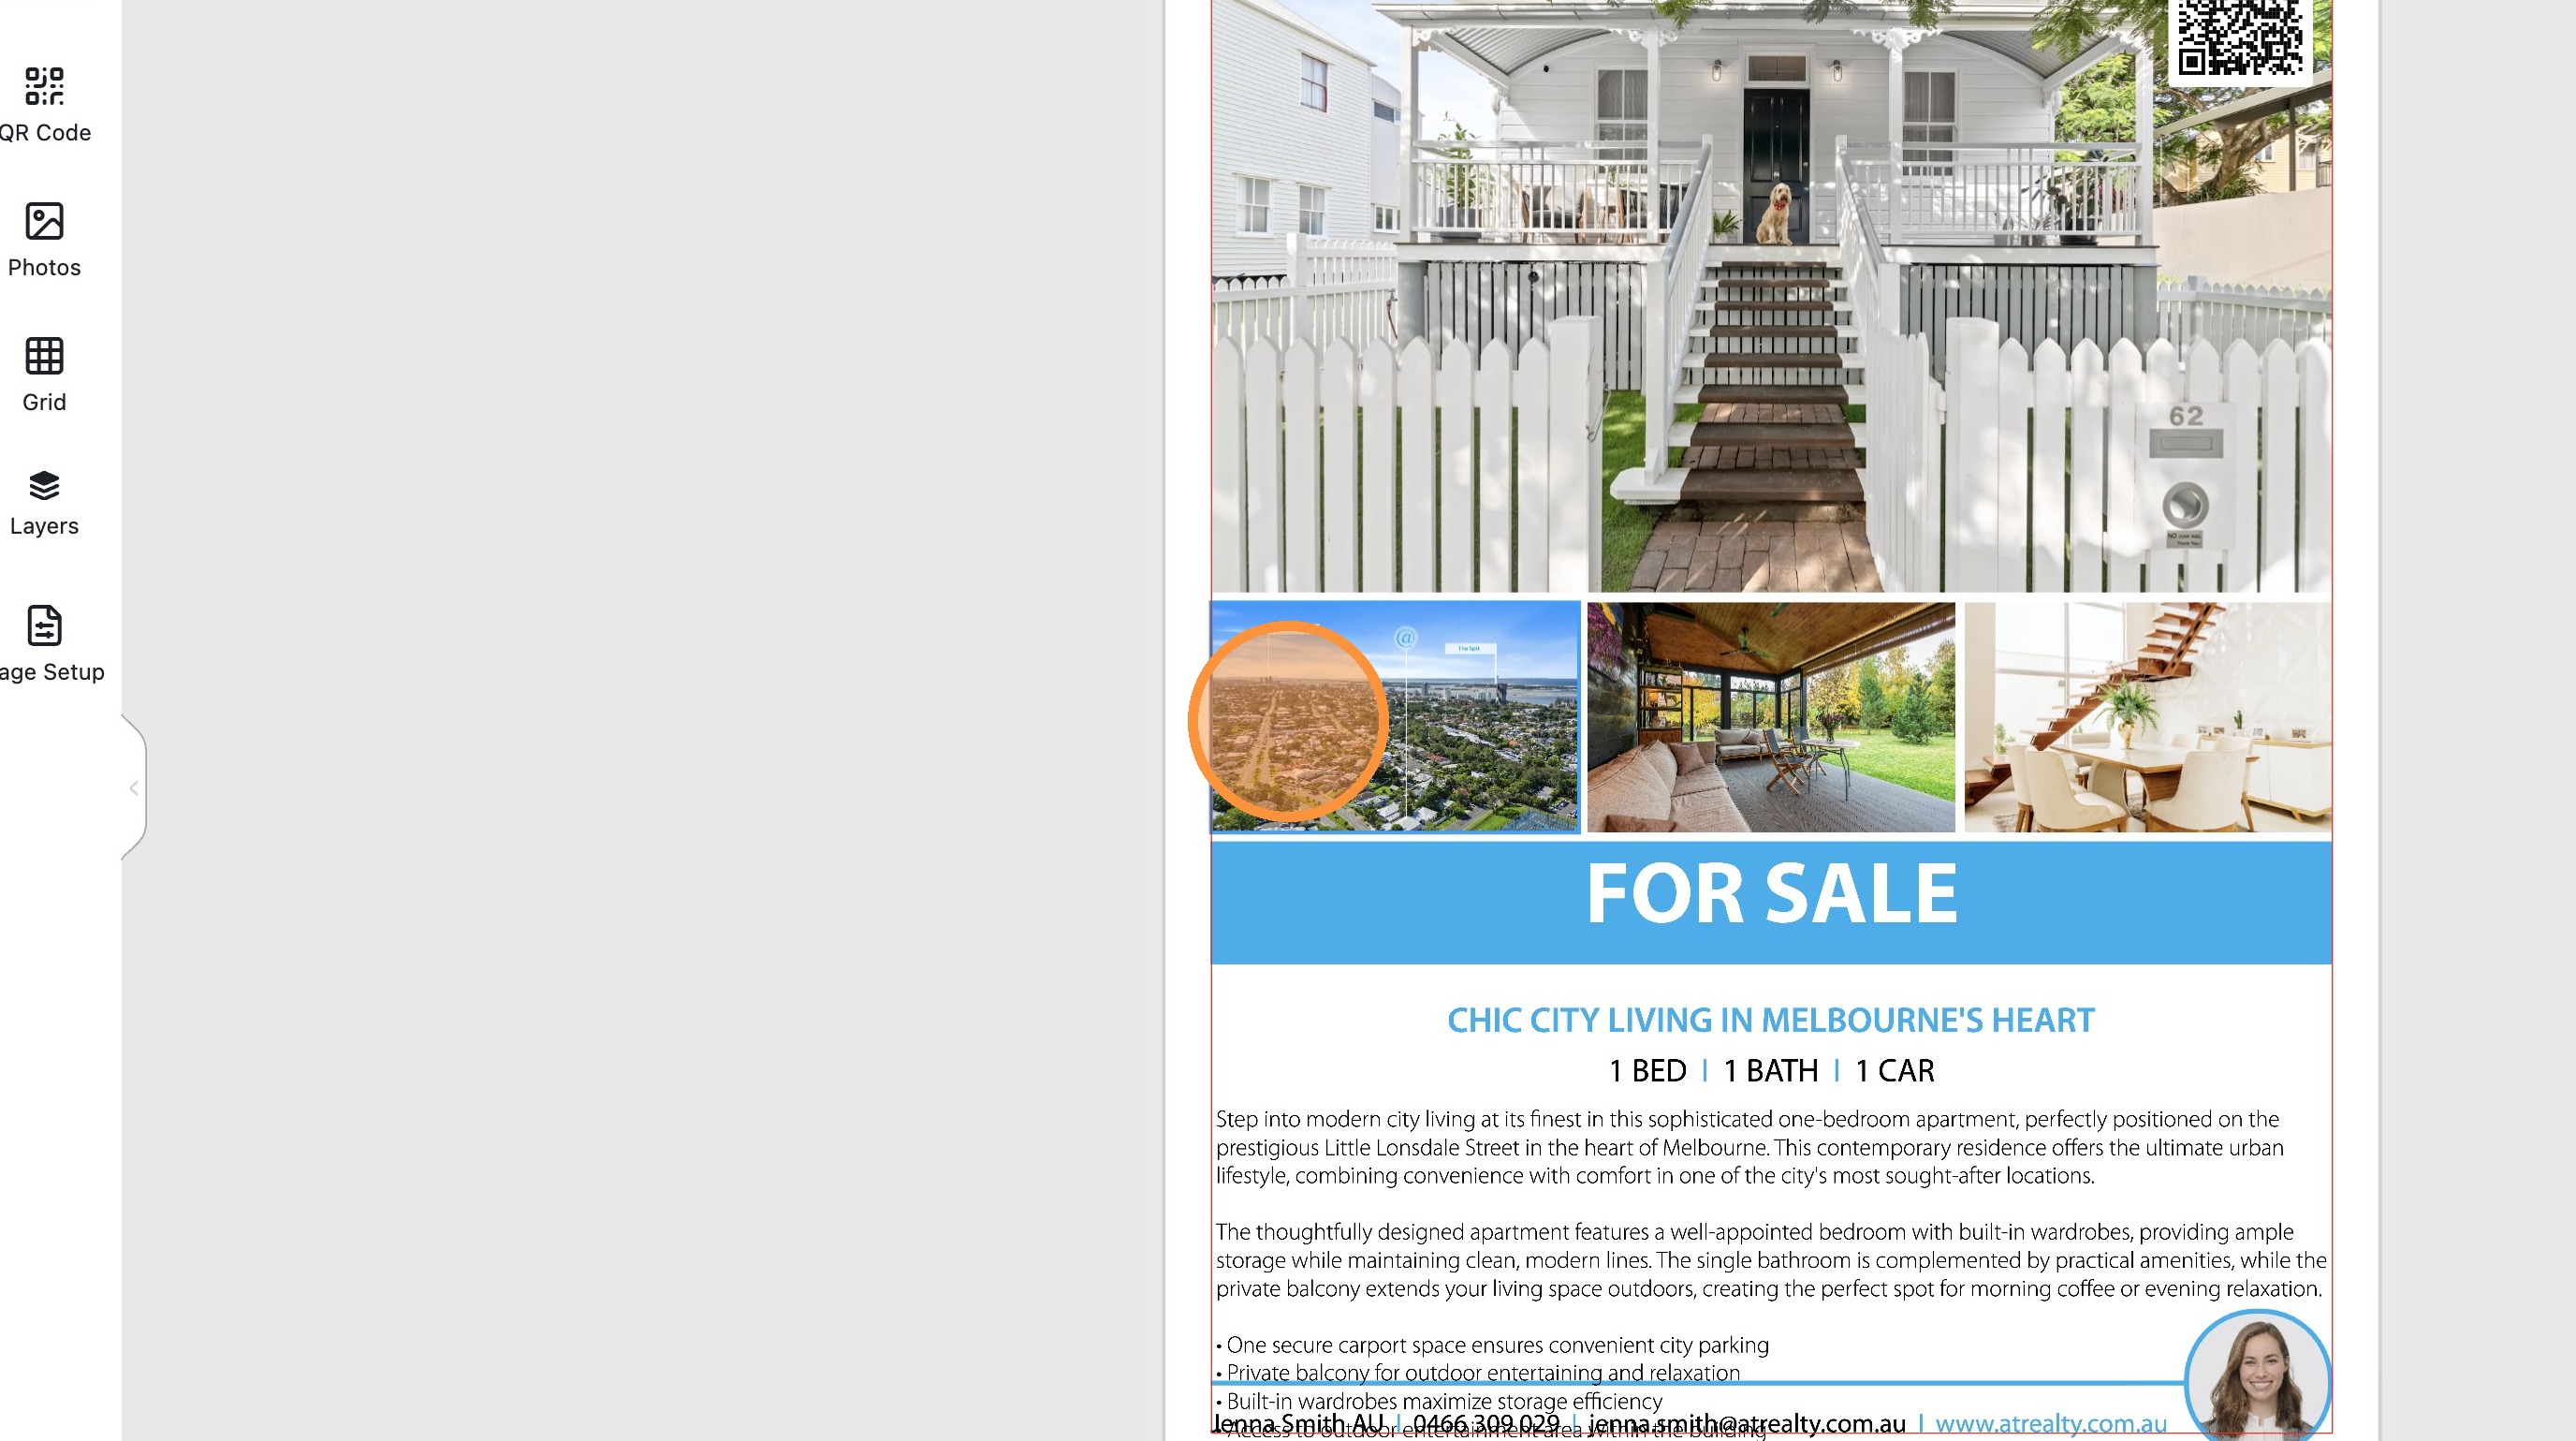
Image Management
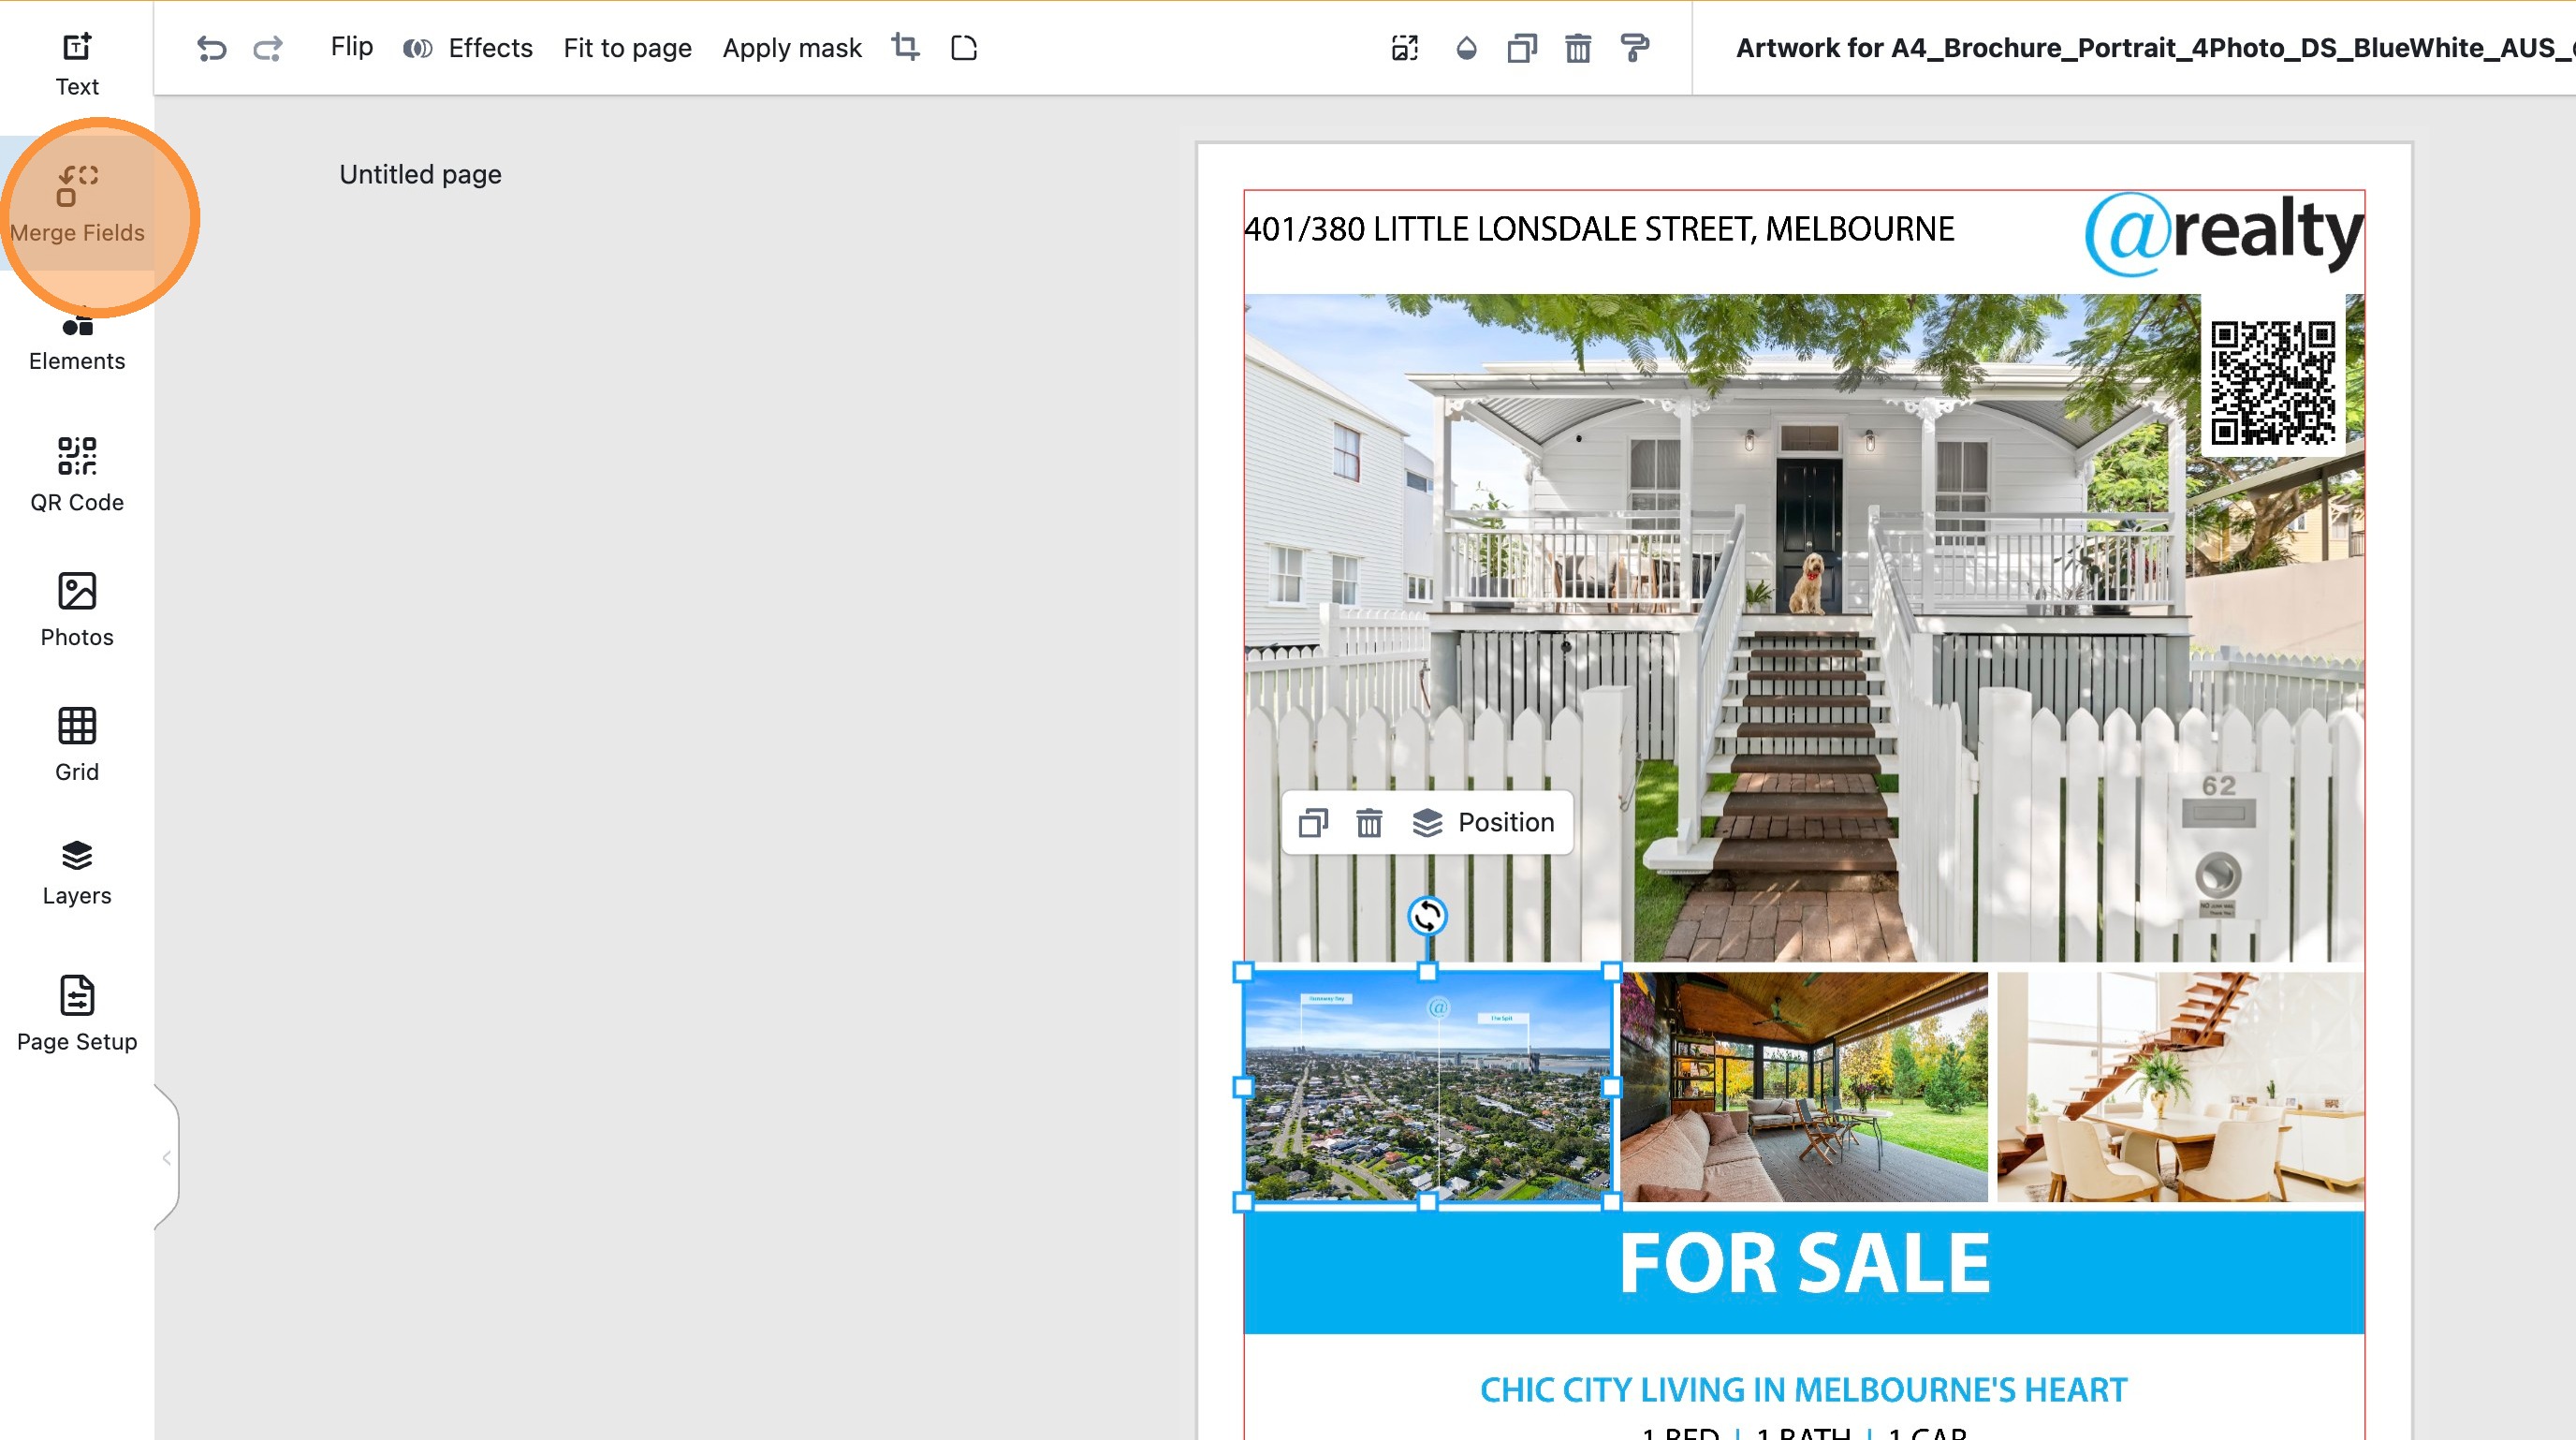
10. Click 'Merge Fields' in the sidebar menu
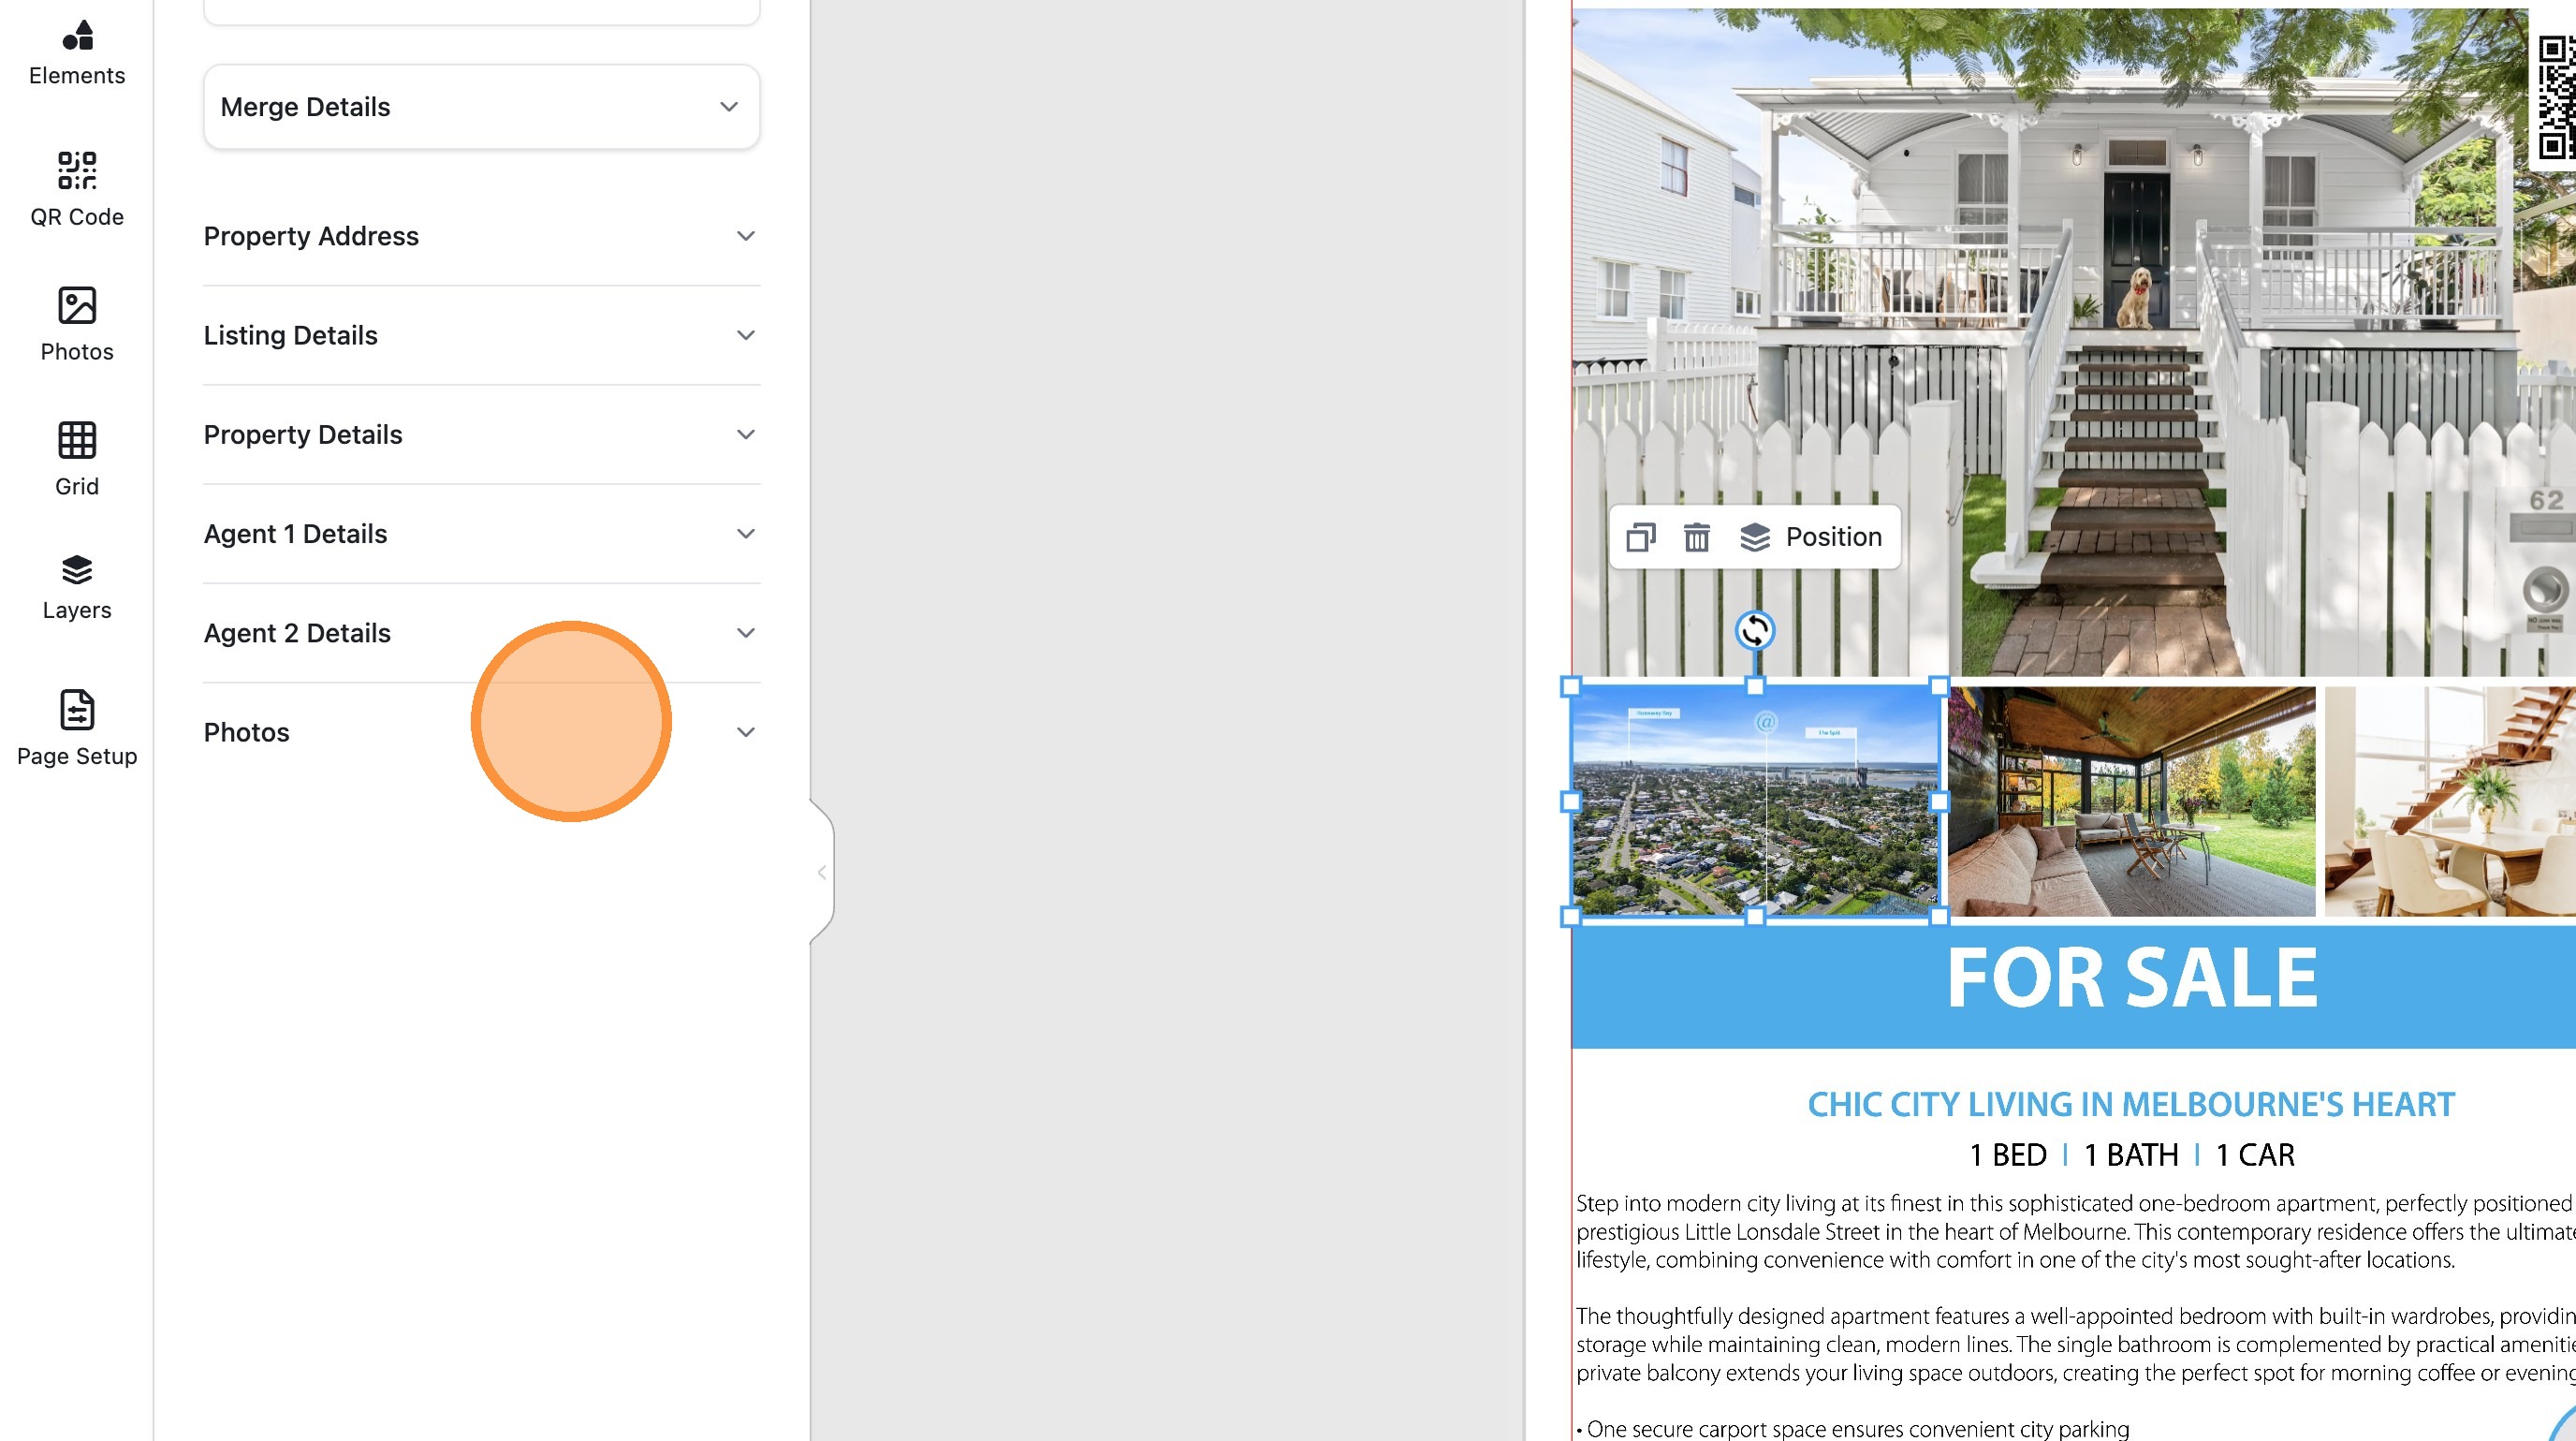
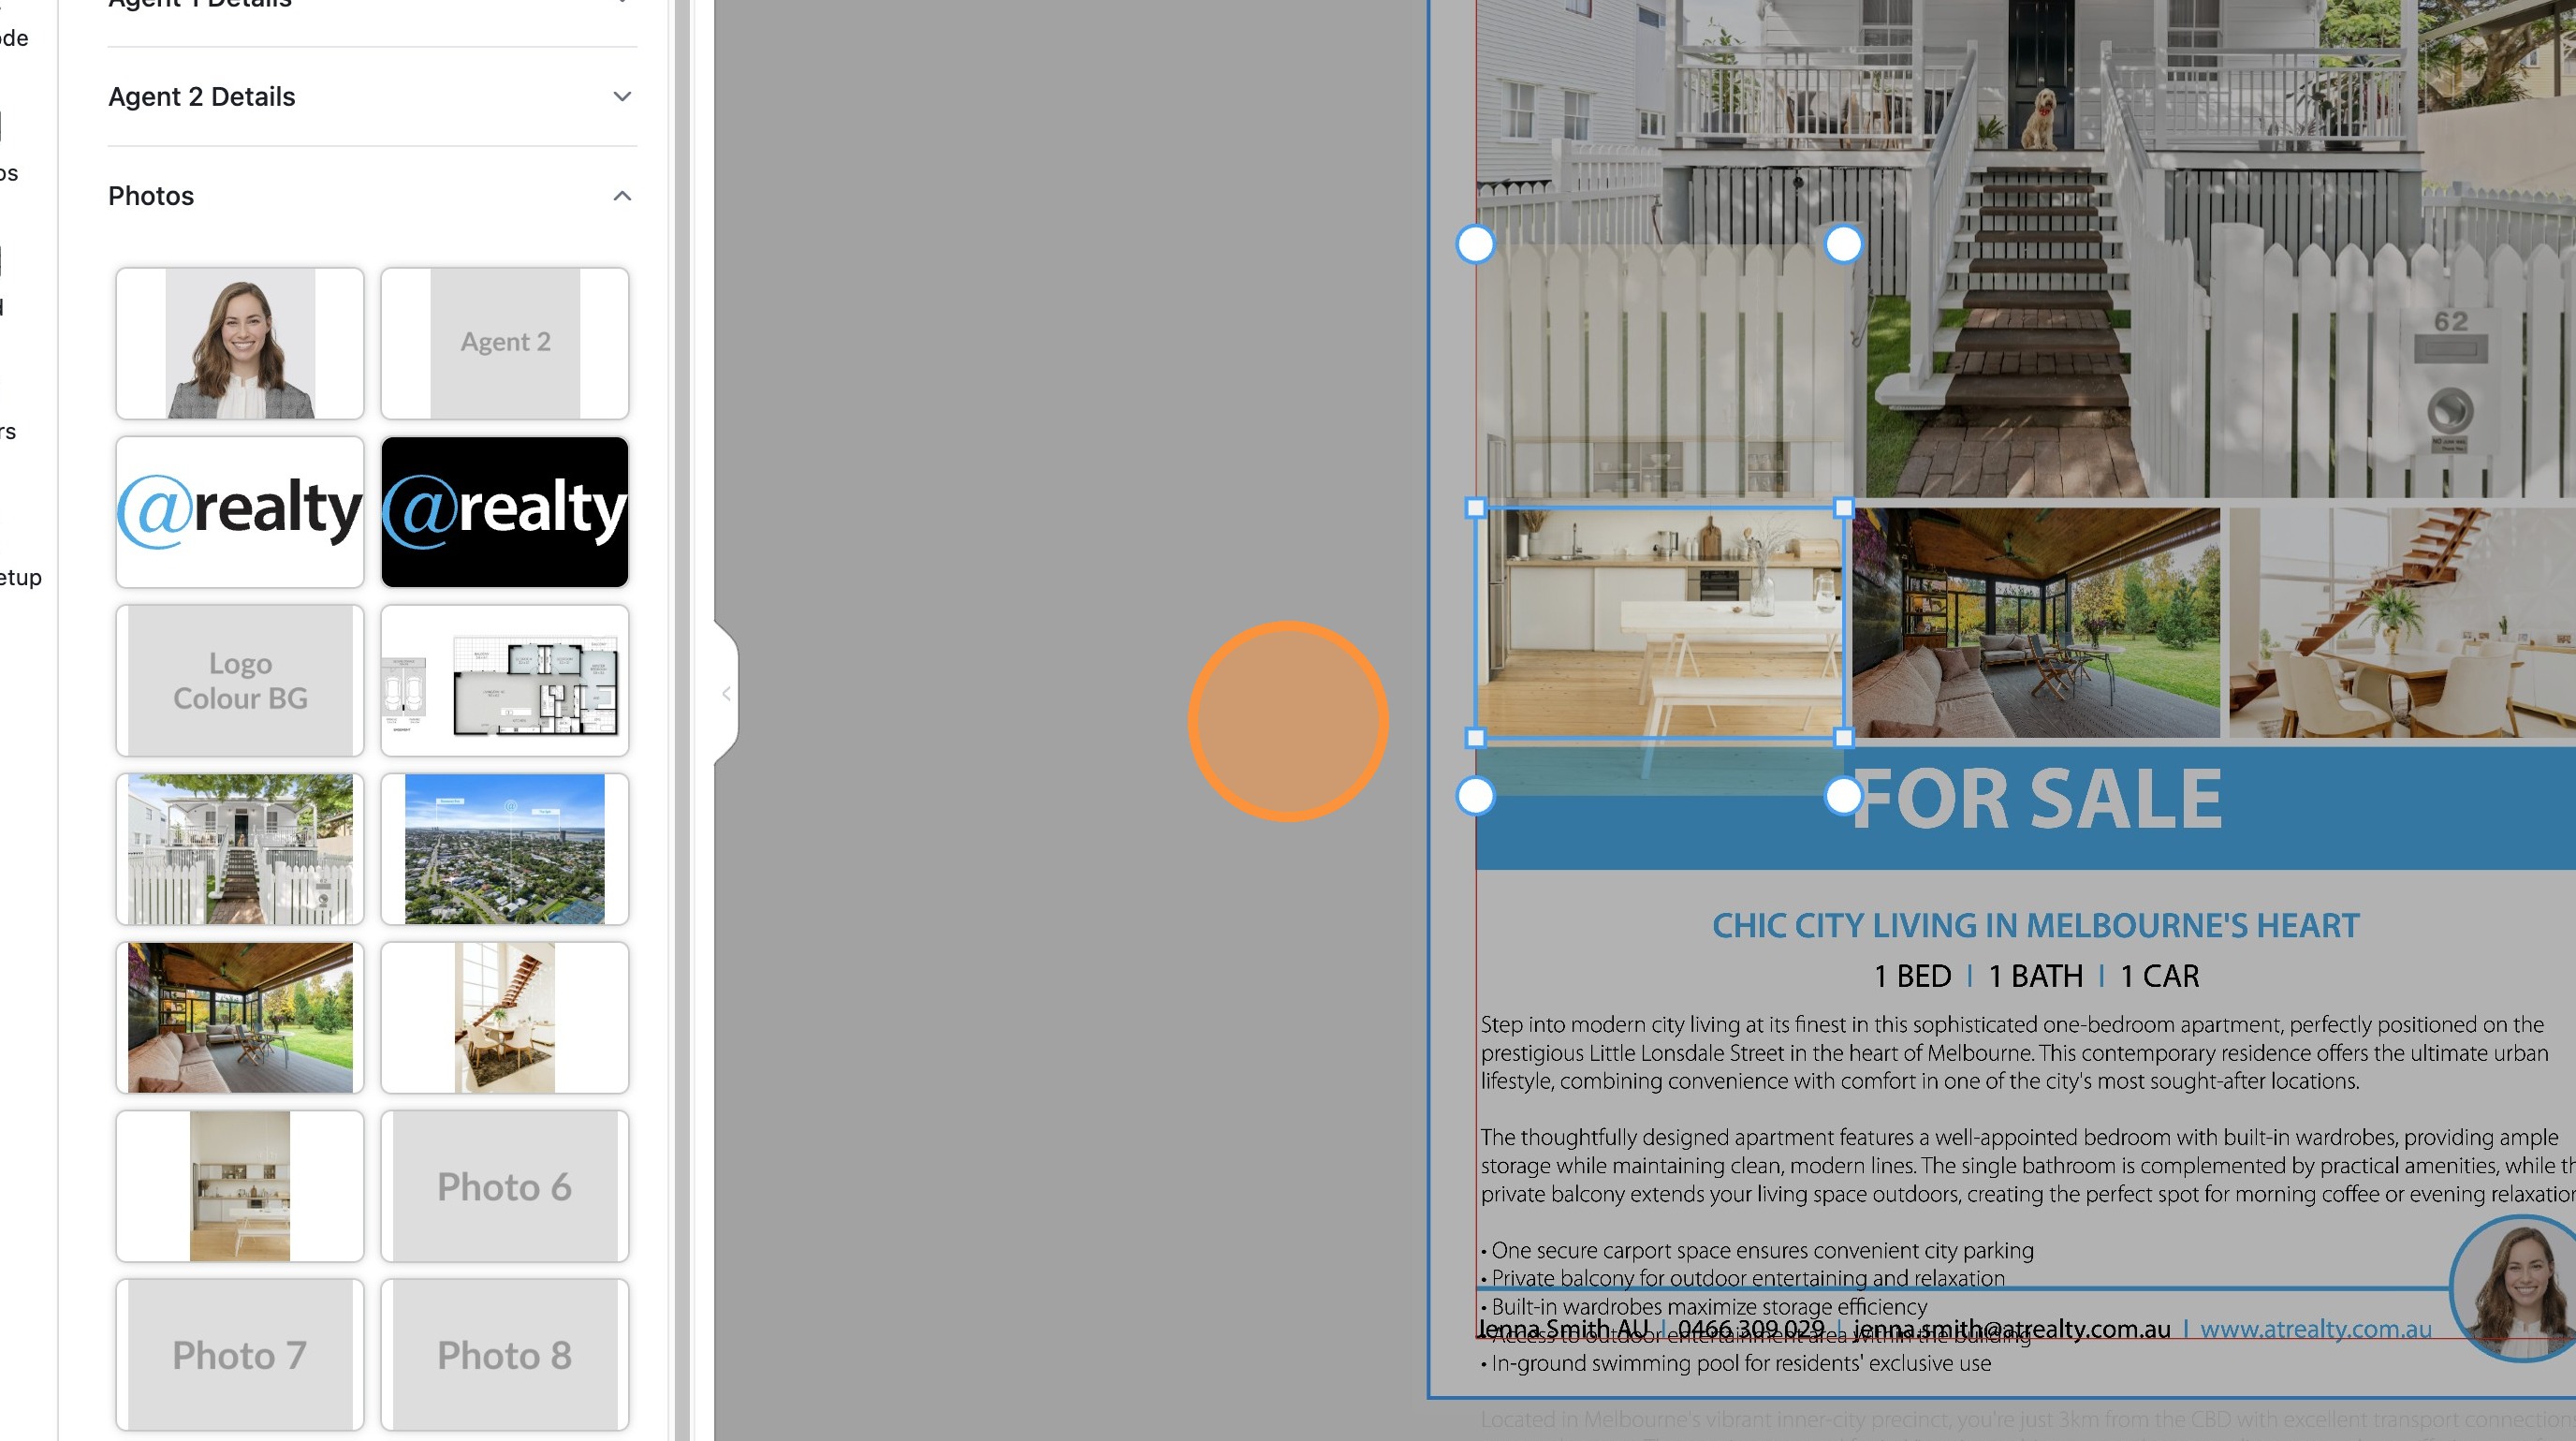
11. Open the 'Photos' tab in the merge fields panel
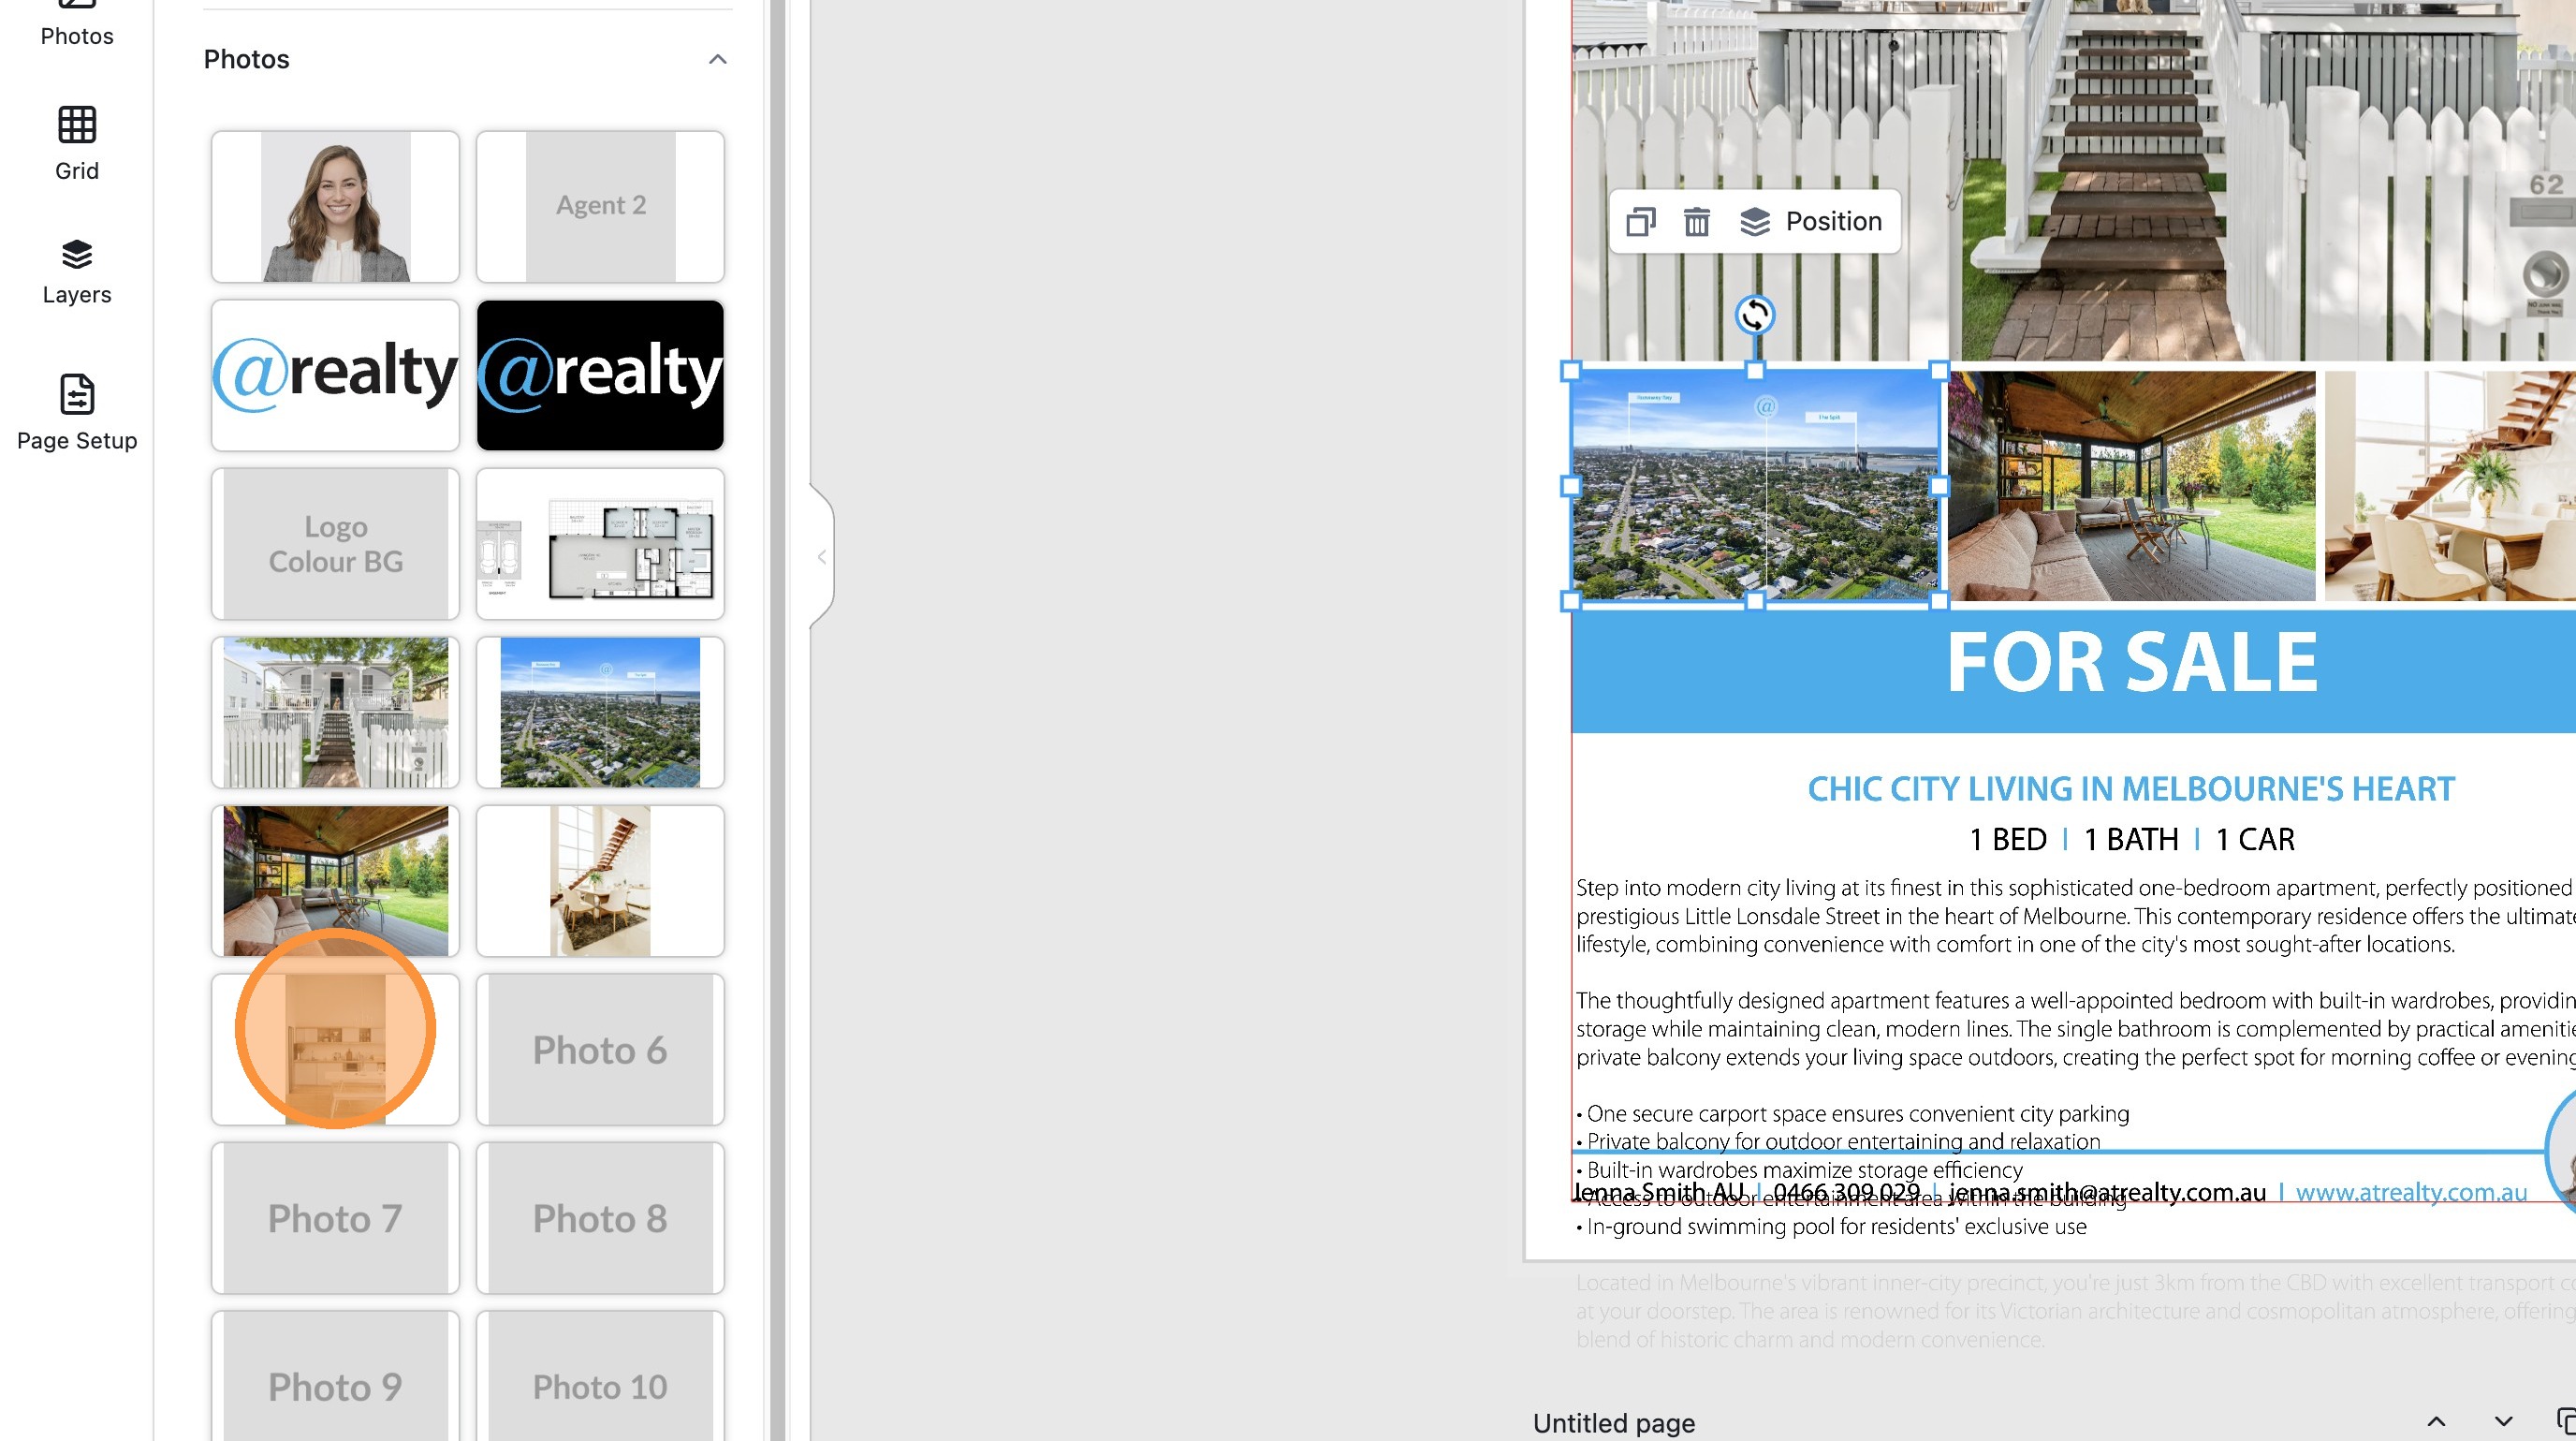
12. To replace an image, select and then drag and drop.
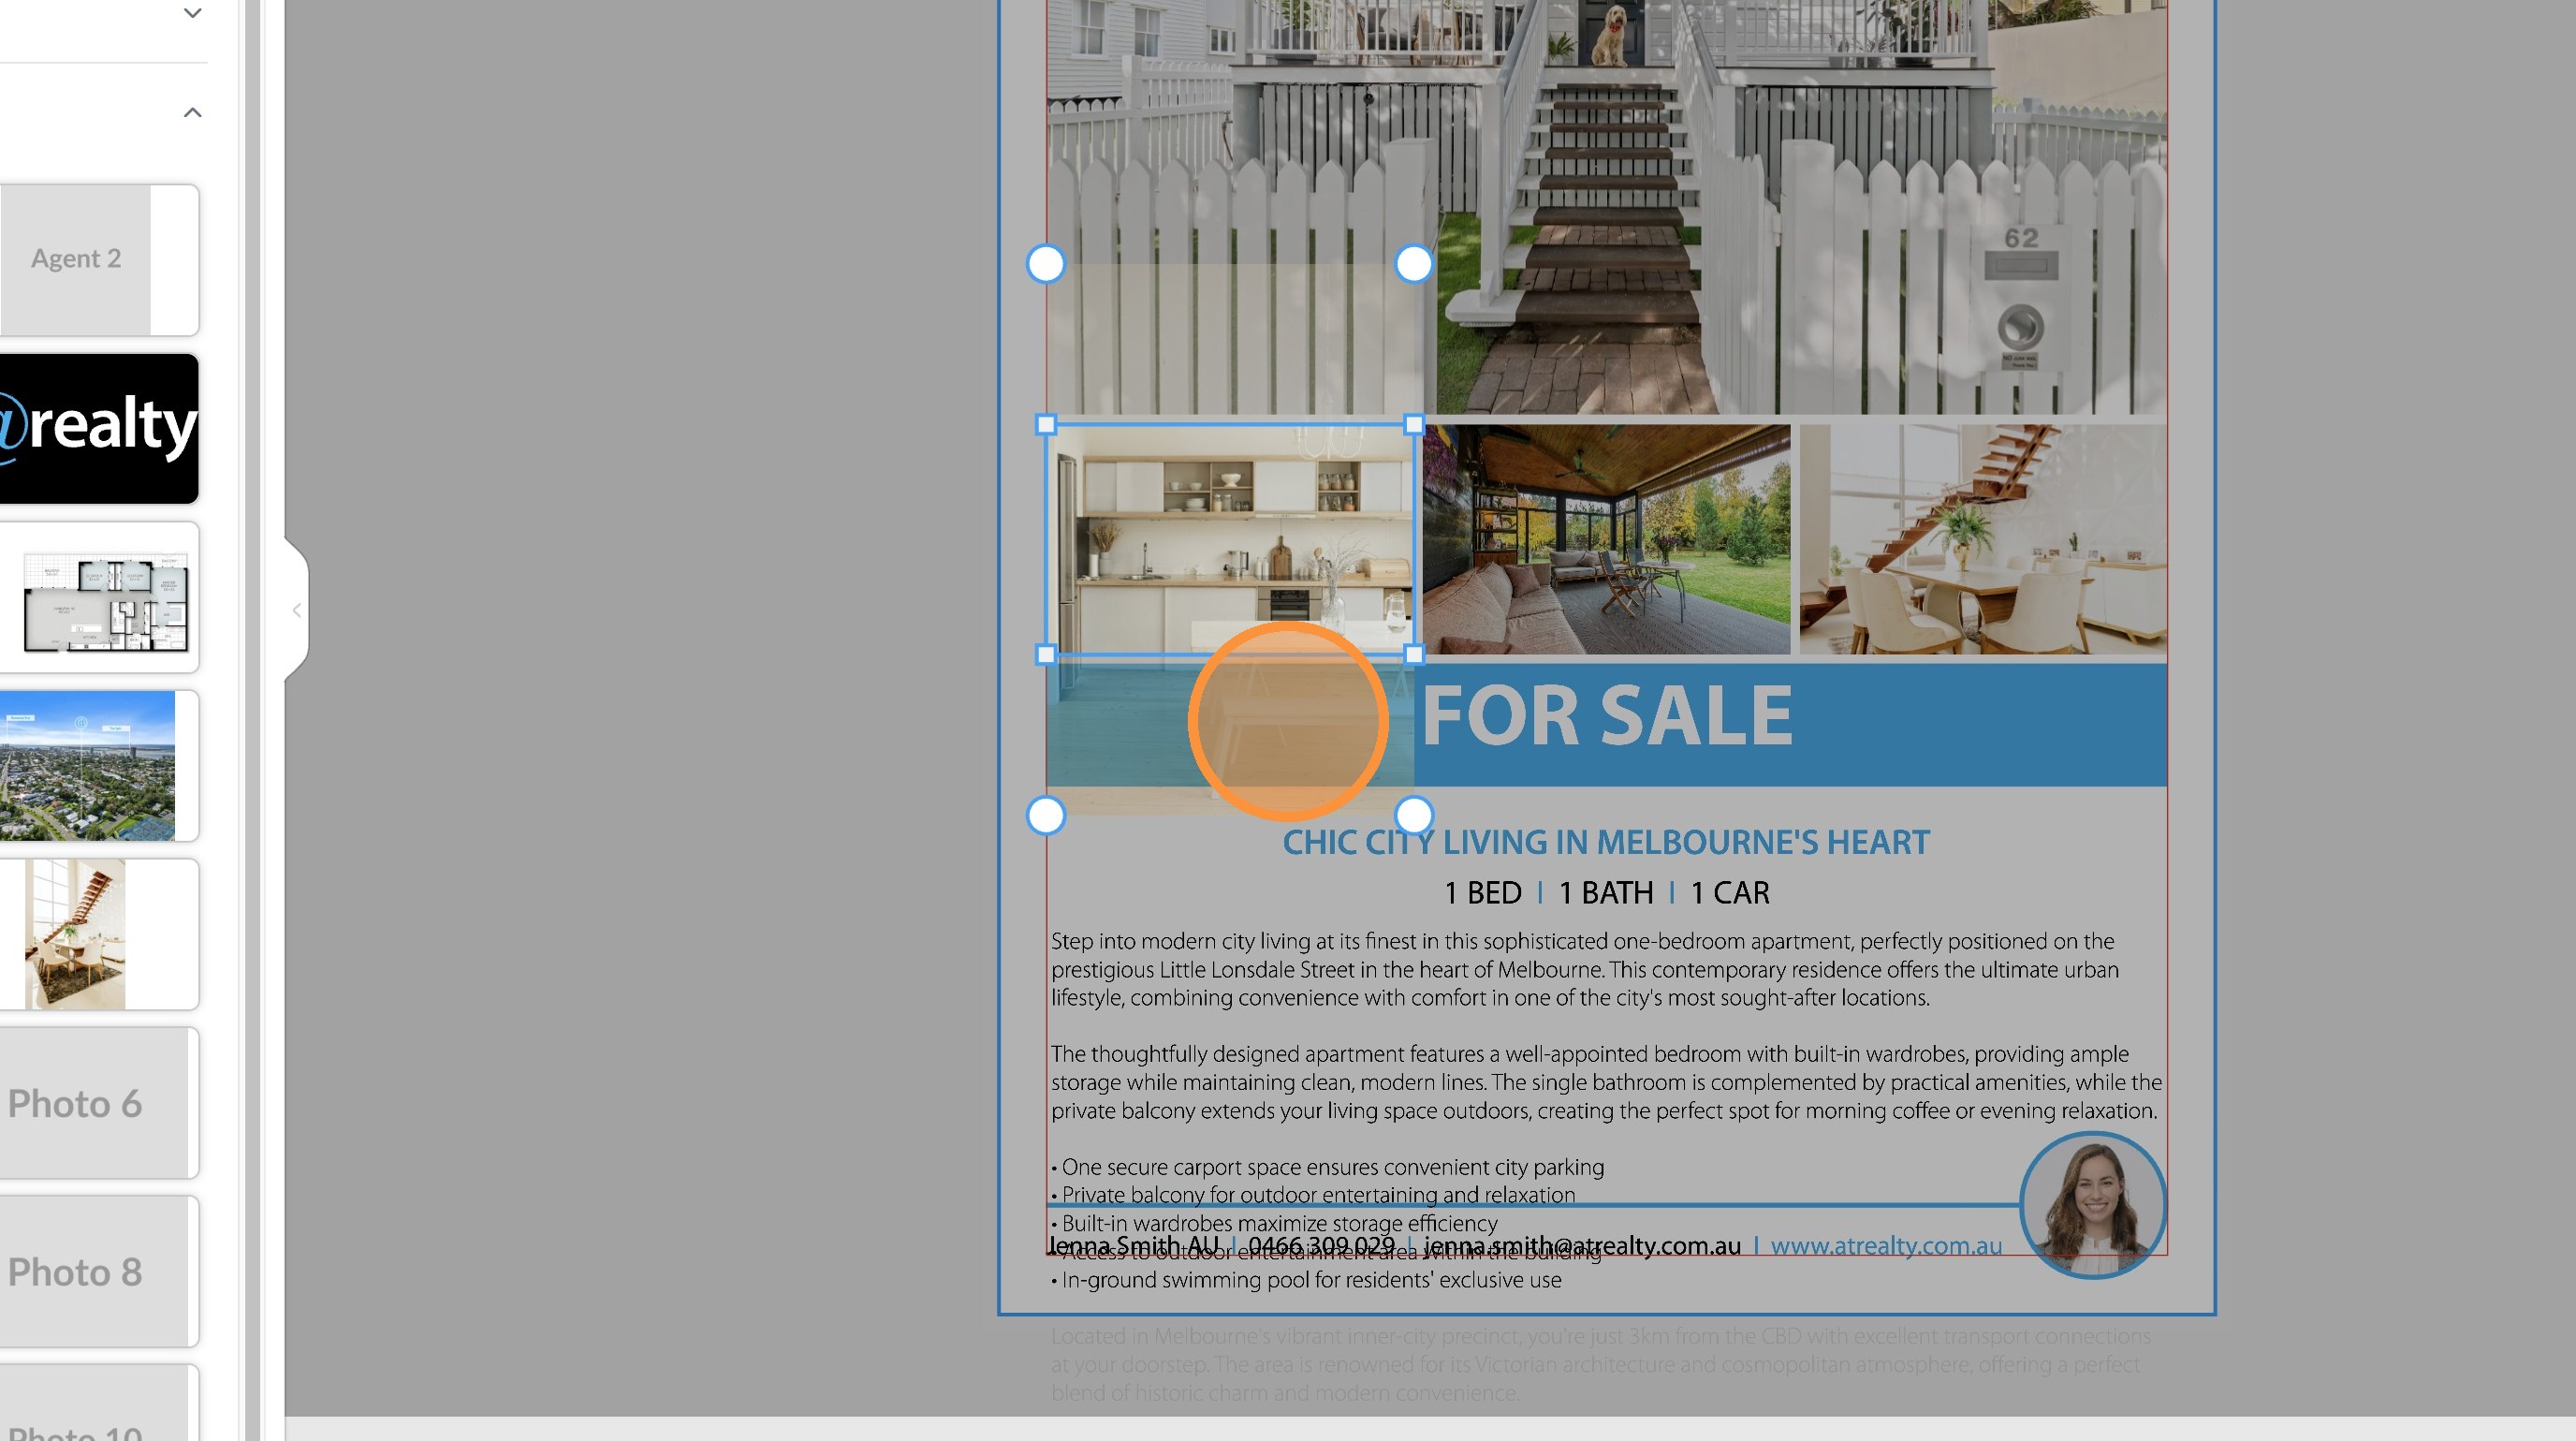
13. To edit the image placement within the frame, double-click the image.
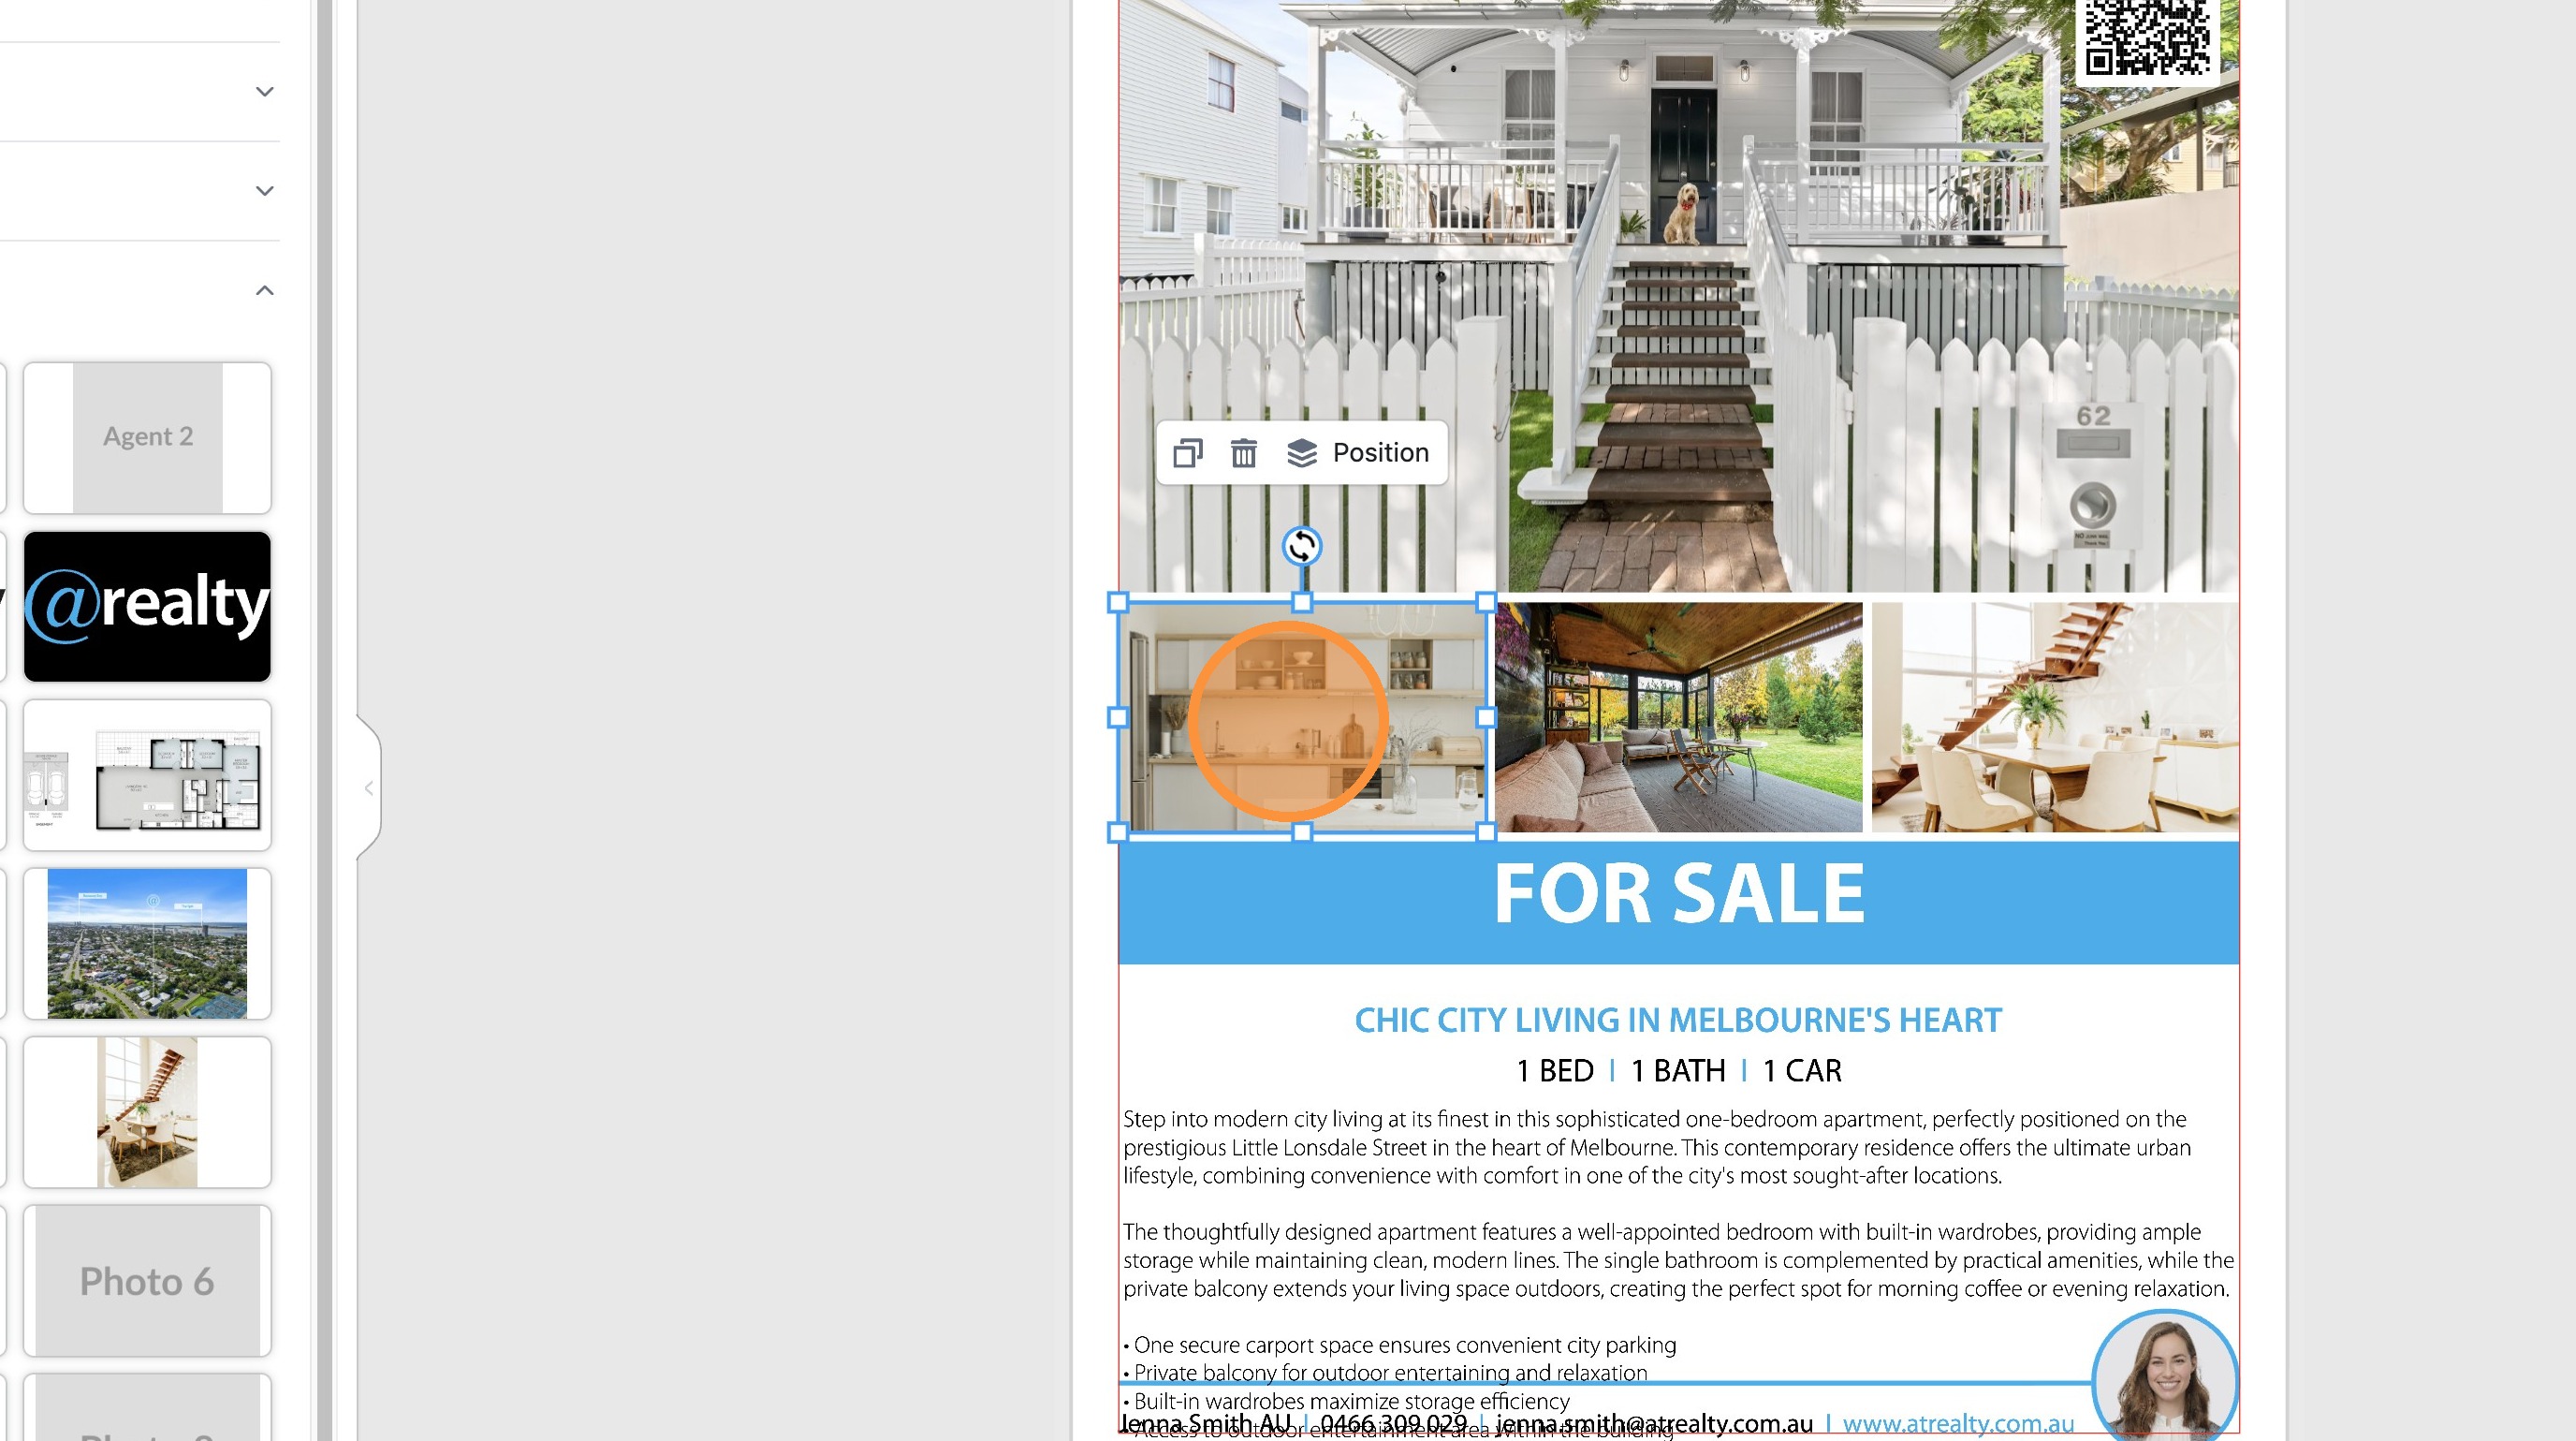
14. Drag the image to change the position, or use the round corner controls to zoom in or out.
15. Click on the artboard to deselect the image frame.
Content Customization
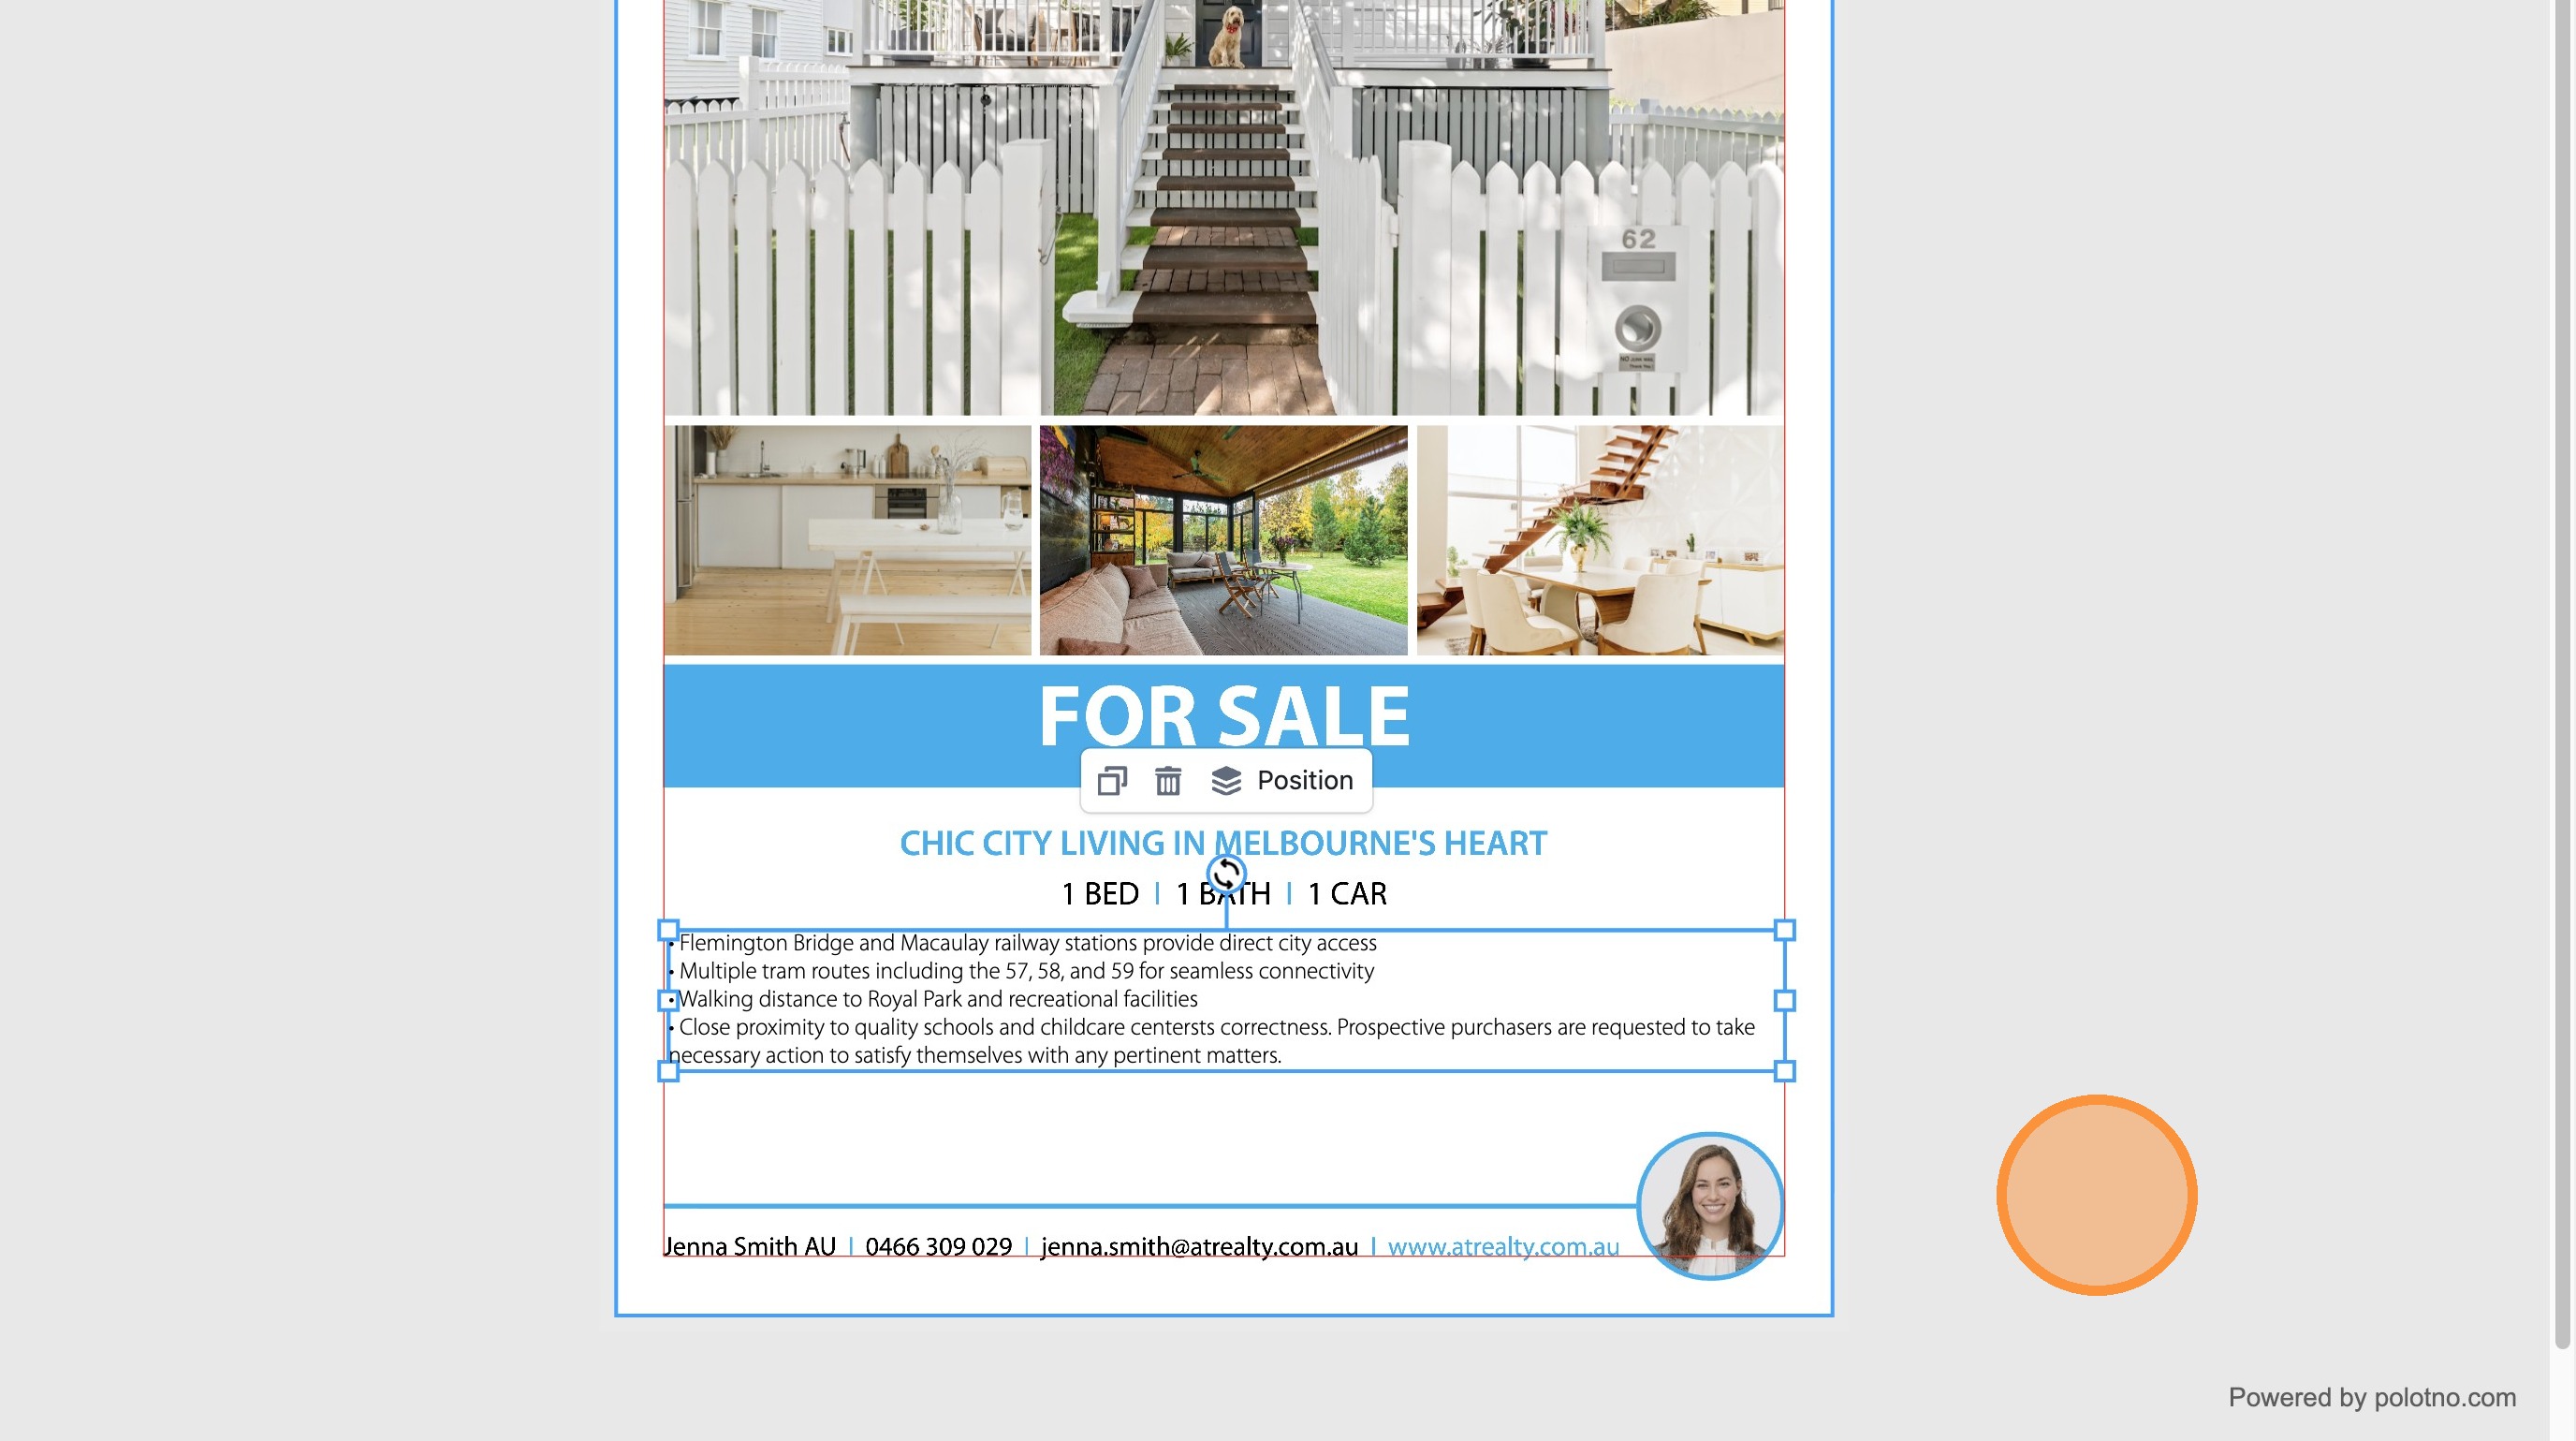
16. Edit the property description text and remove unwanted listing features
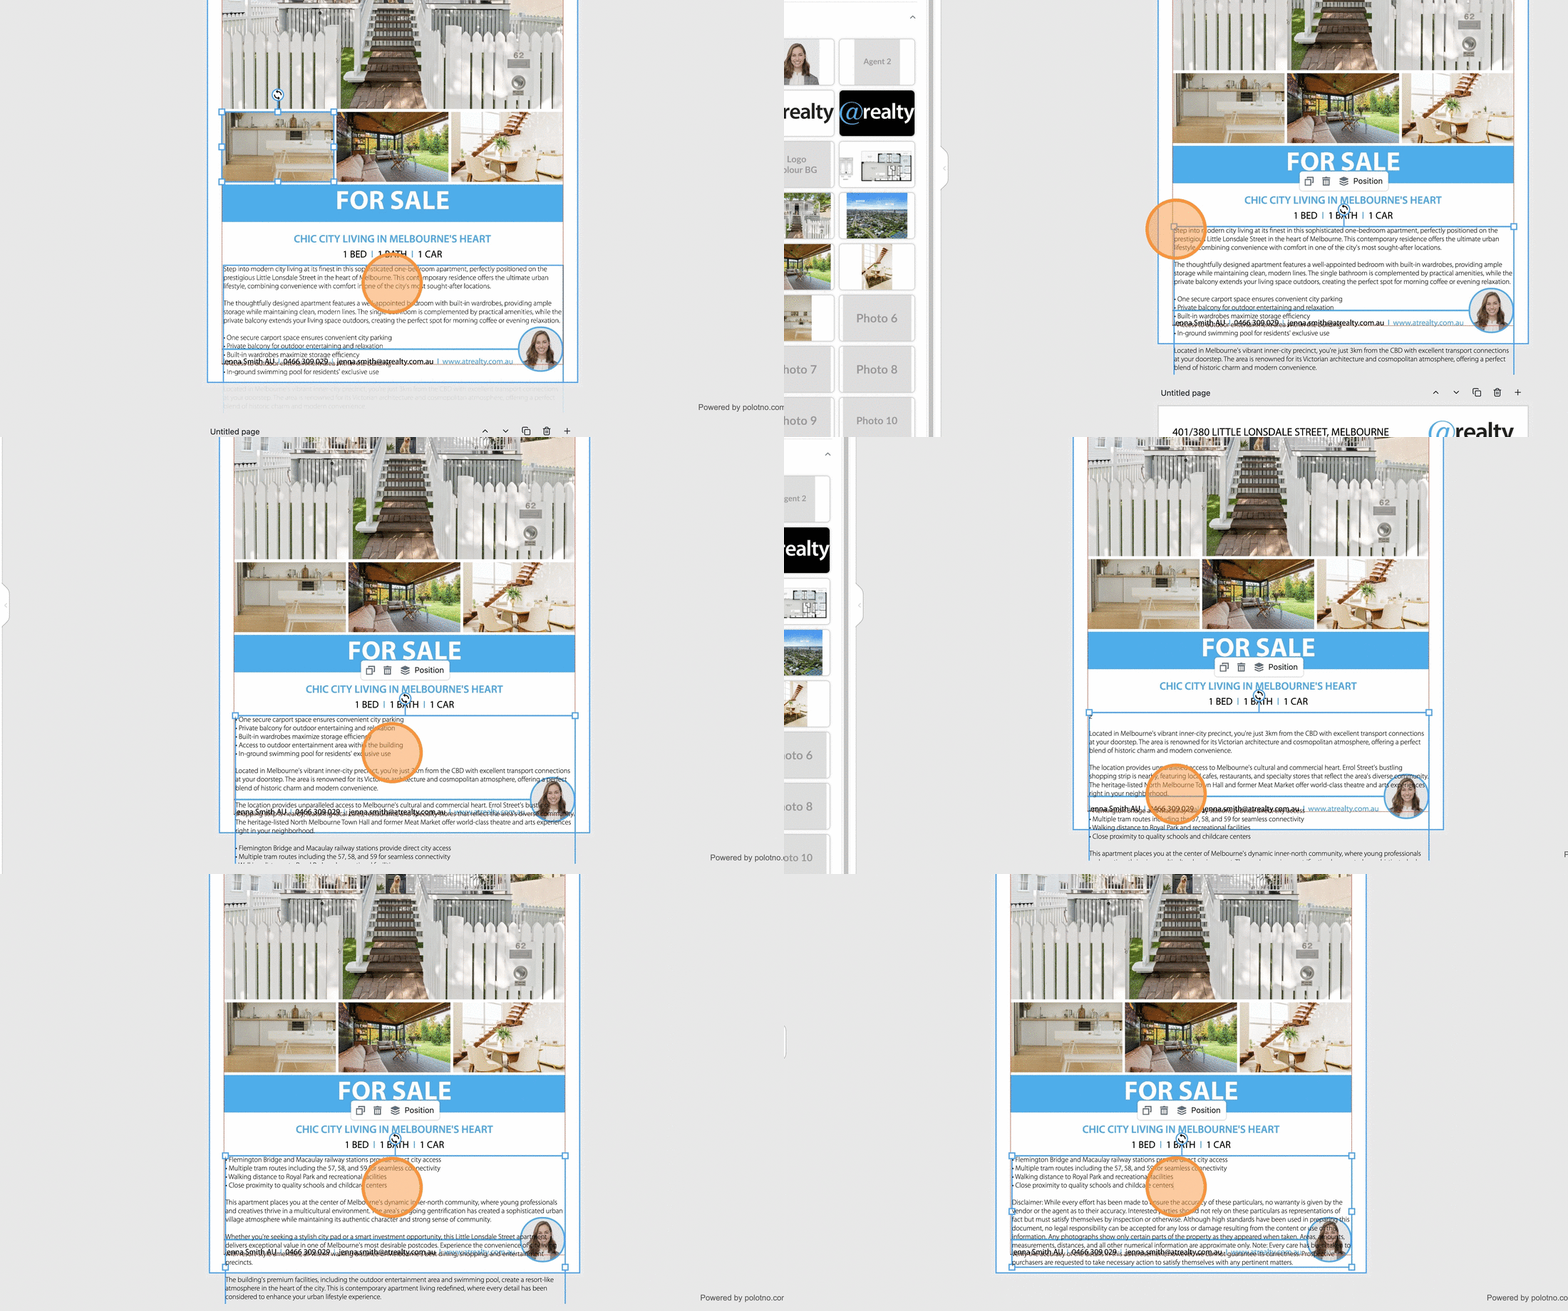
17. Click here.
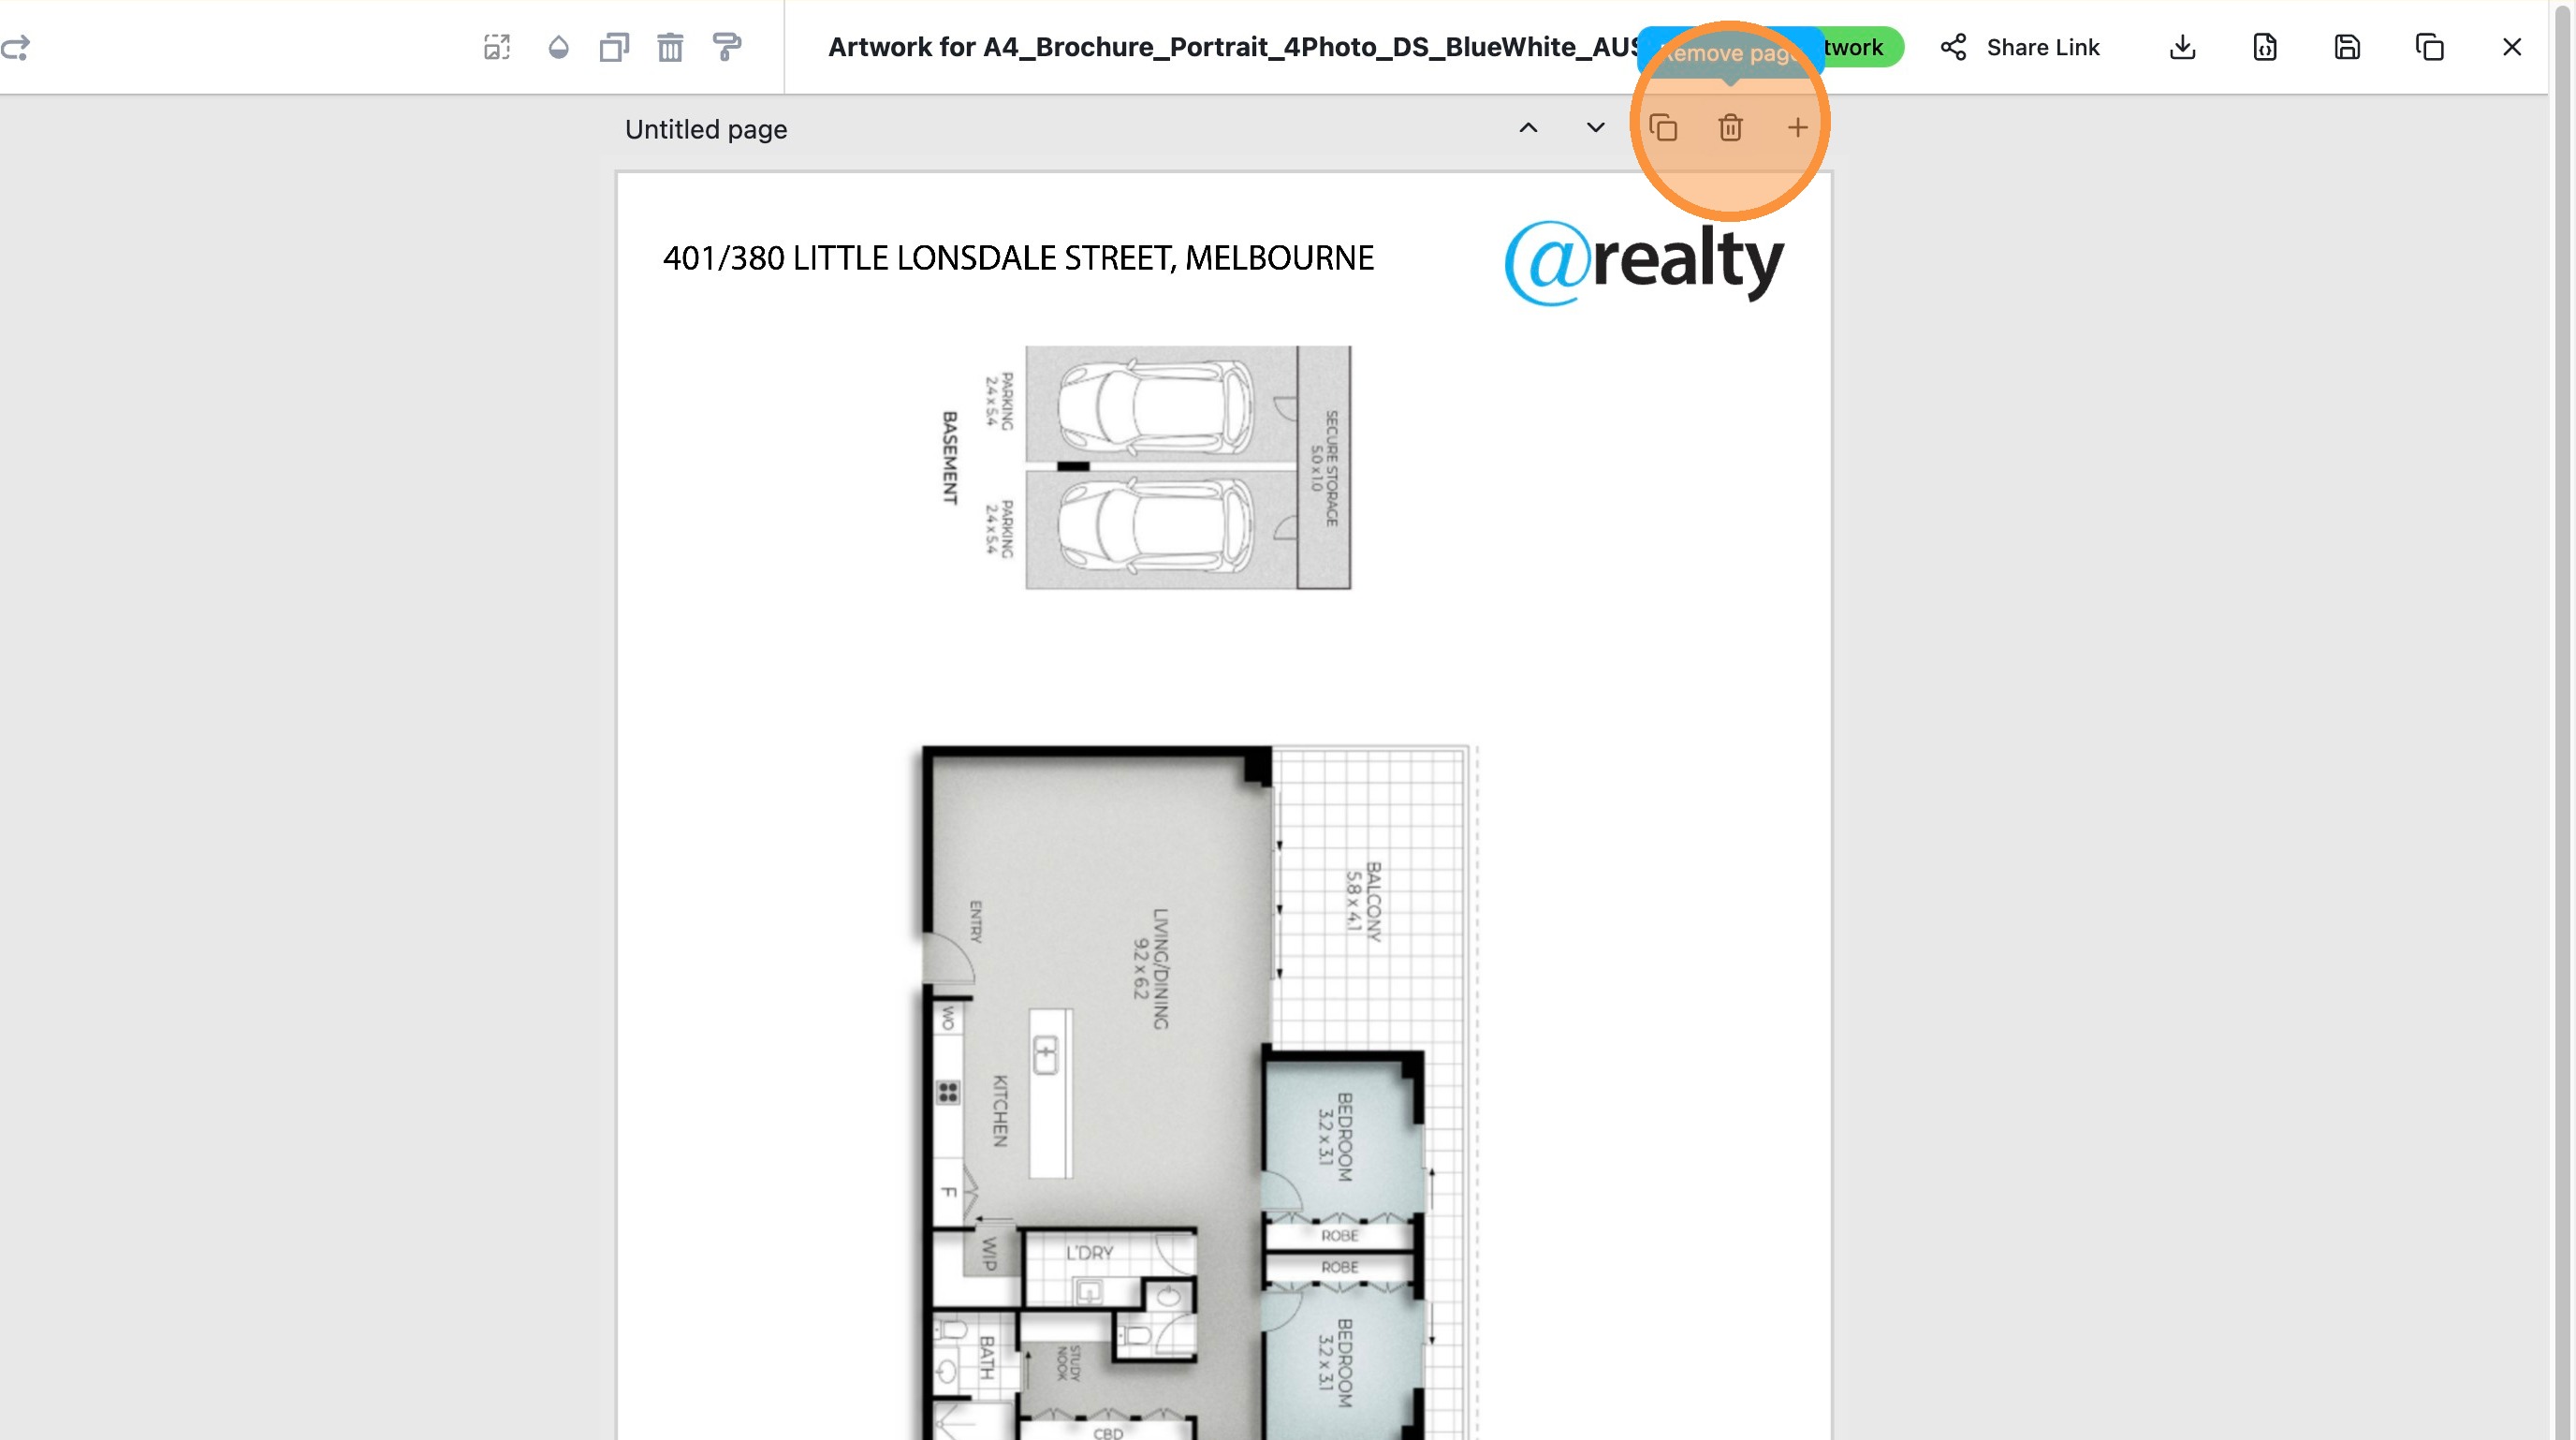
18. Scroll down to the floorplan pages and click the bin icon to remove the layout you do not want.
Saving and Exporting
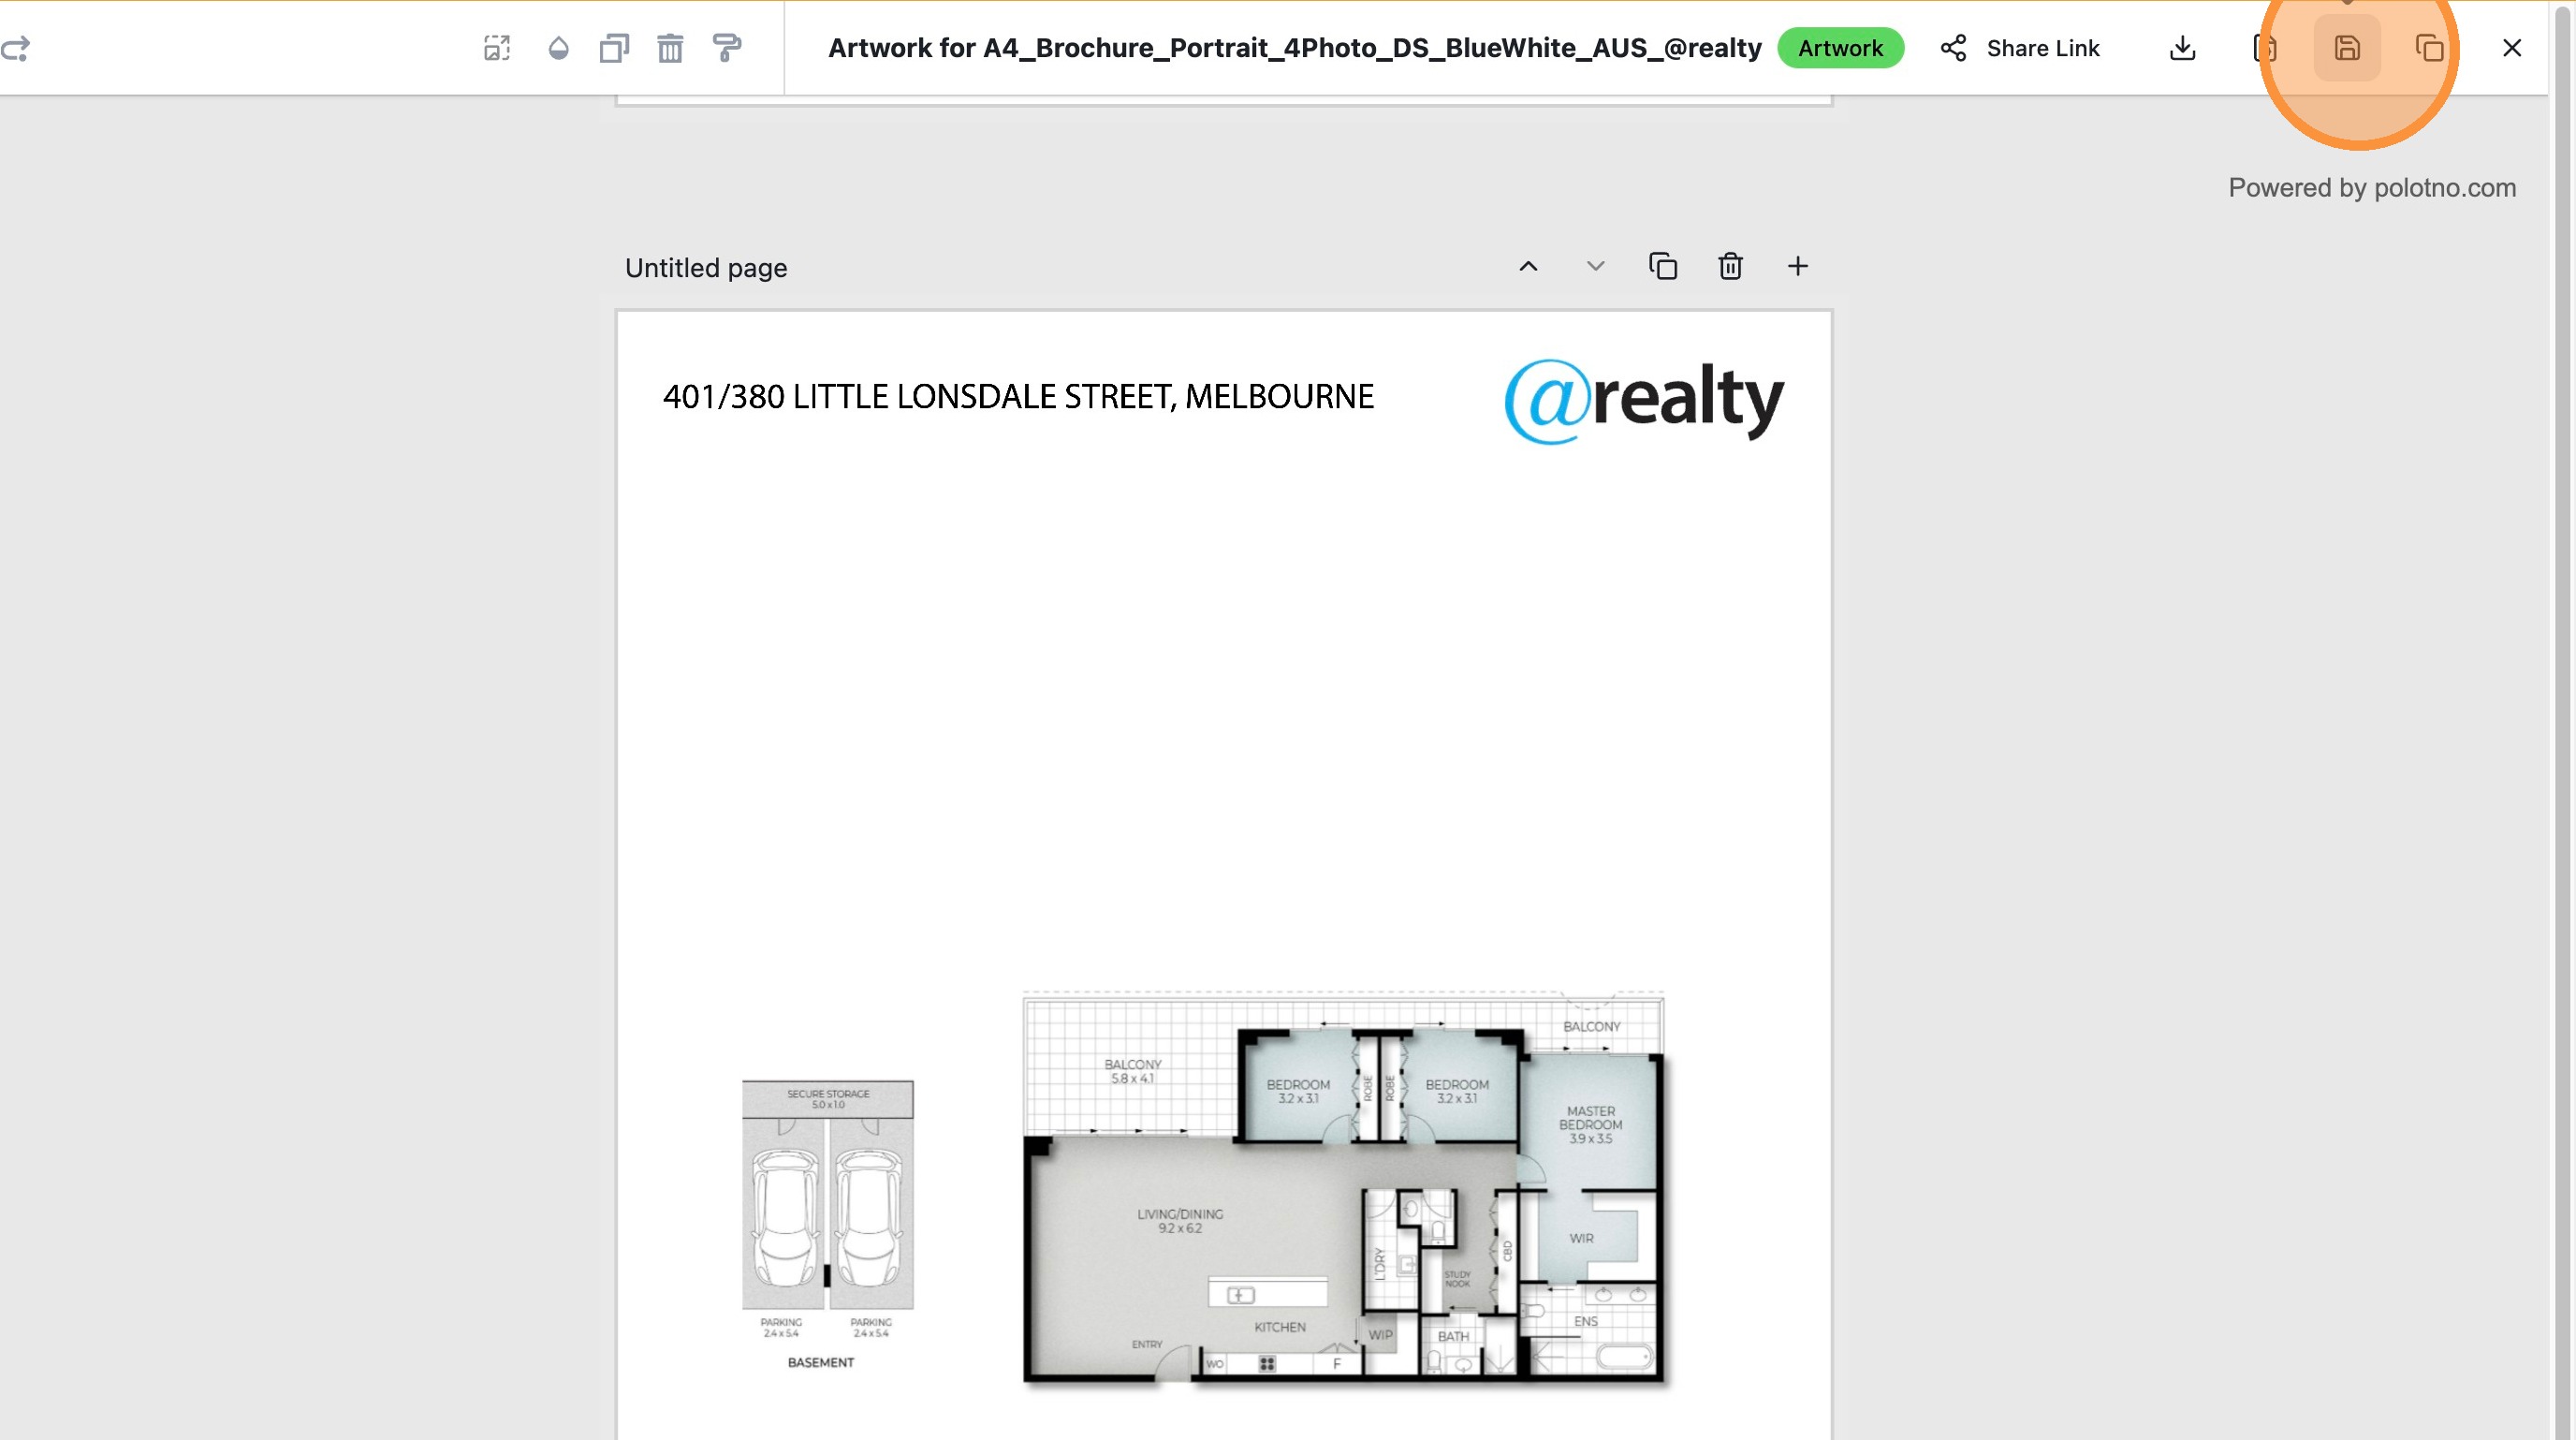
19. Click 'Save' to update the artwork design
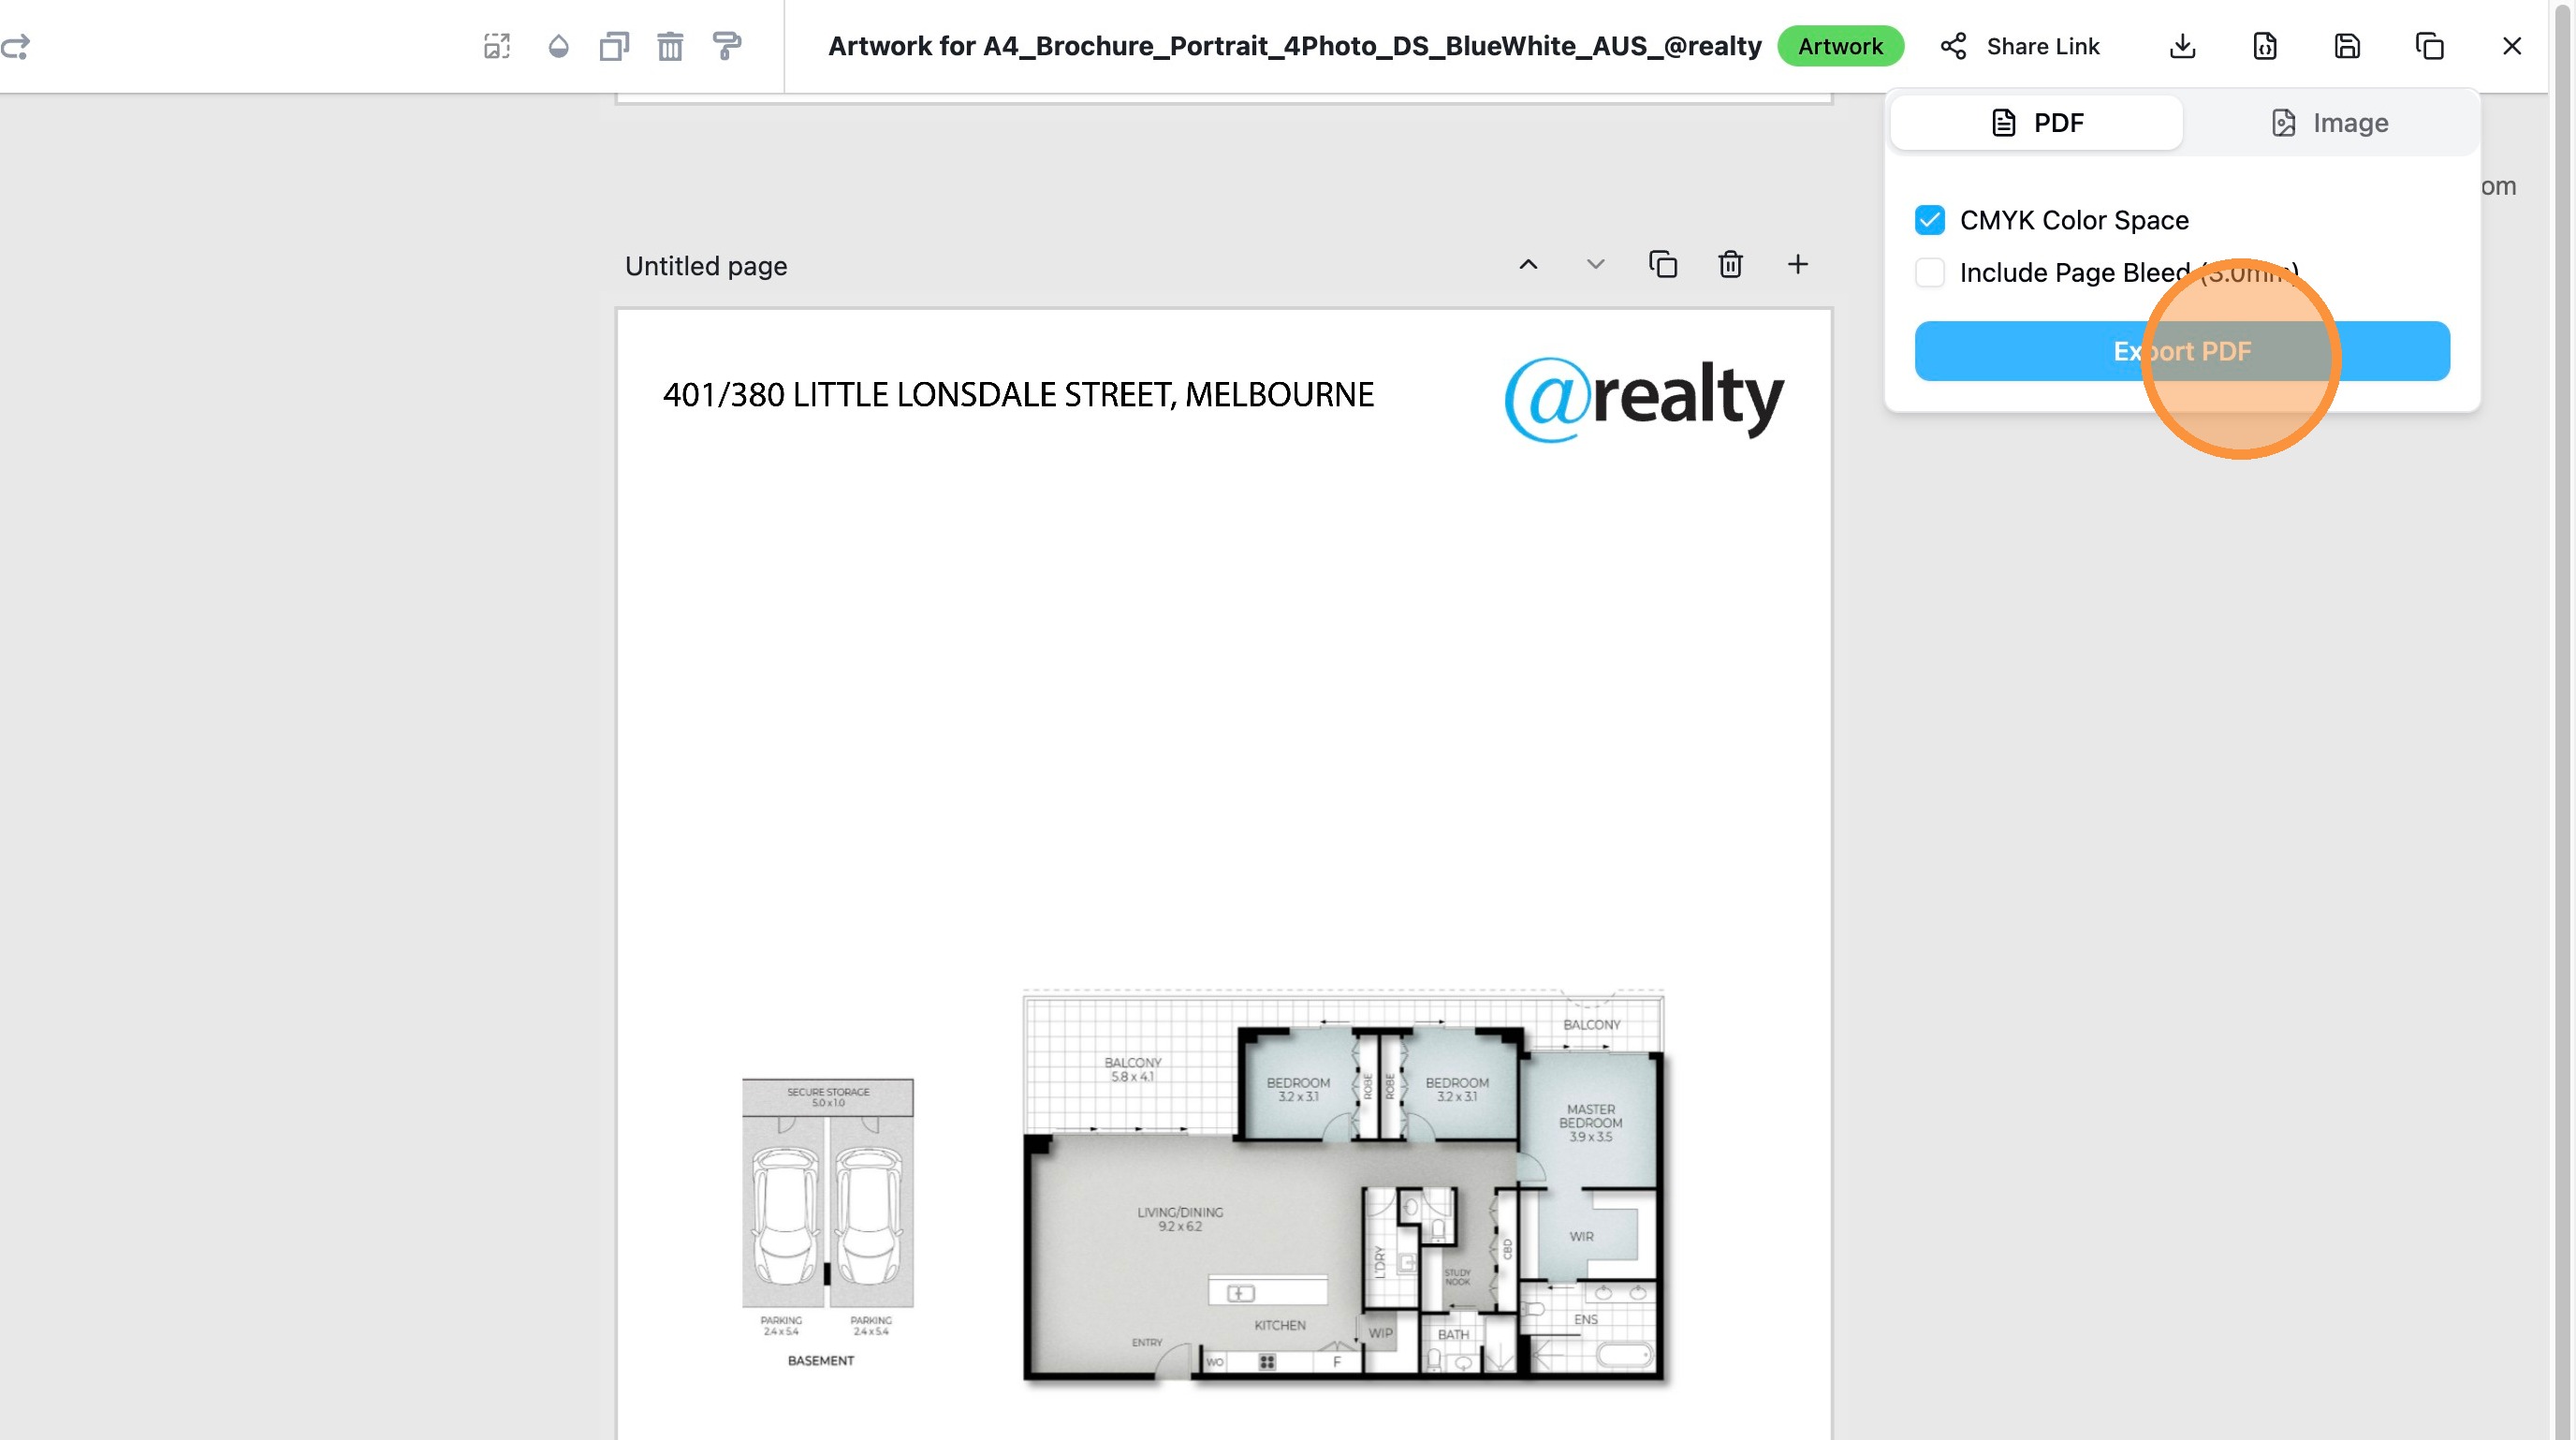
20. Click this button.
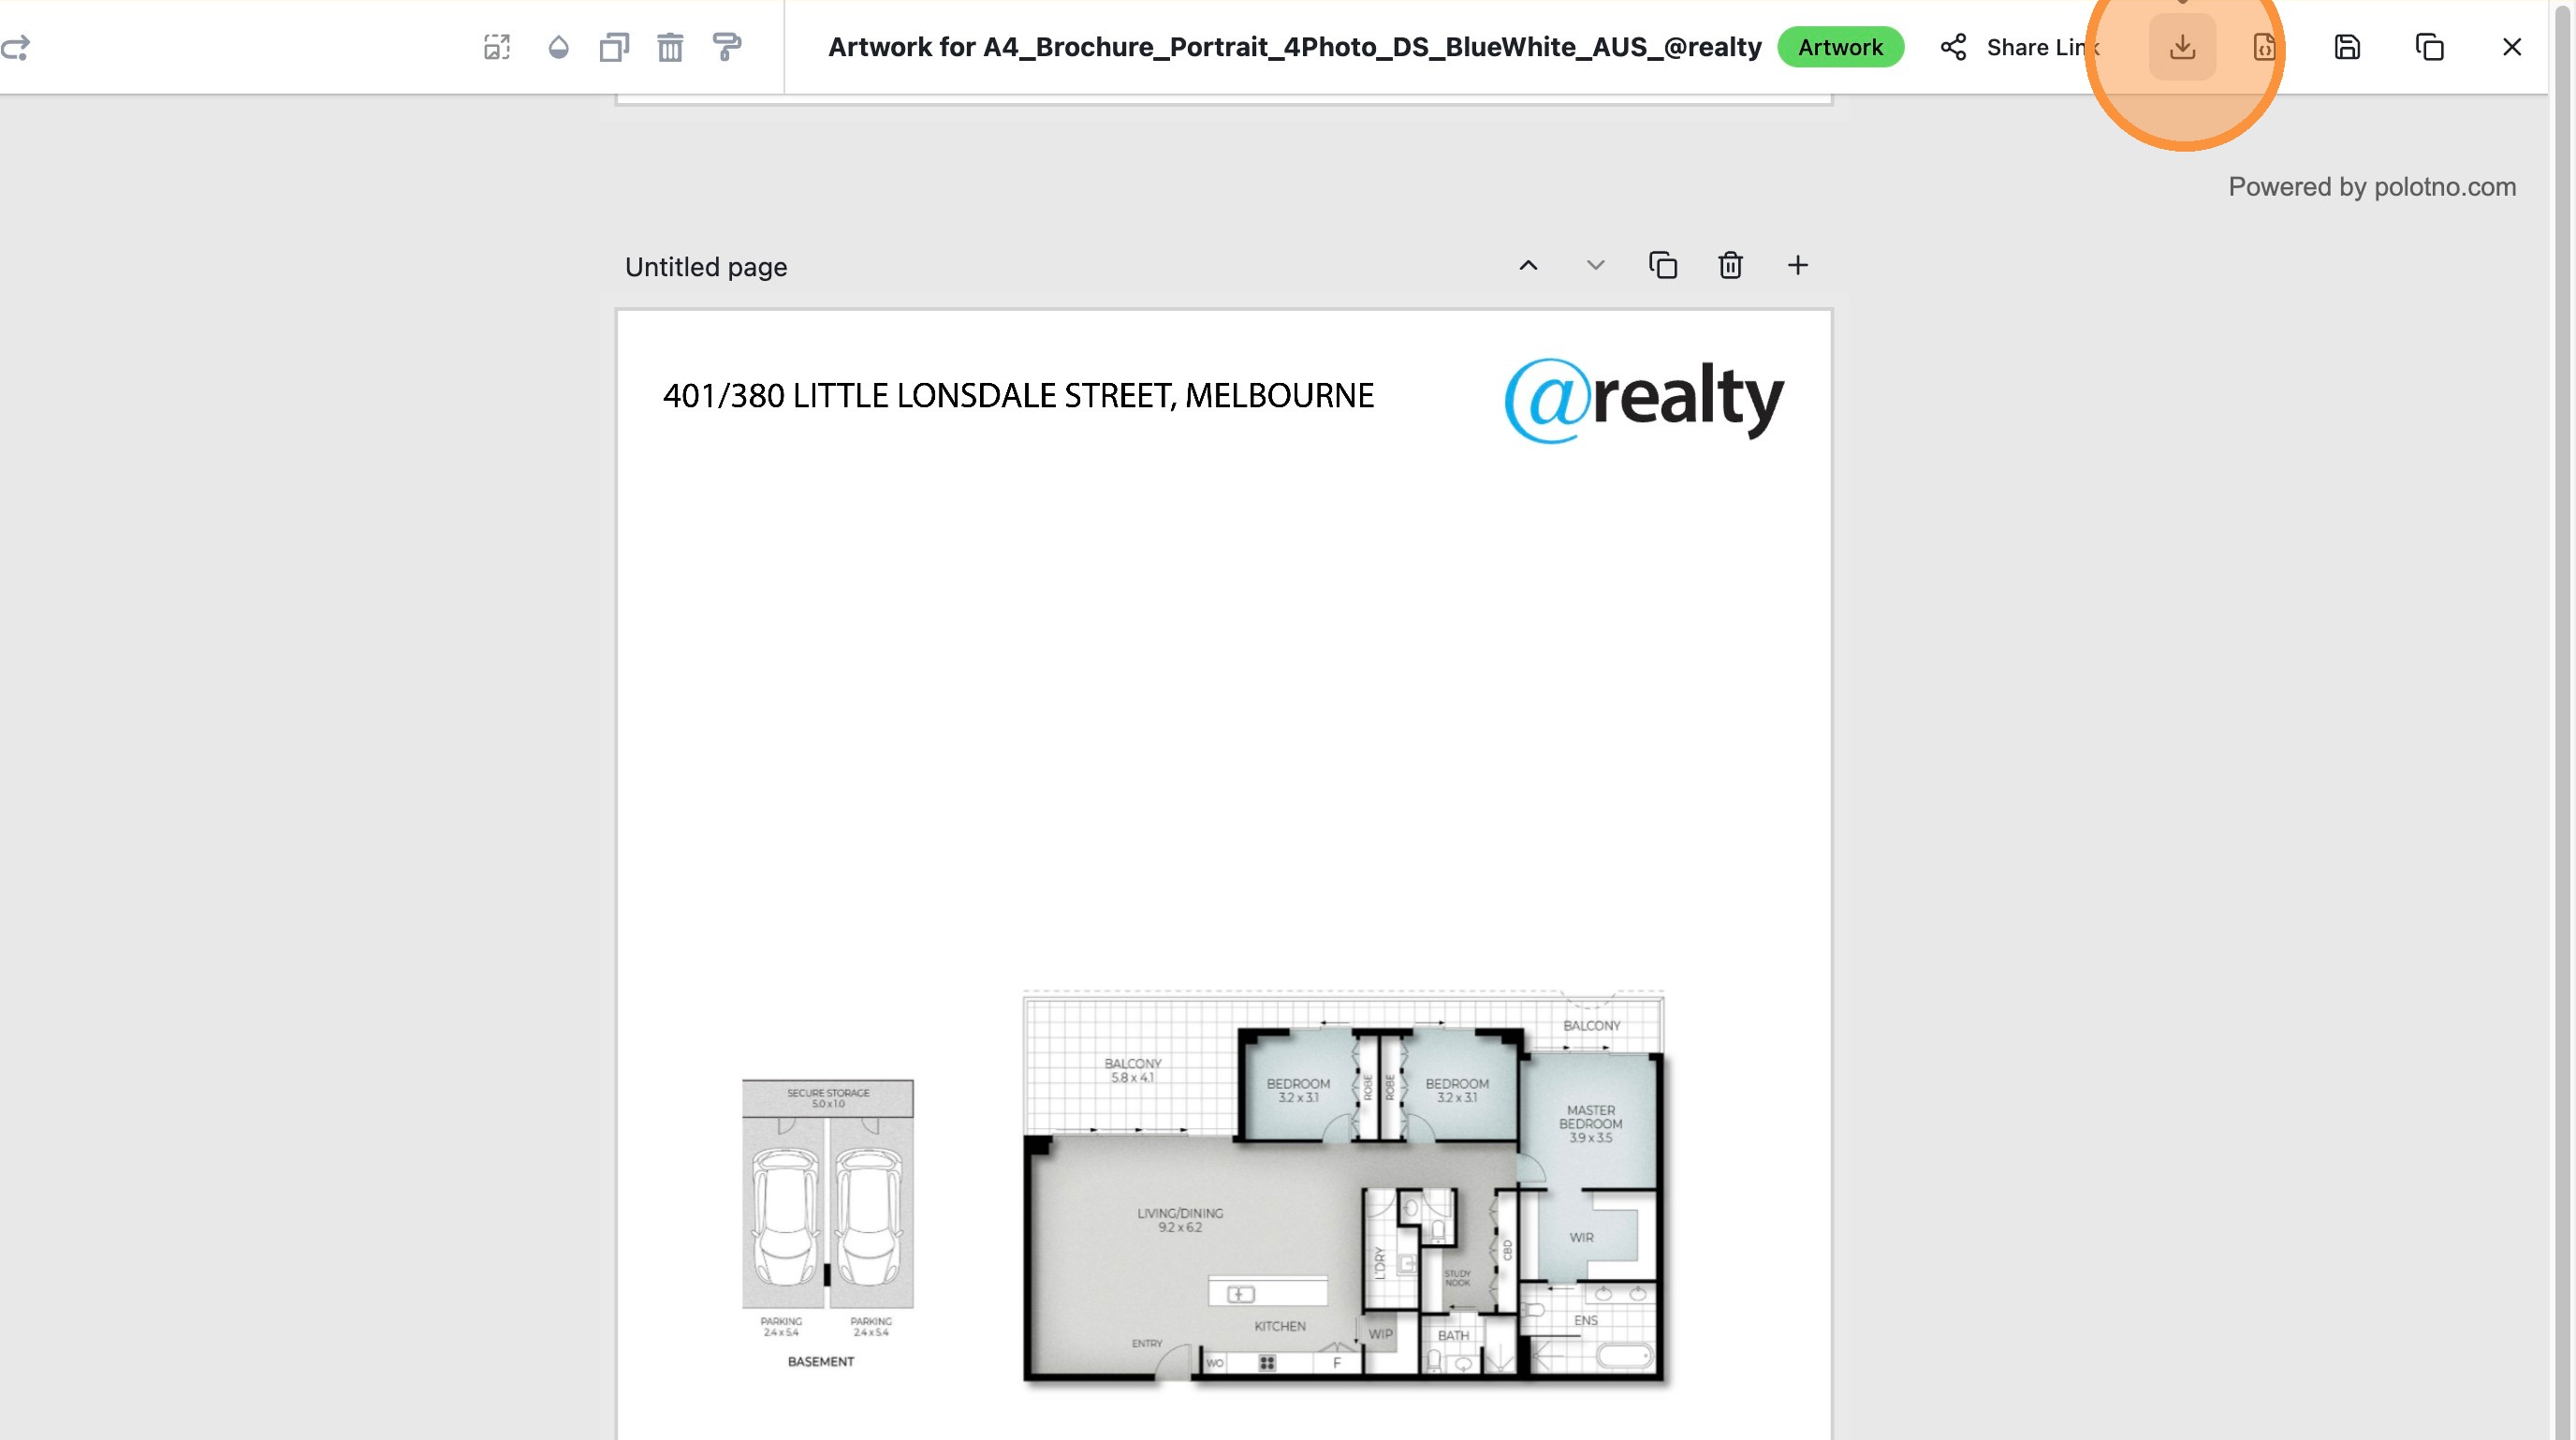
21. Click "Export PDF"
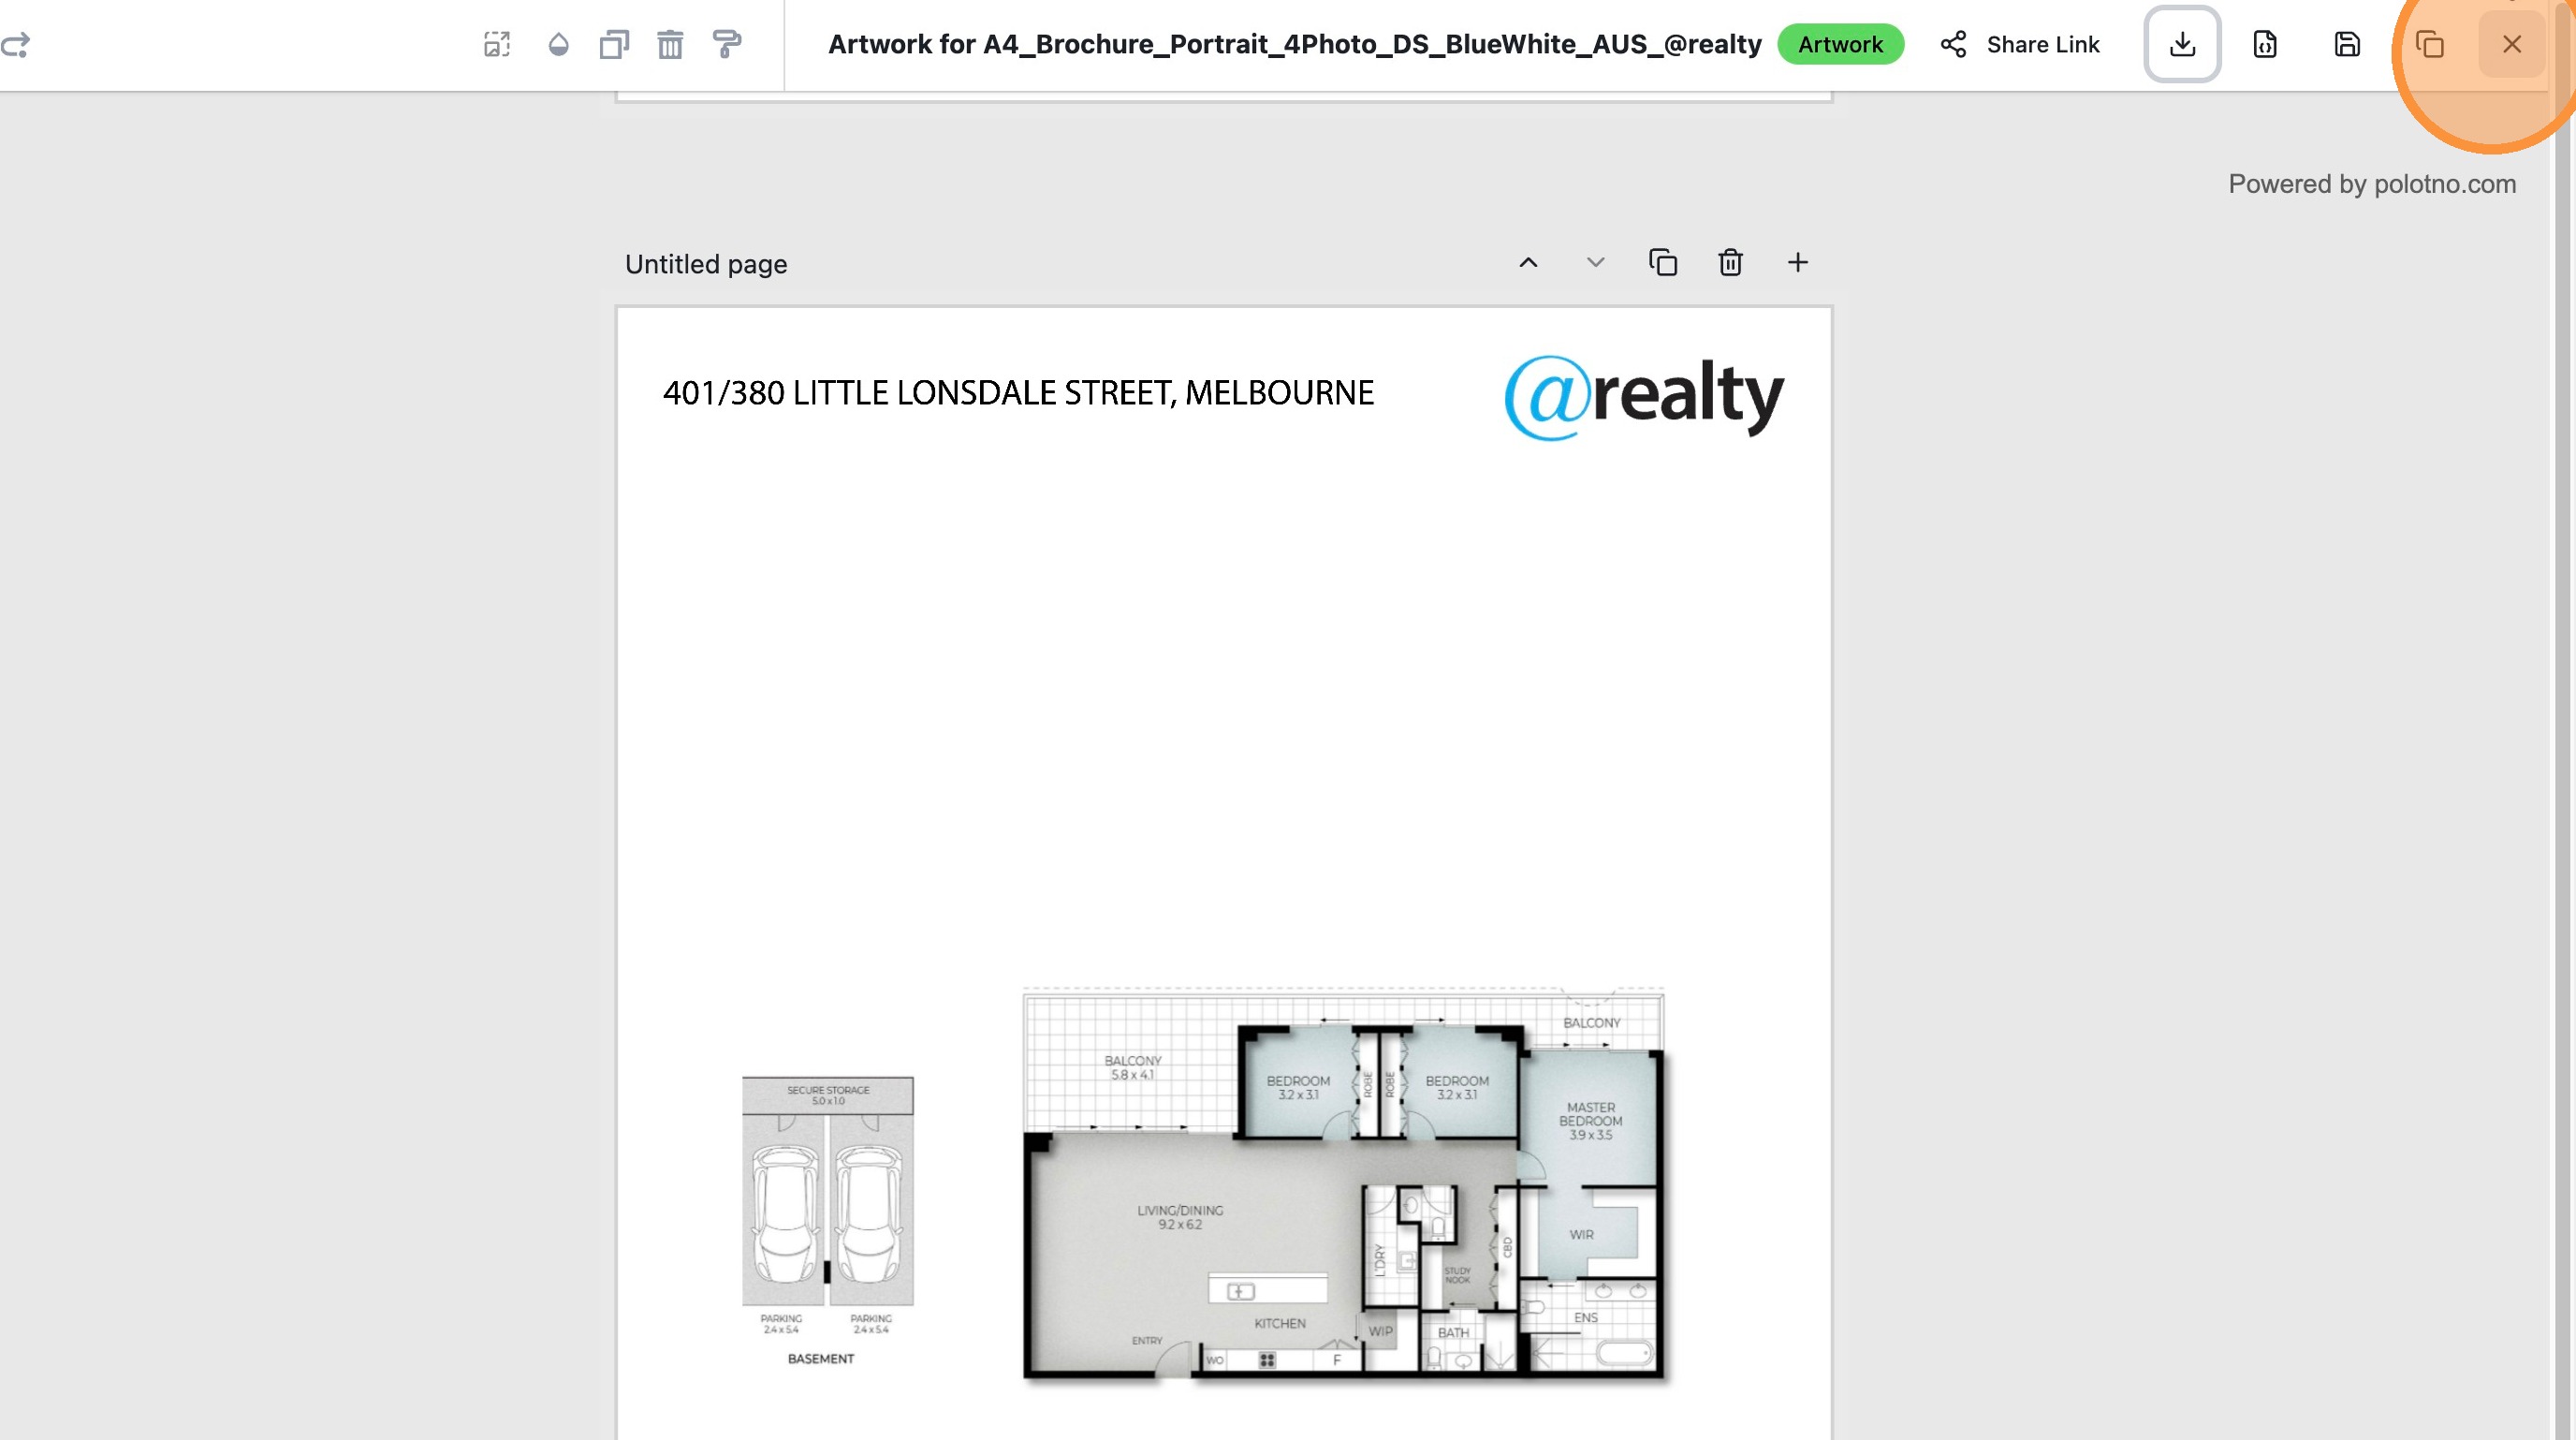
22. Click 'Close' to exit the editor
Click Here for the interactive guide
If you missed the webinar introducing the features Watch Here
Was this article helpful?
That’s Great!
Thank you for your feedback
Sorry! We couldn't be helpful
Thank you for your feedback
Feedback sent
We appreciate your effort and will try to fix the article