Learn how to access the Marketing Hub to generate and export professional Social Media tile artwork.
Template Selection
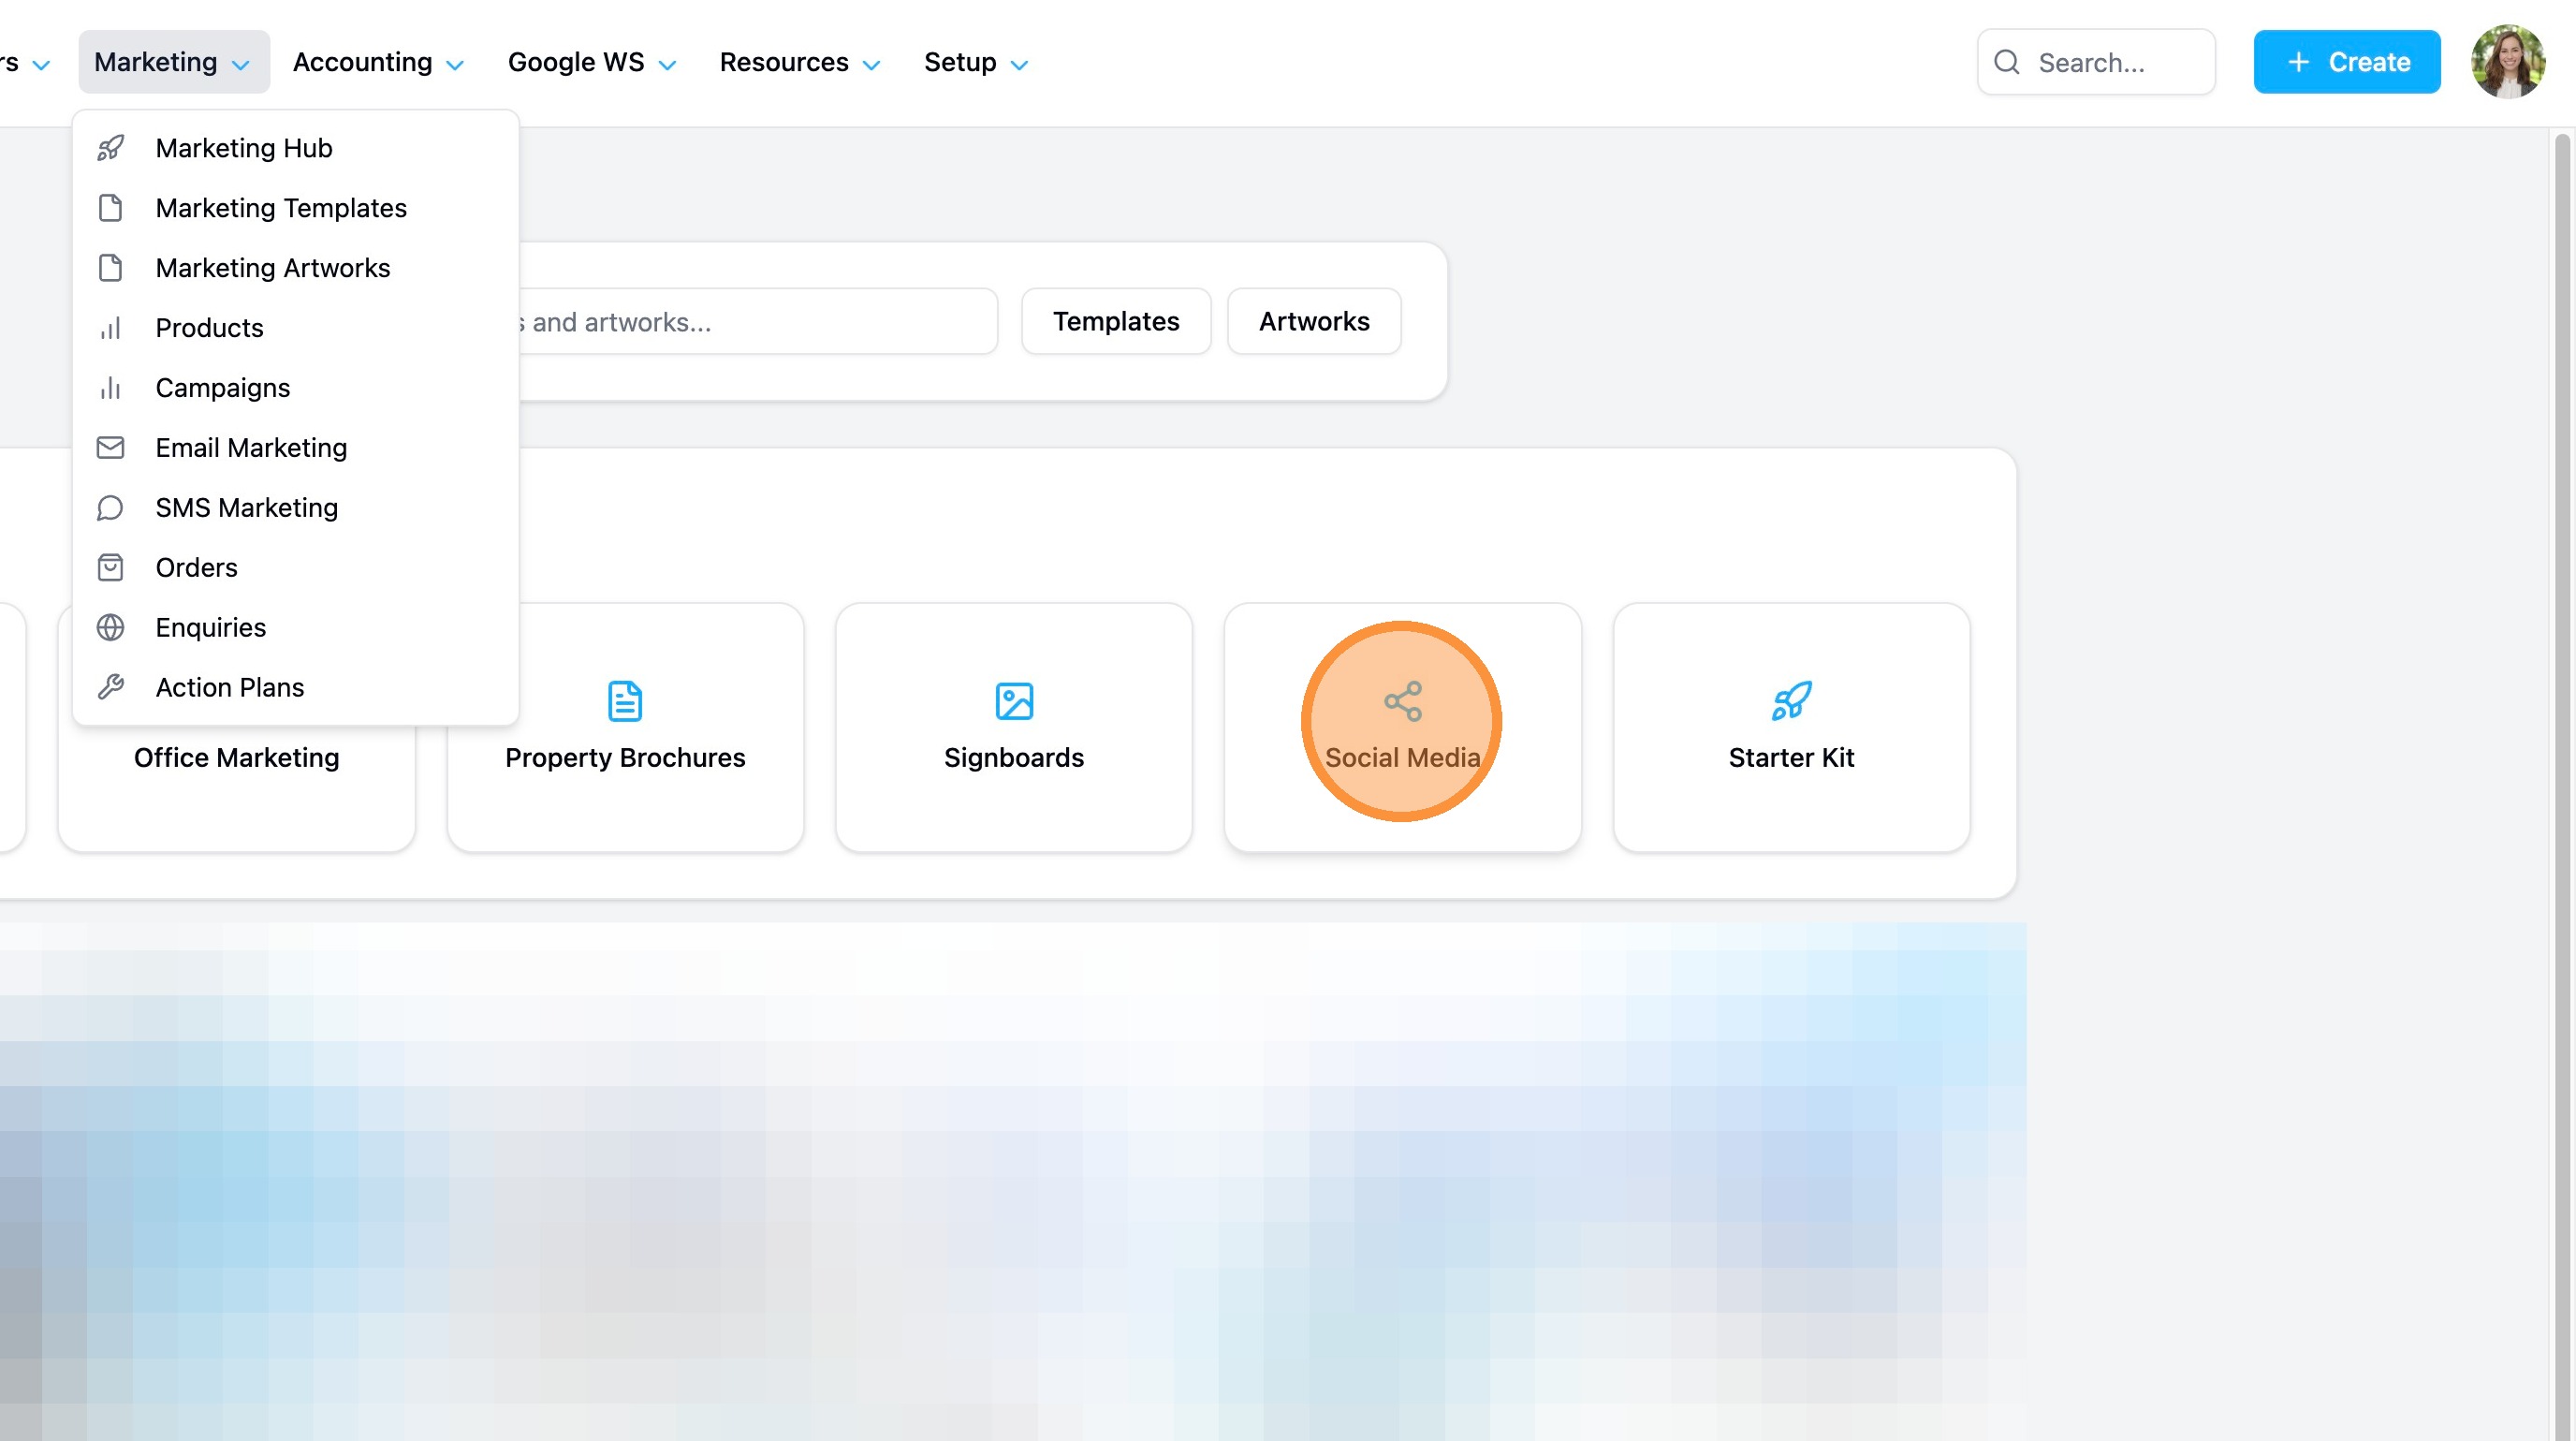
1. From the Marketing drop down menu in the CRM, select Marketing Hub
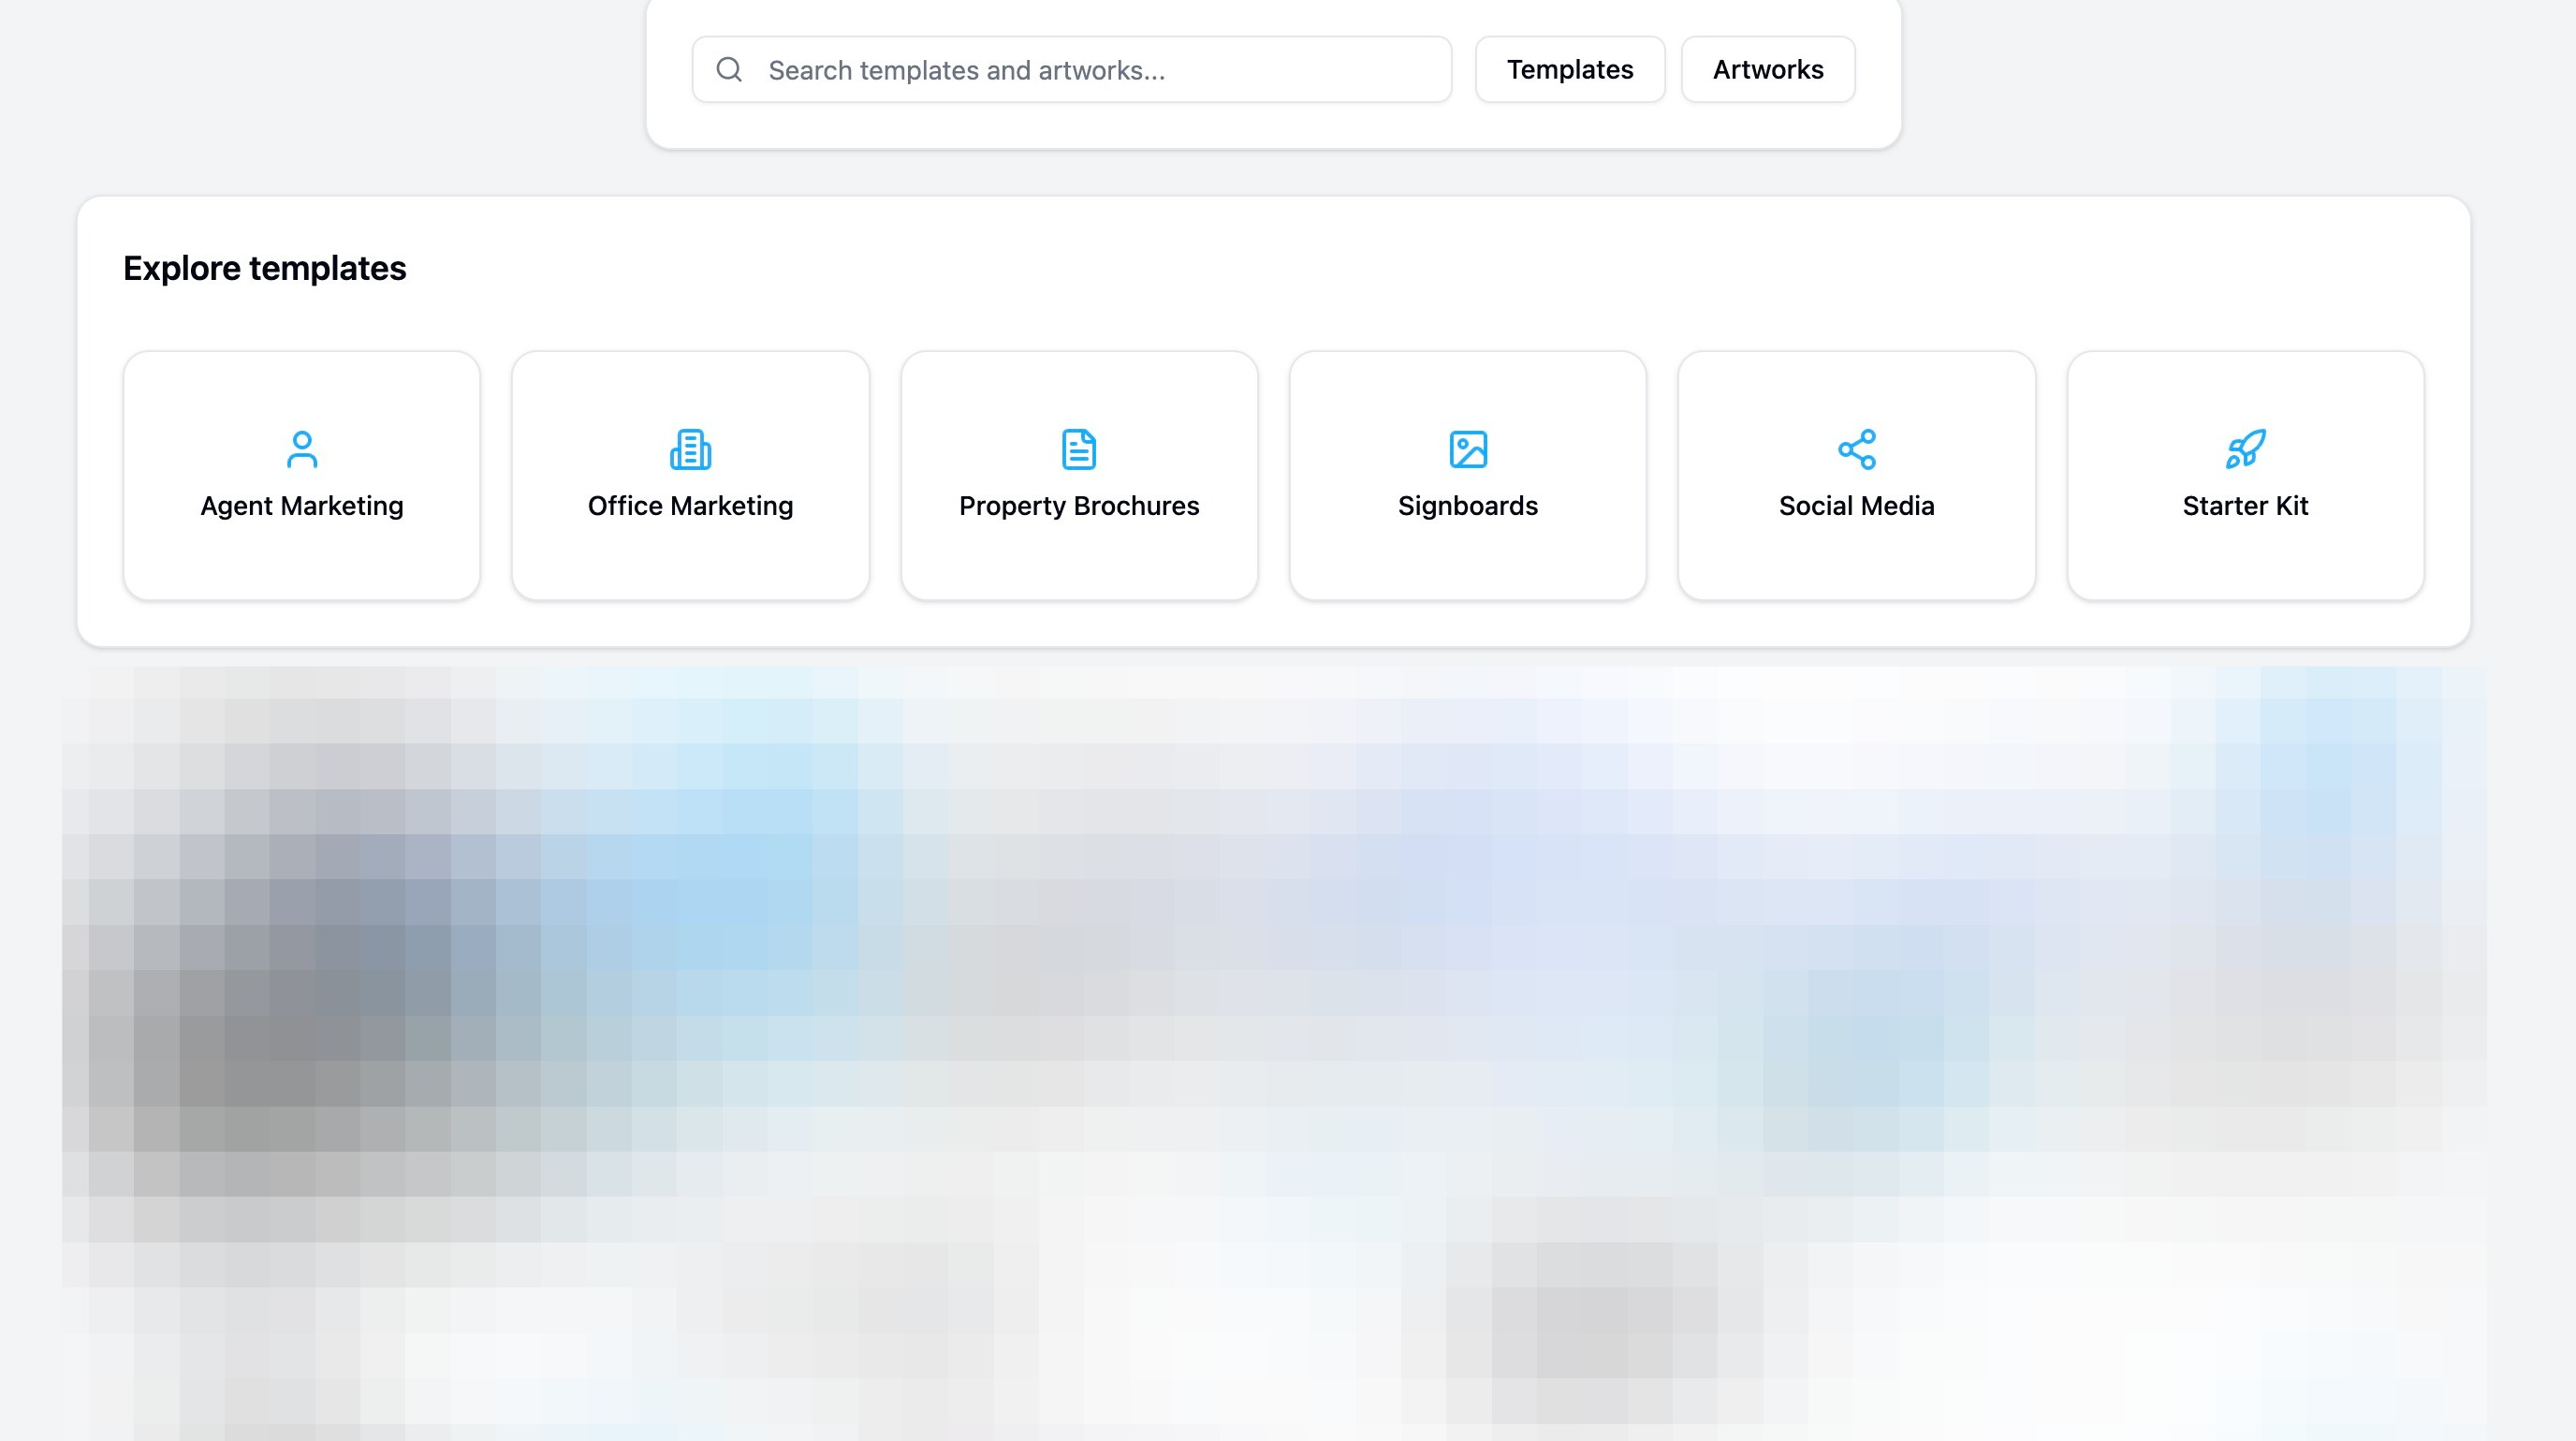
2. Select "Social Media" from the Explore templates section.
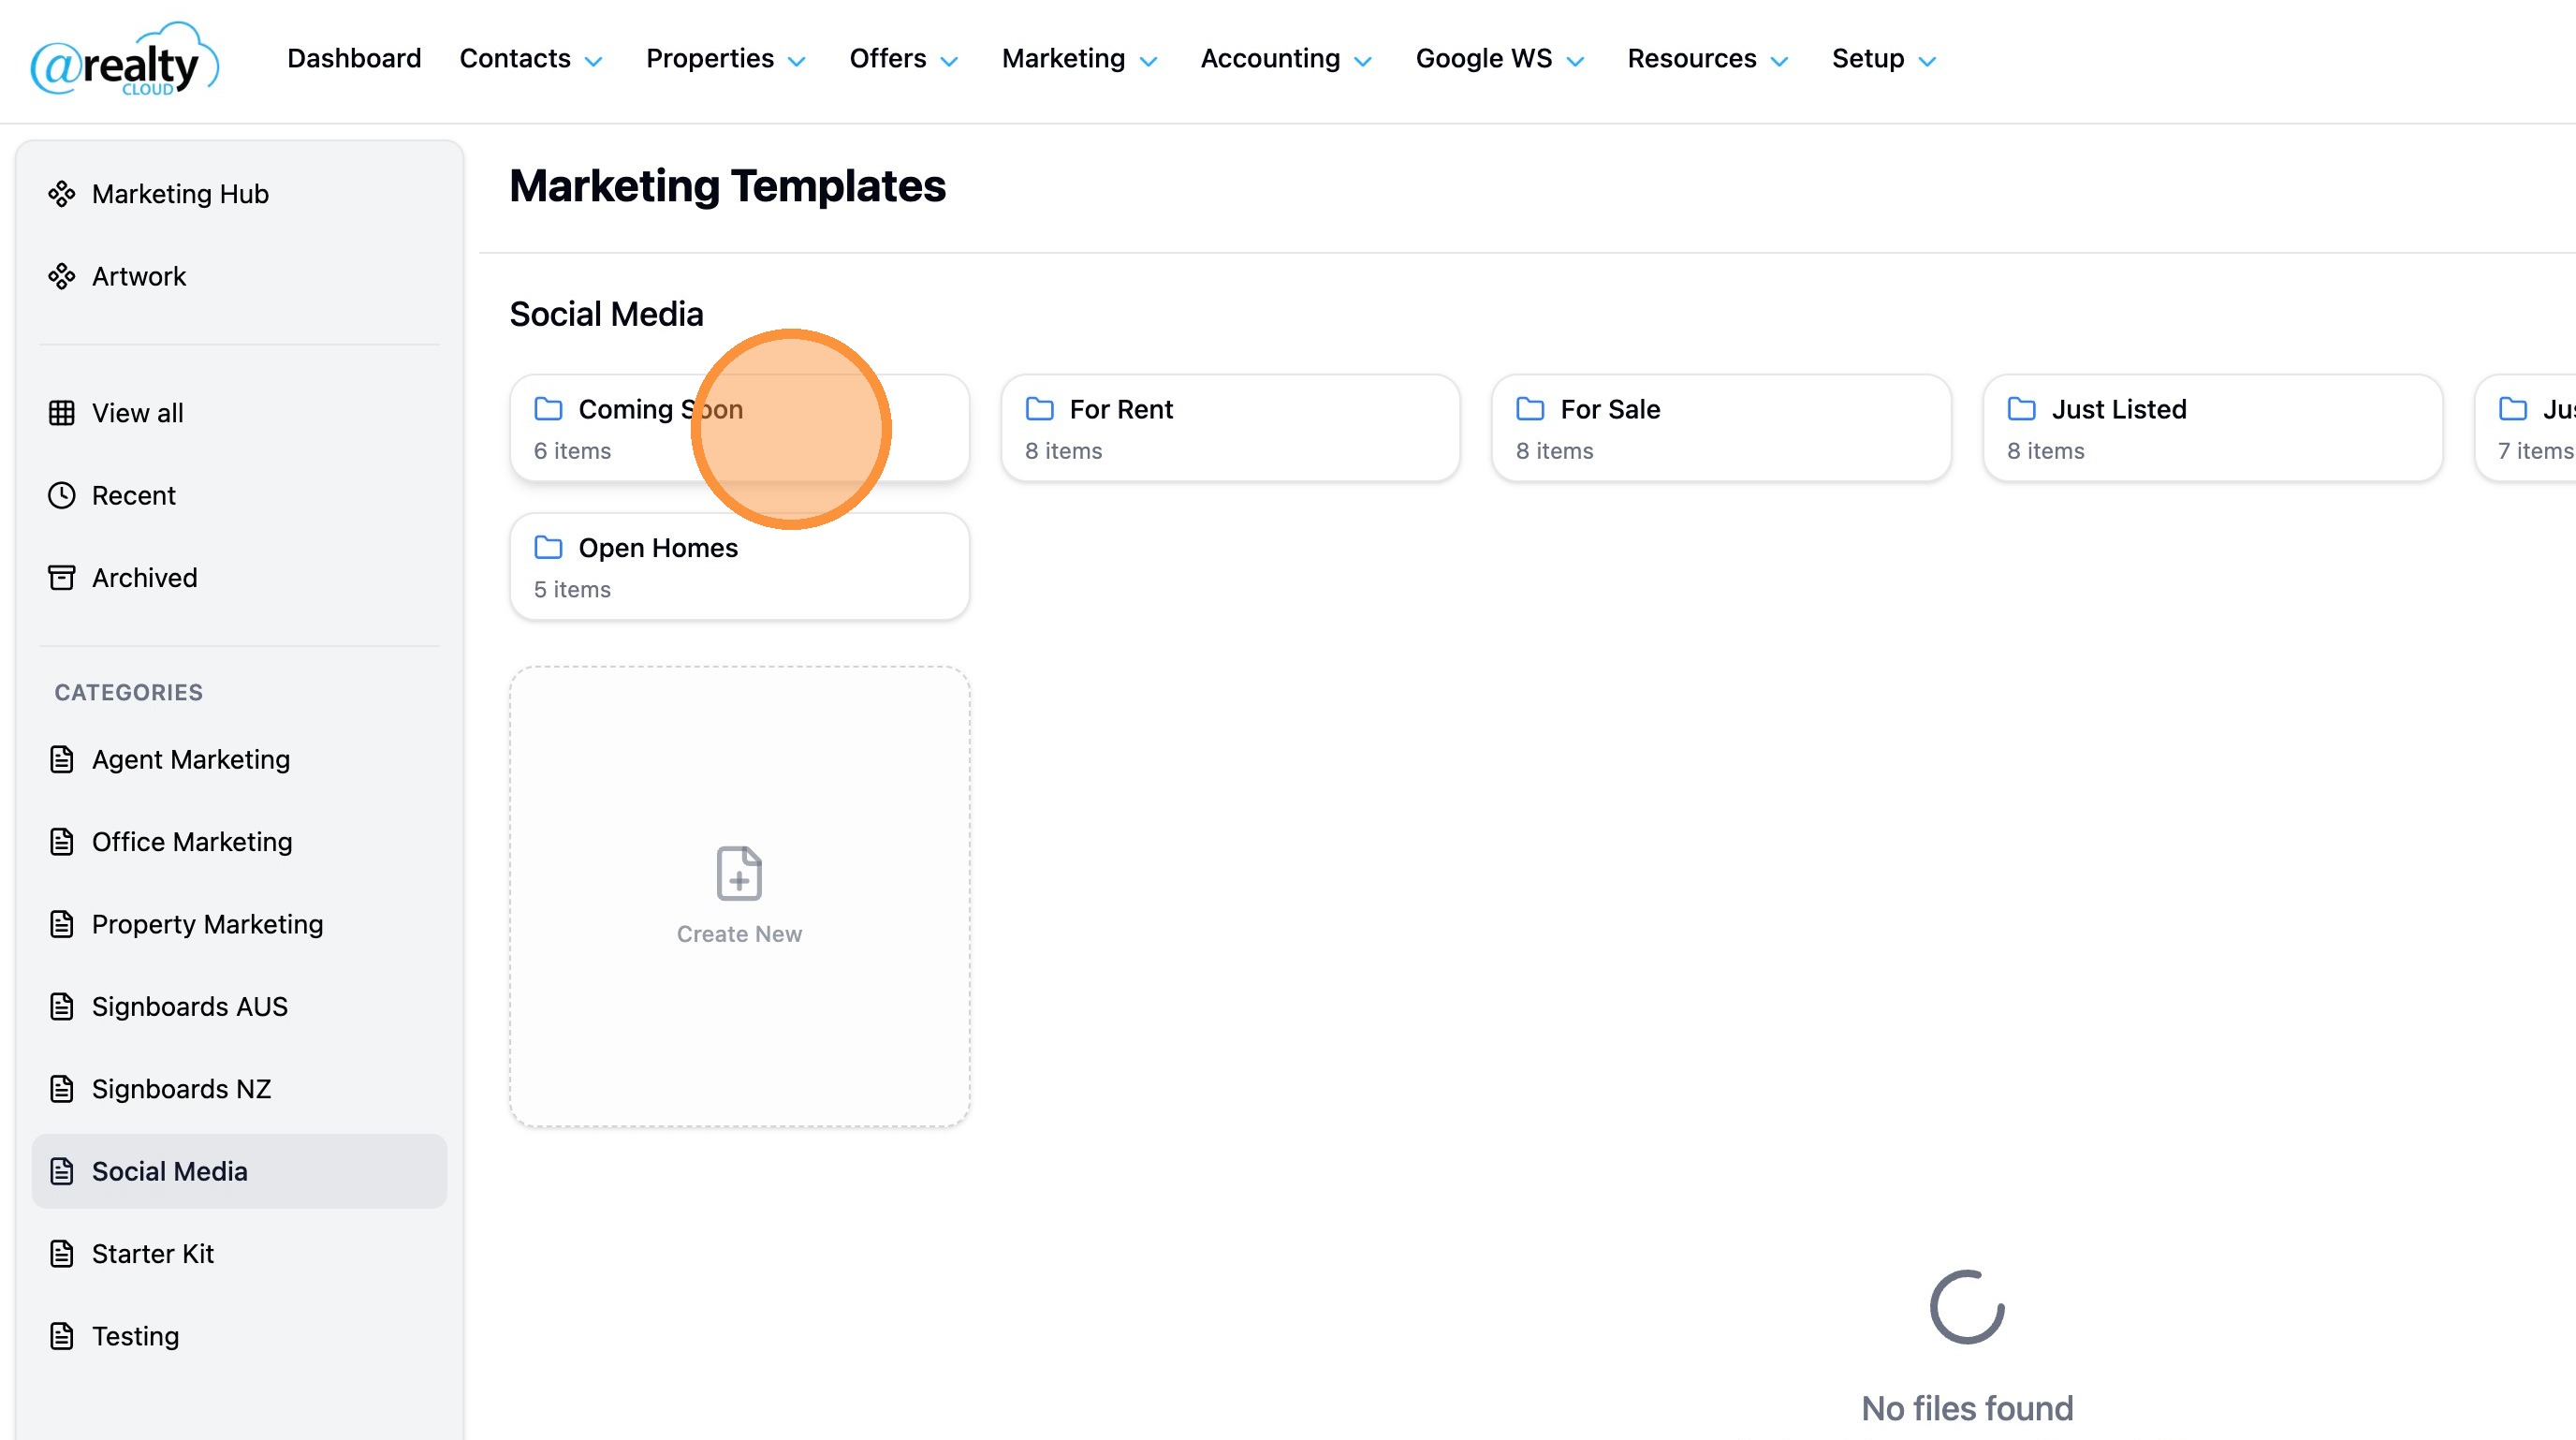
3. Select a folder depending on the type of tile you want to create.
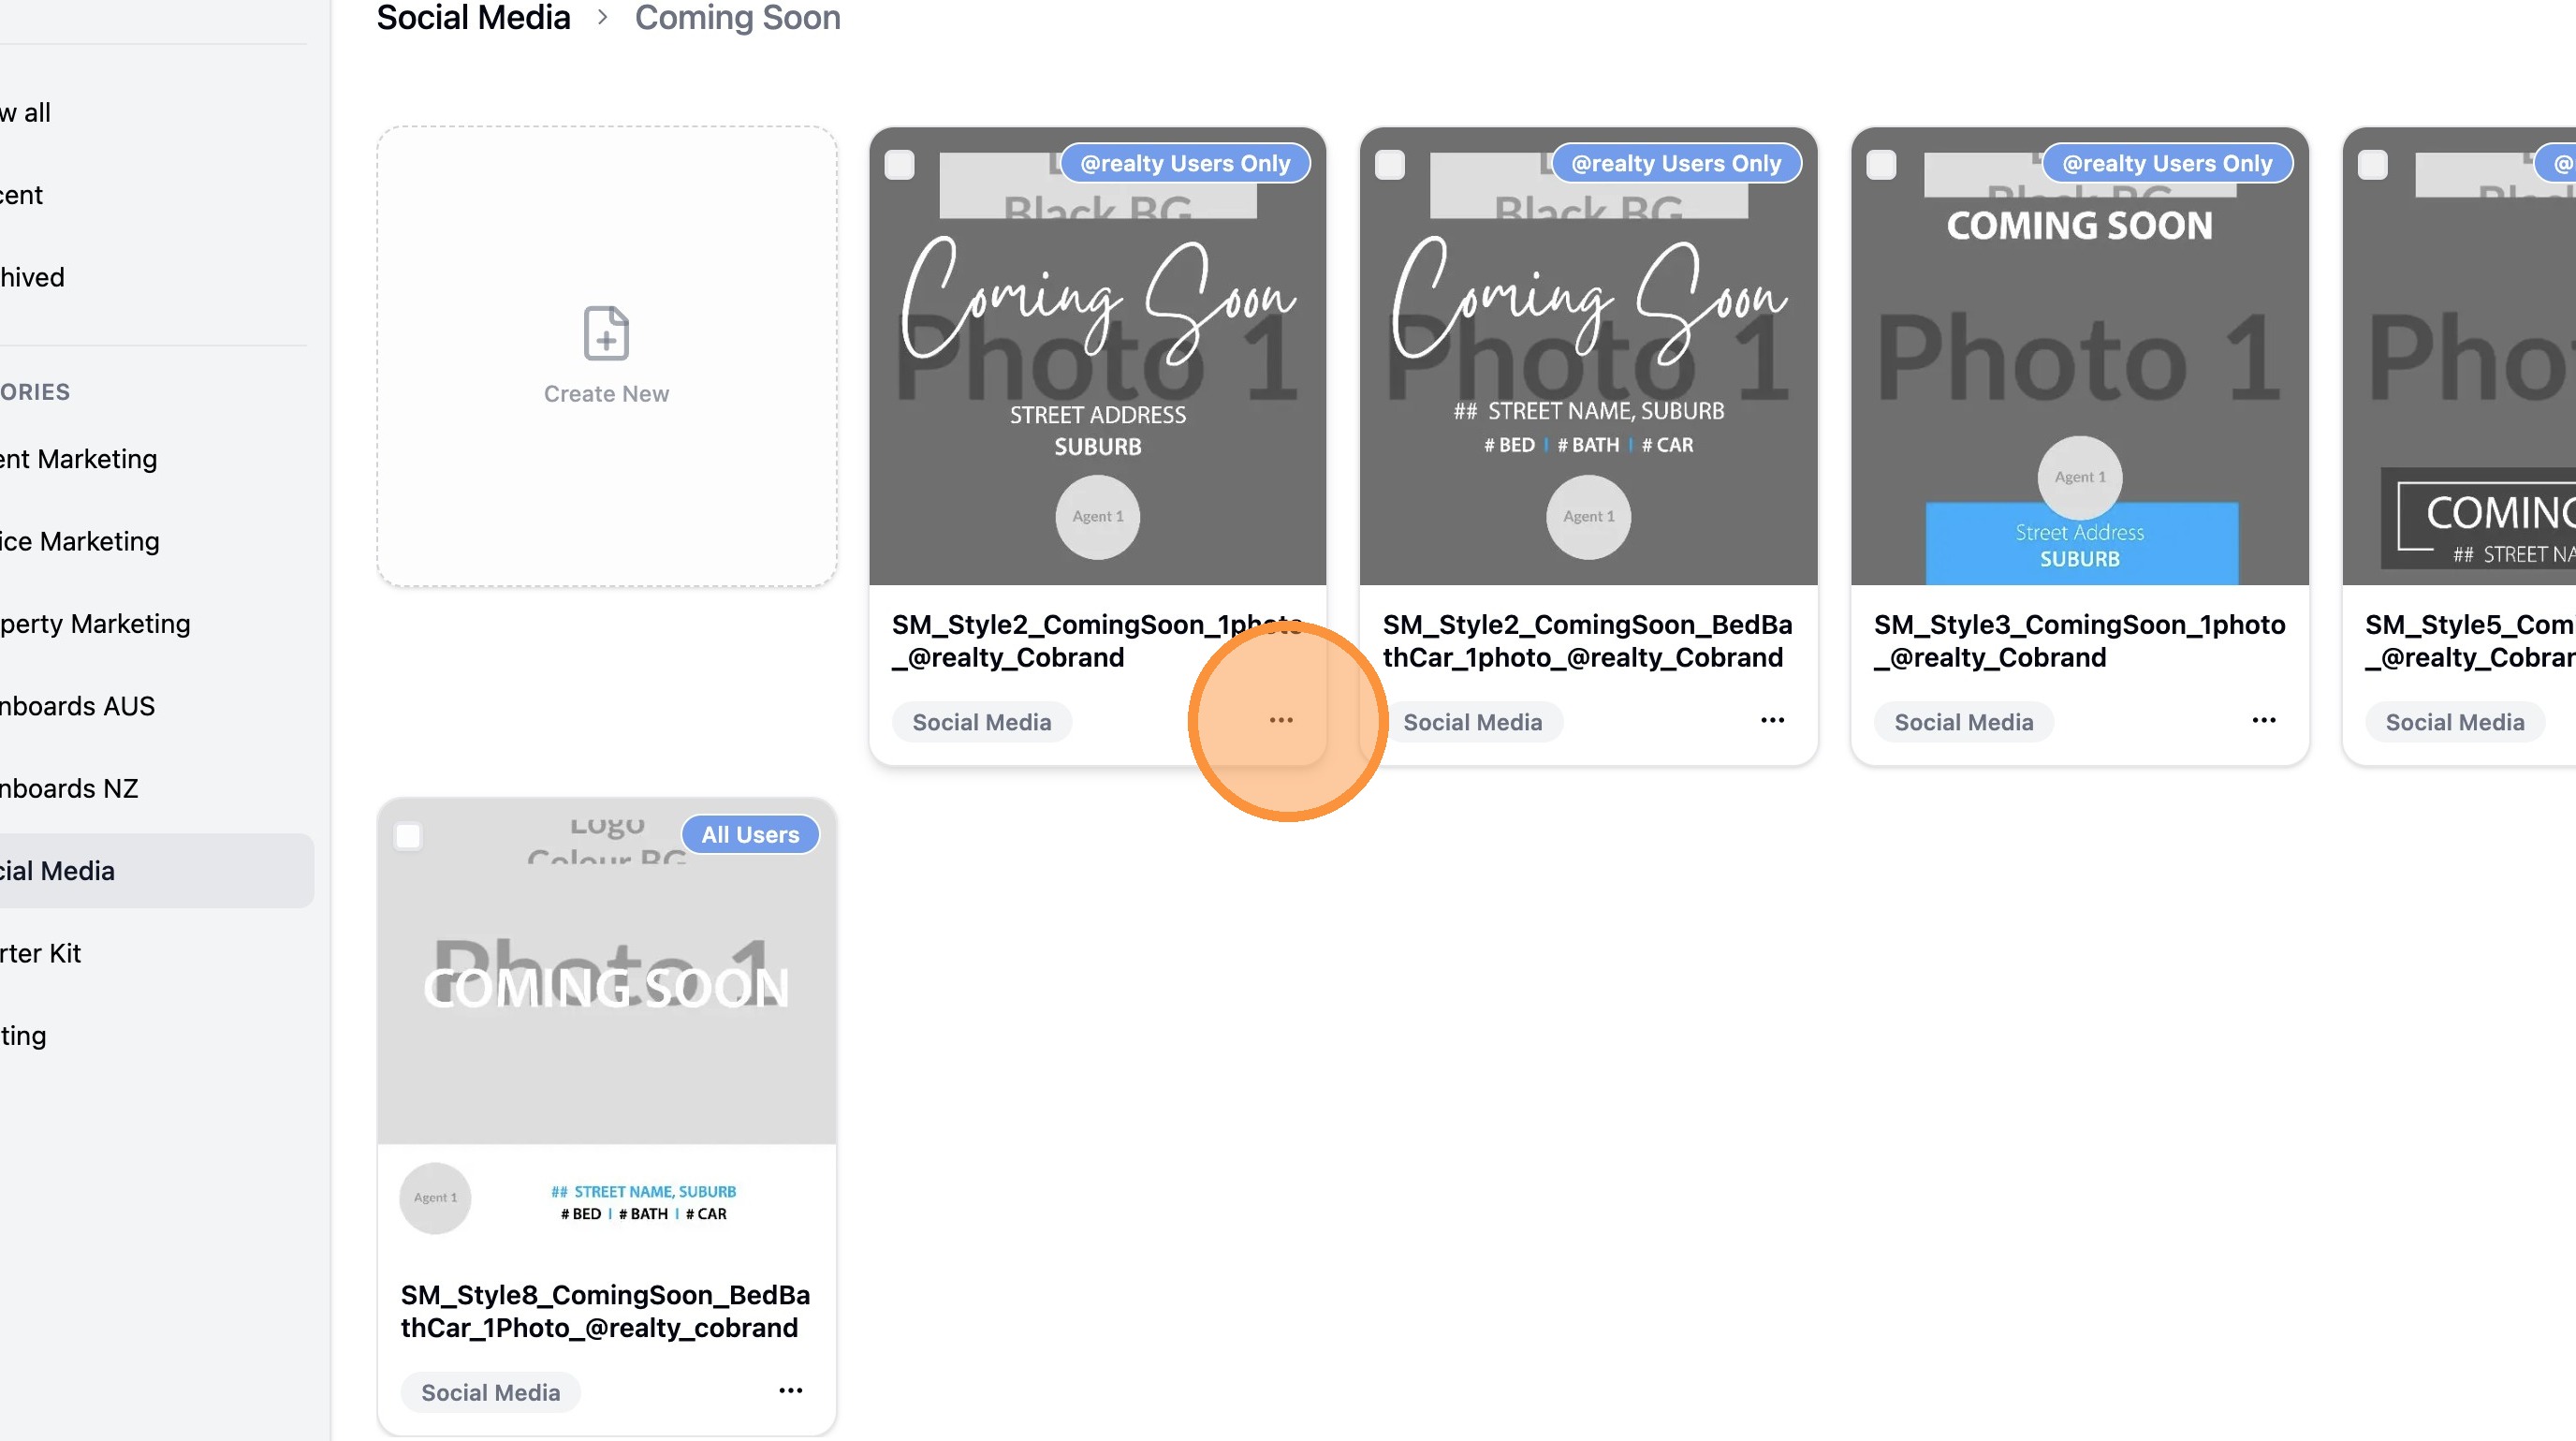
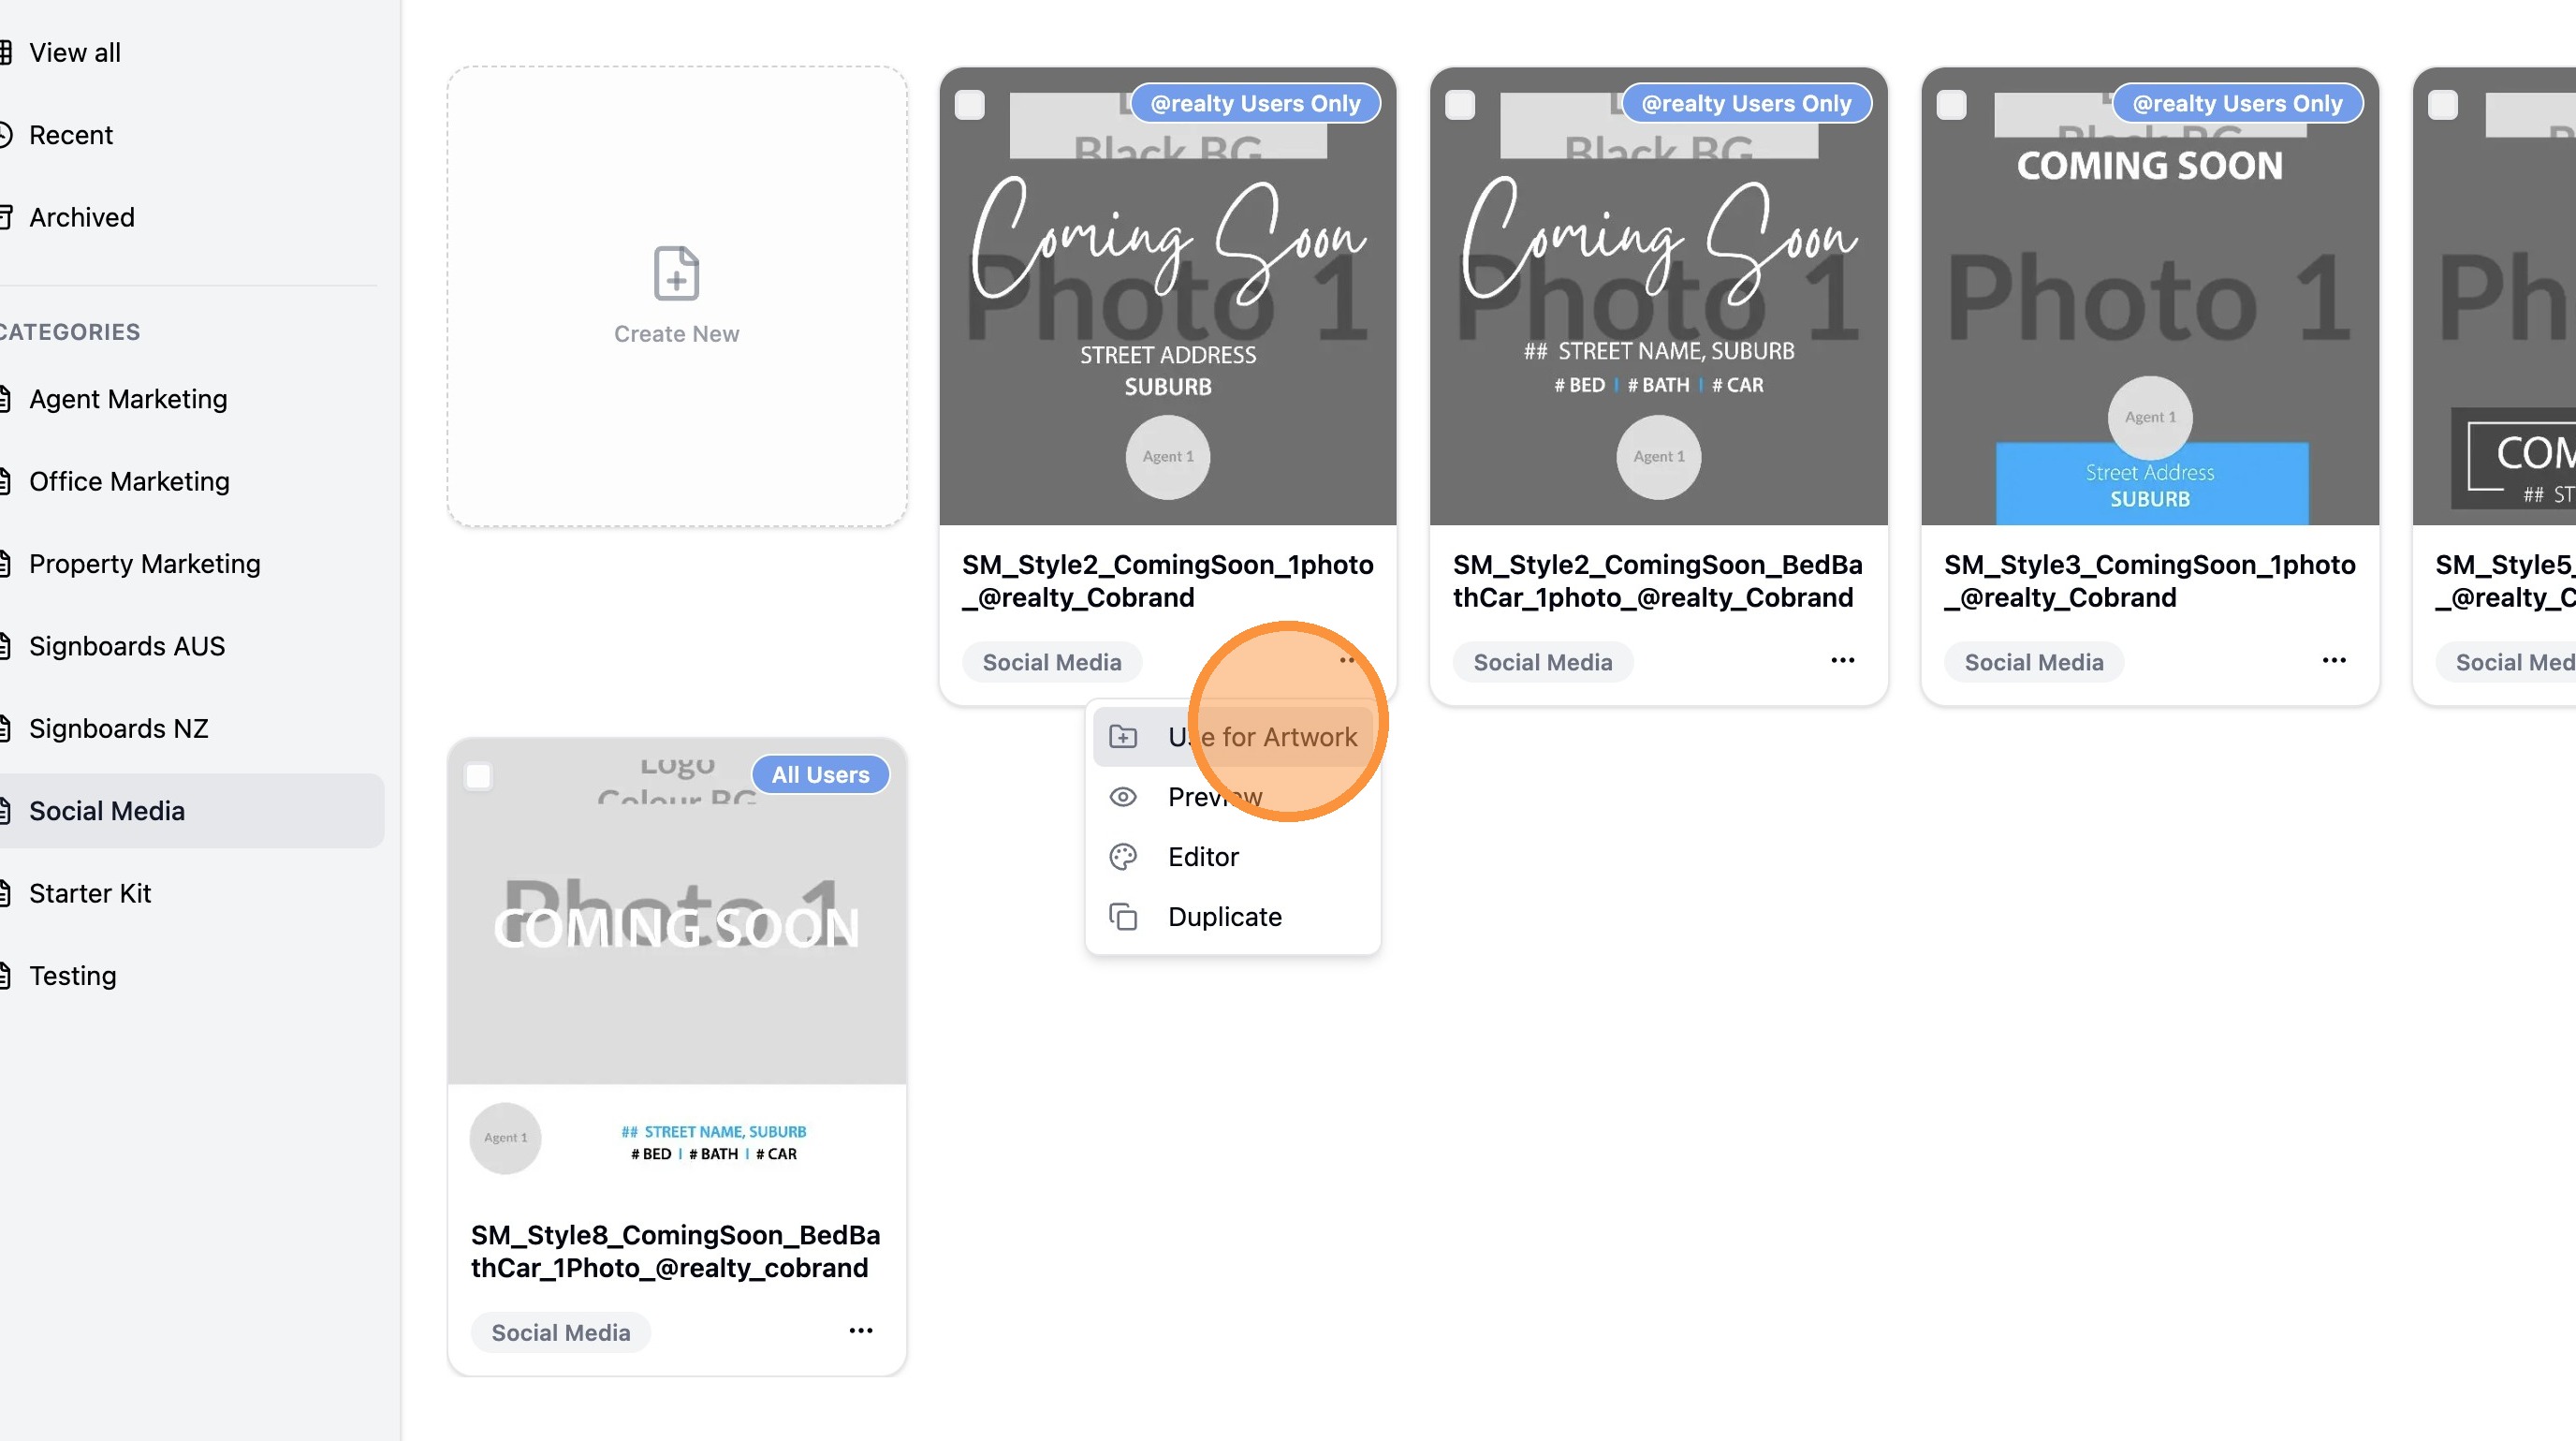
4. Click the options menu (three dots) on your chosen template.
Artwork Configuration
5. Click "Use for Artwork".
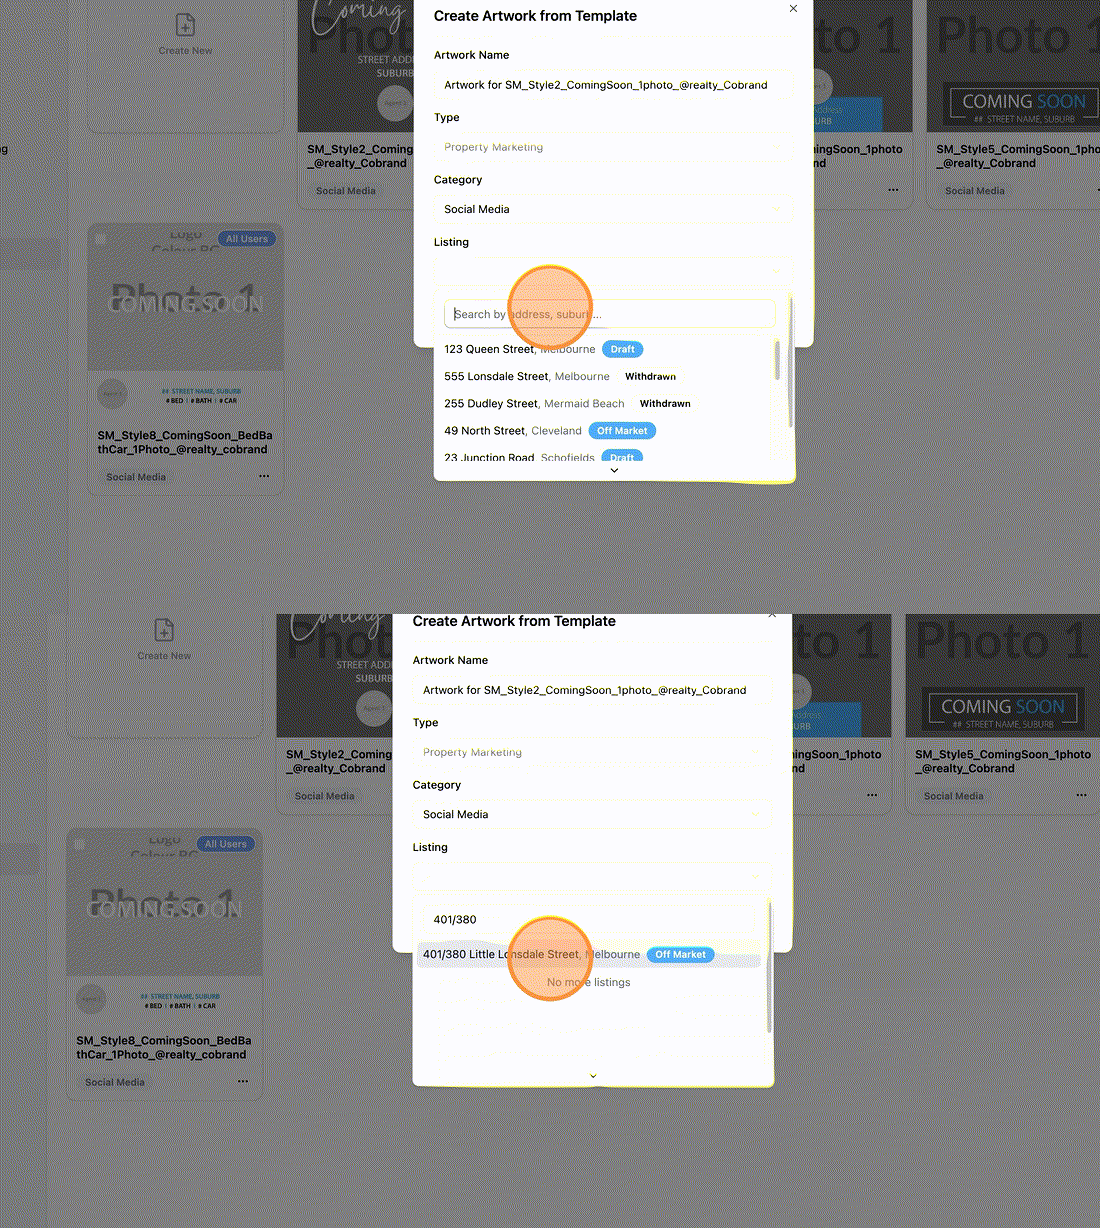
6. Search for and select the property address in the Listing field.
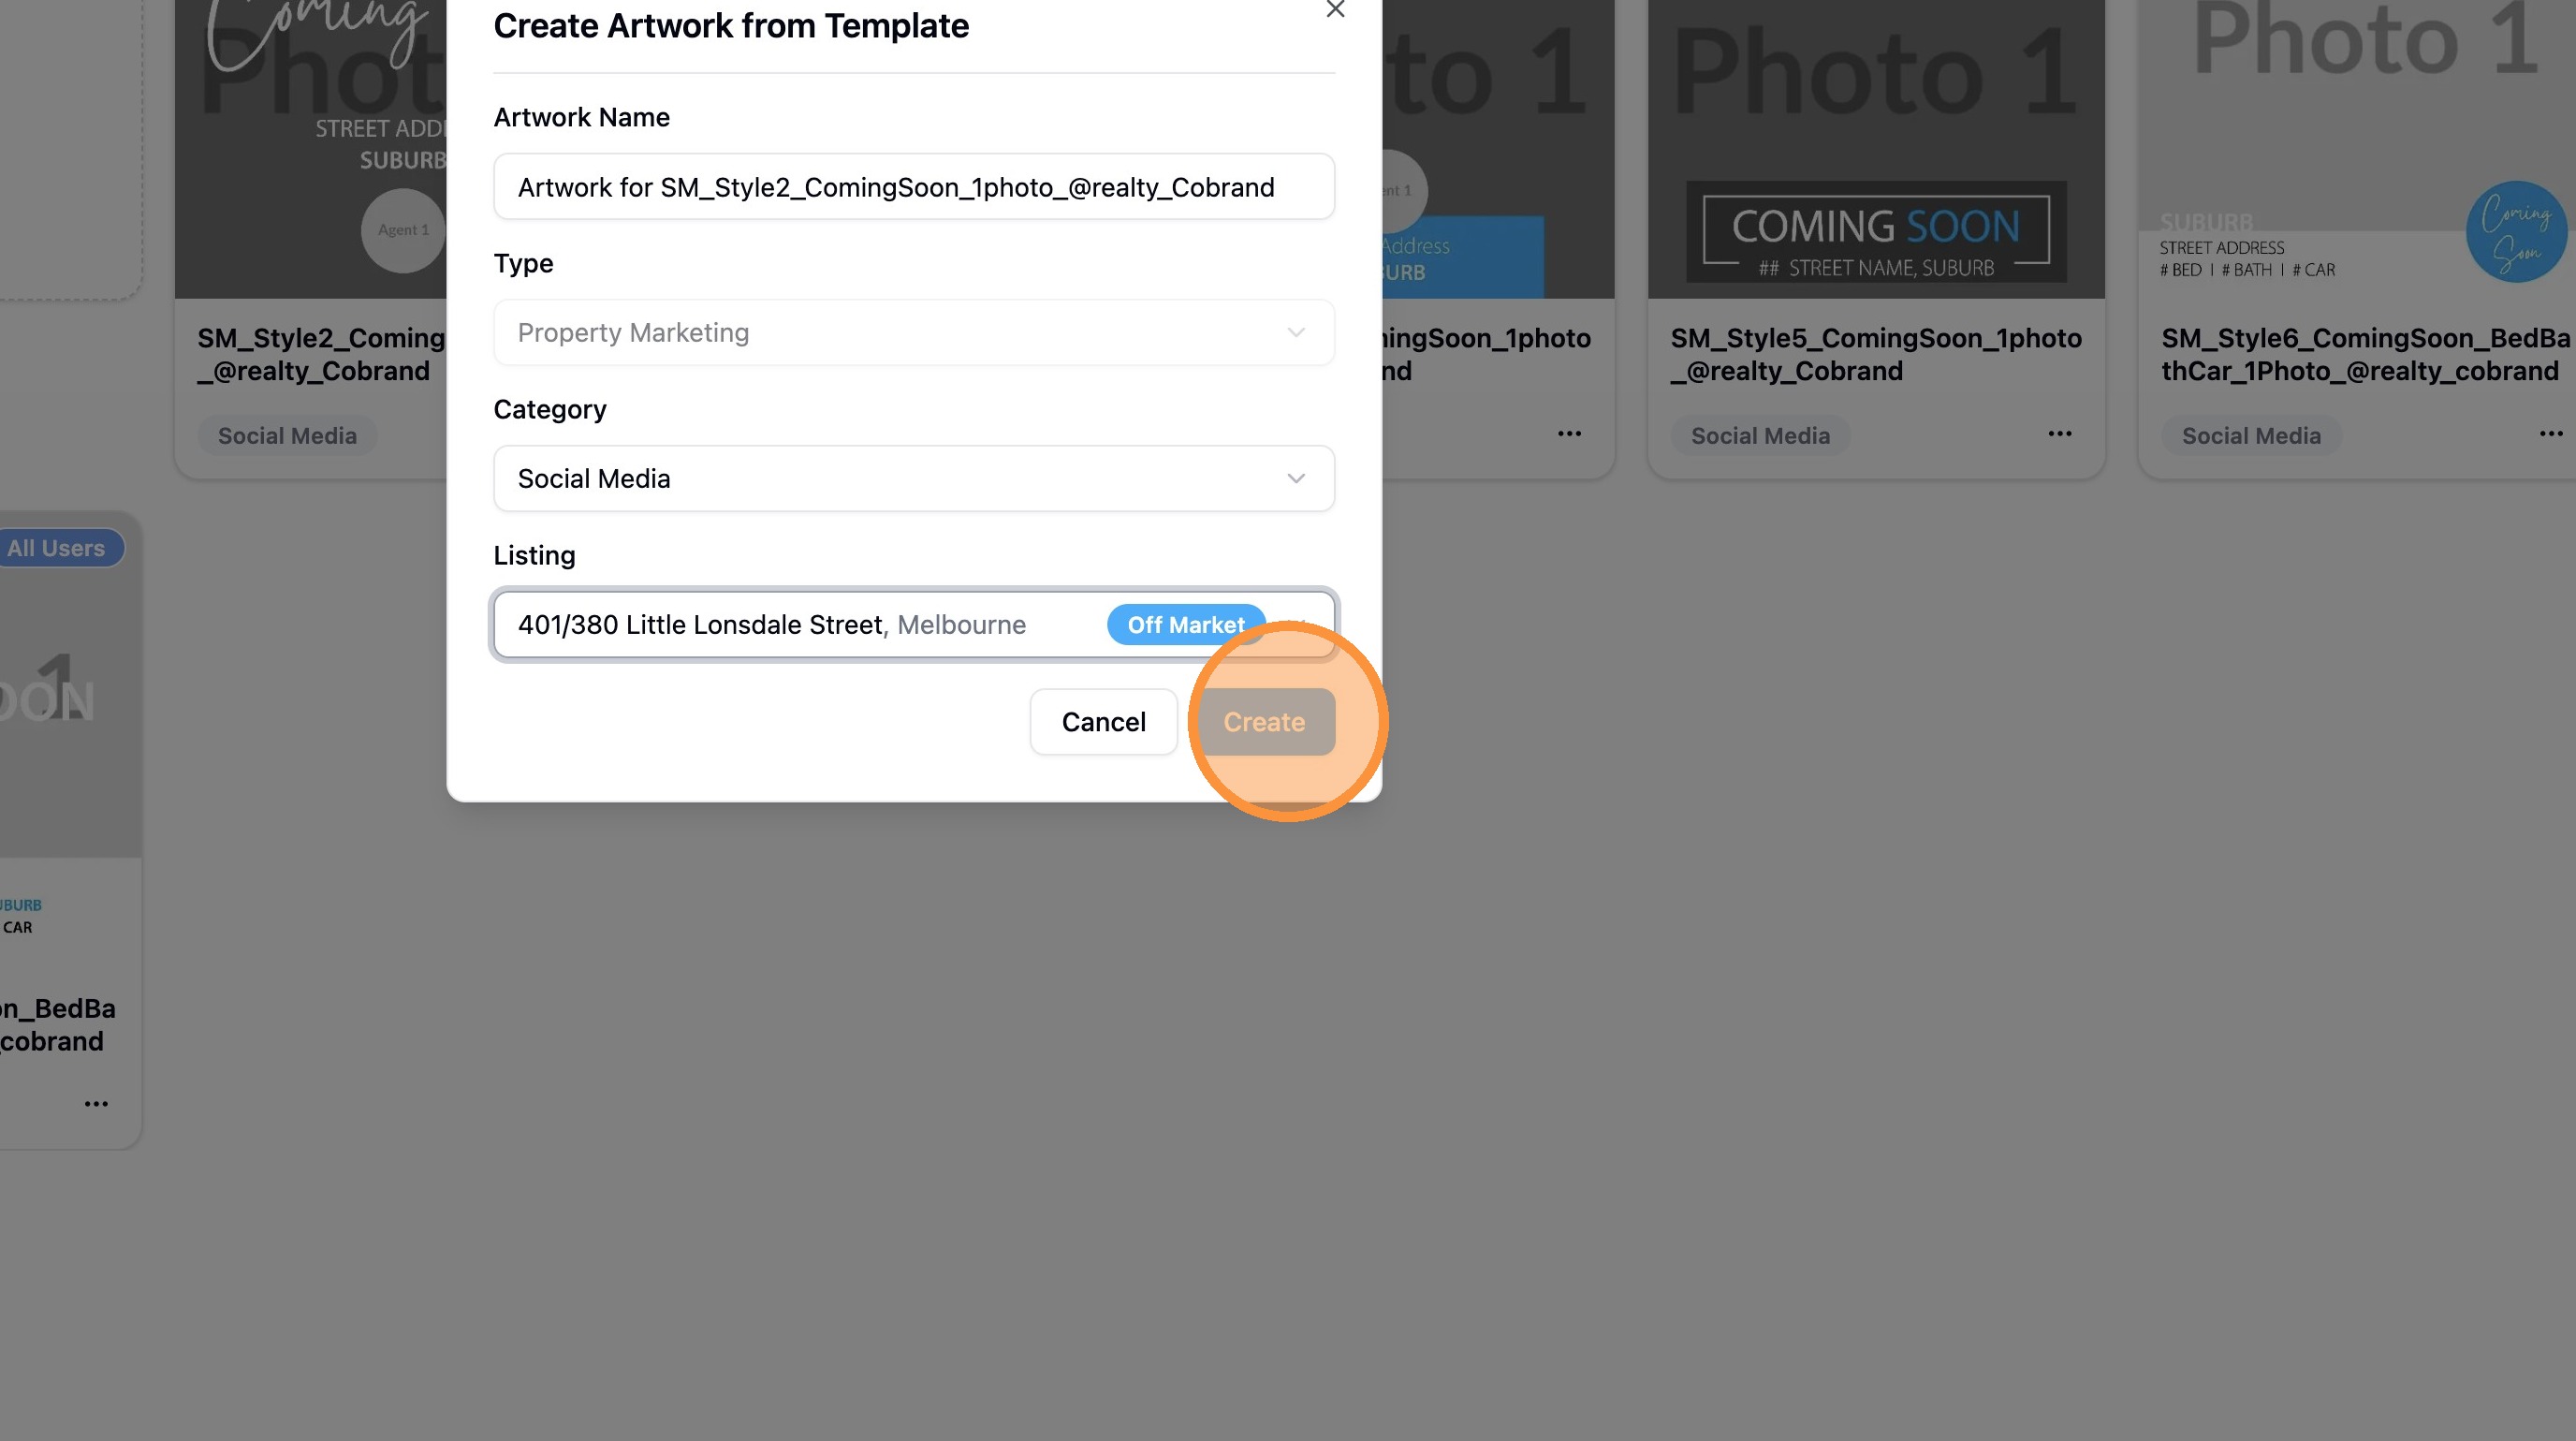
7. Click "Create".
Artwork Export
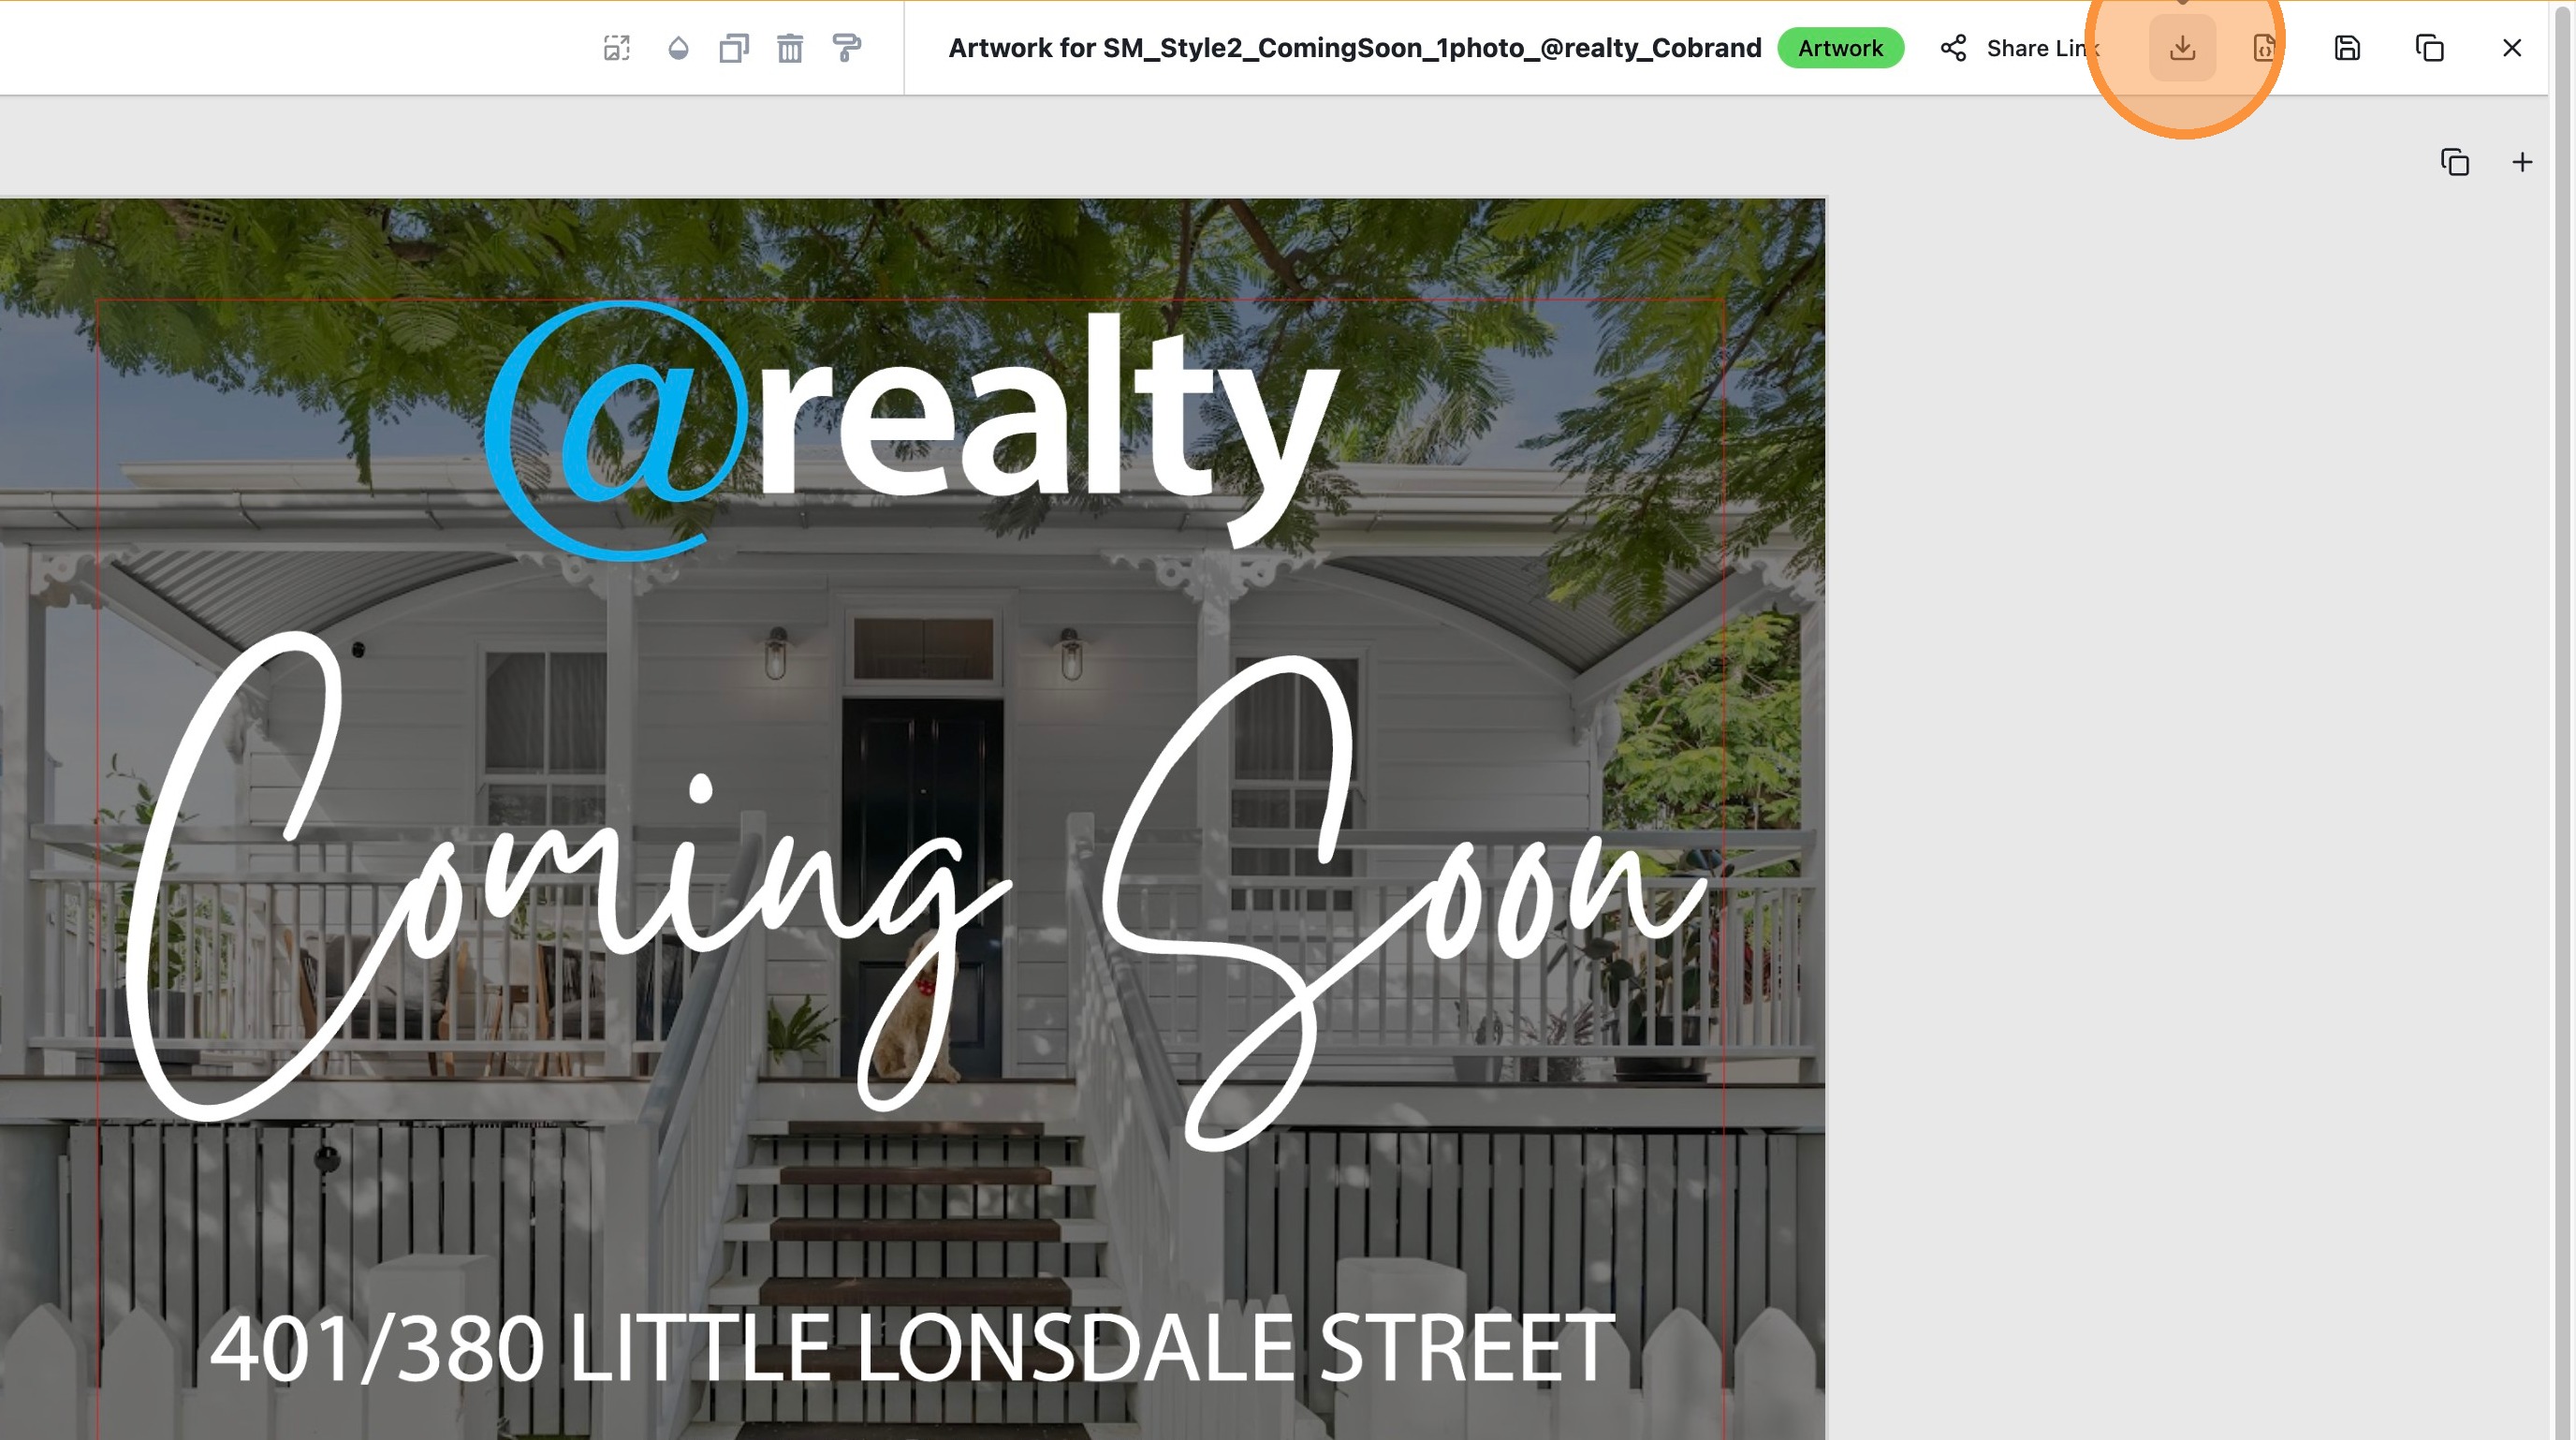
8. Click the "Export Design" icon in the top navigation bar.
9. Click "Image".
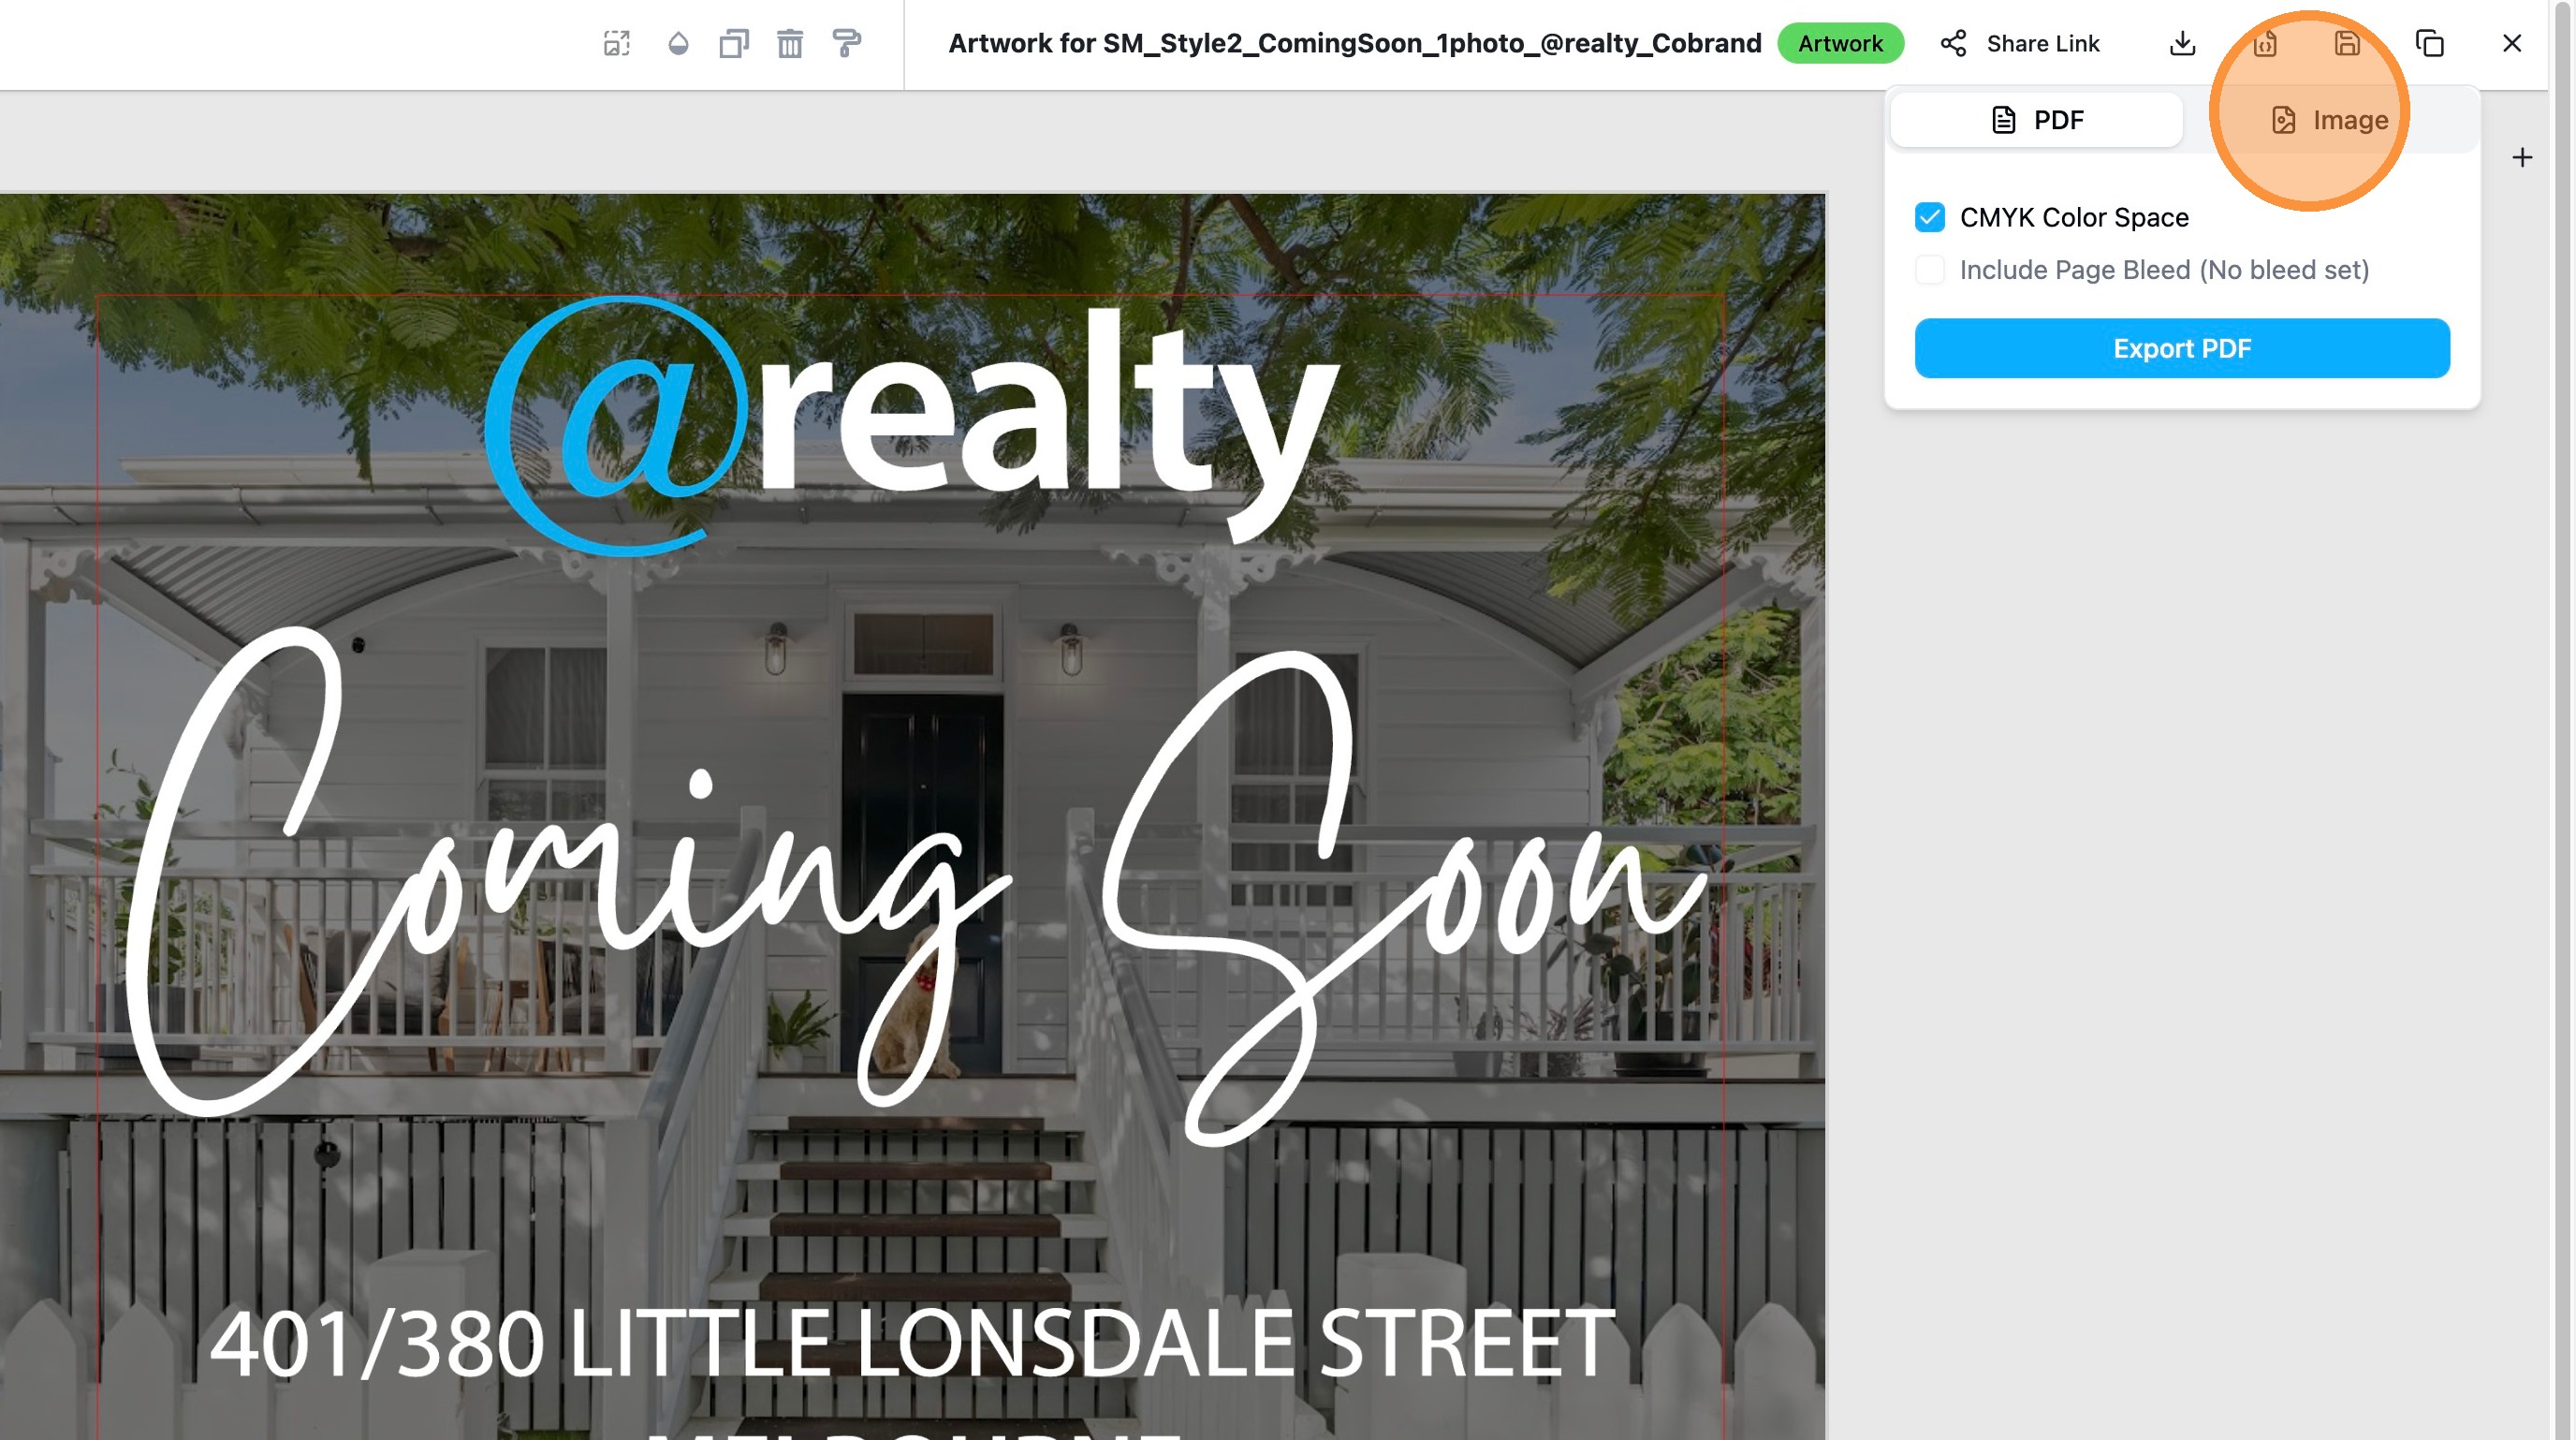
10. Click "JPG - Smaller file size".
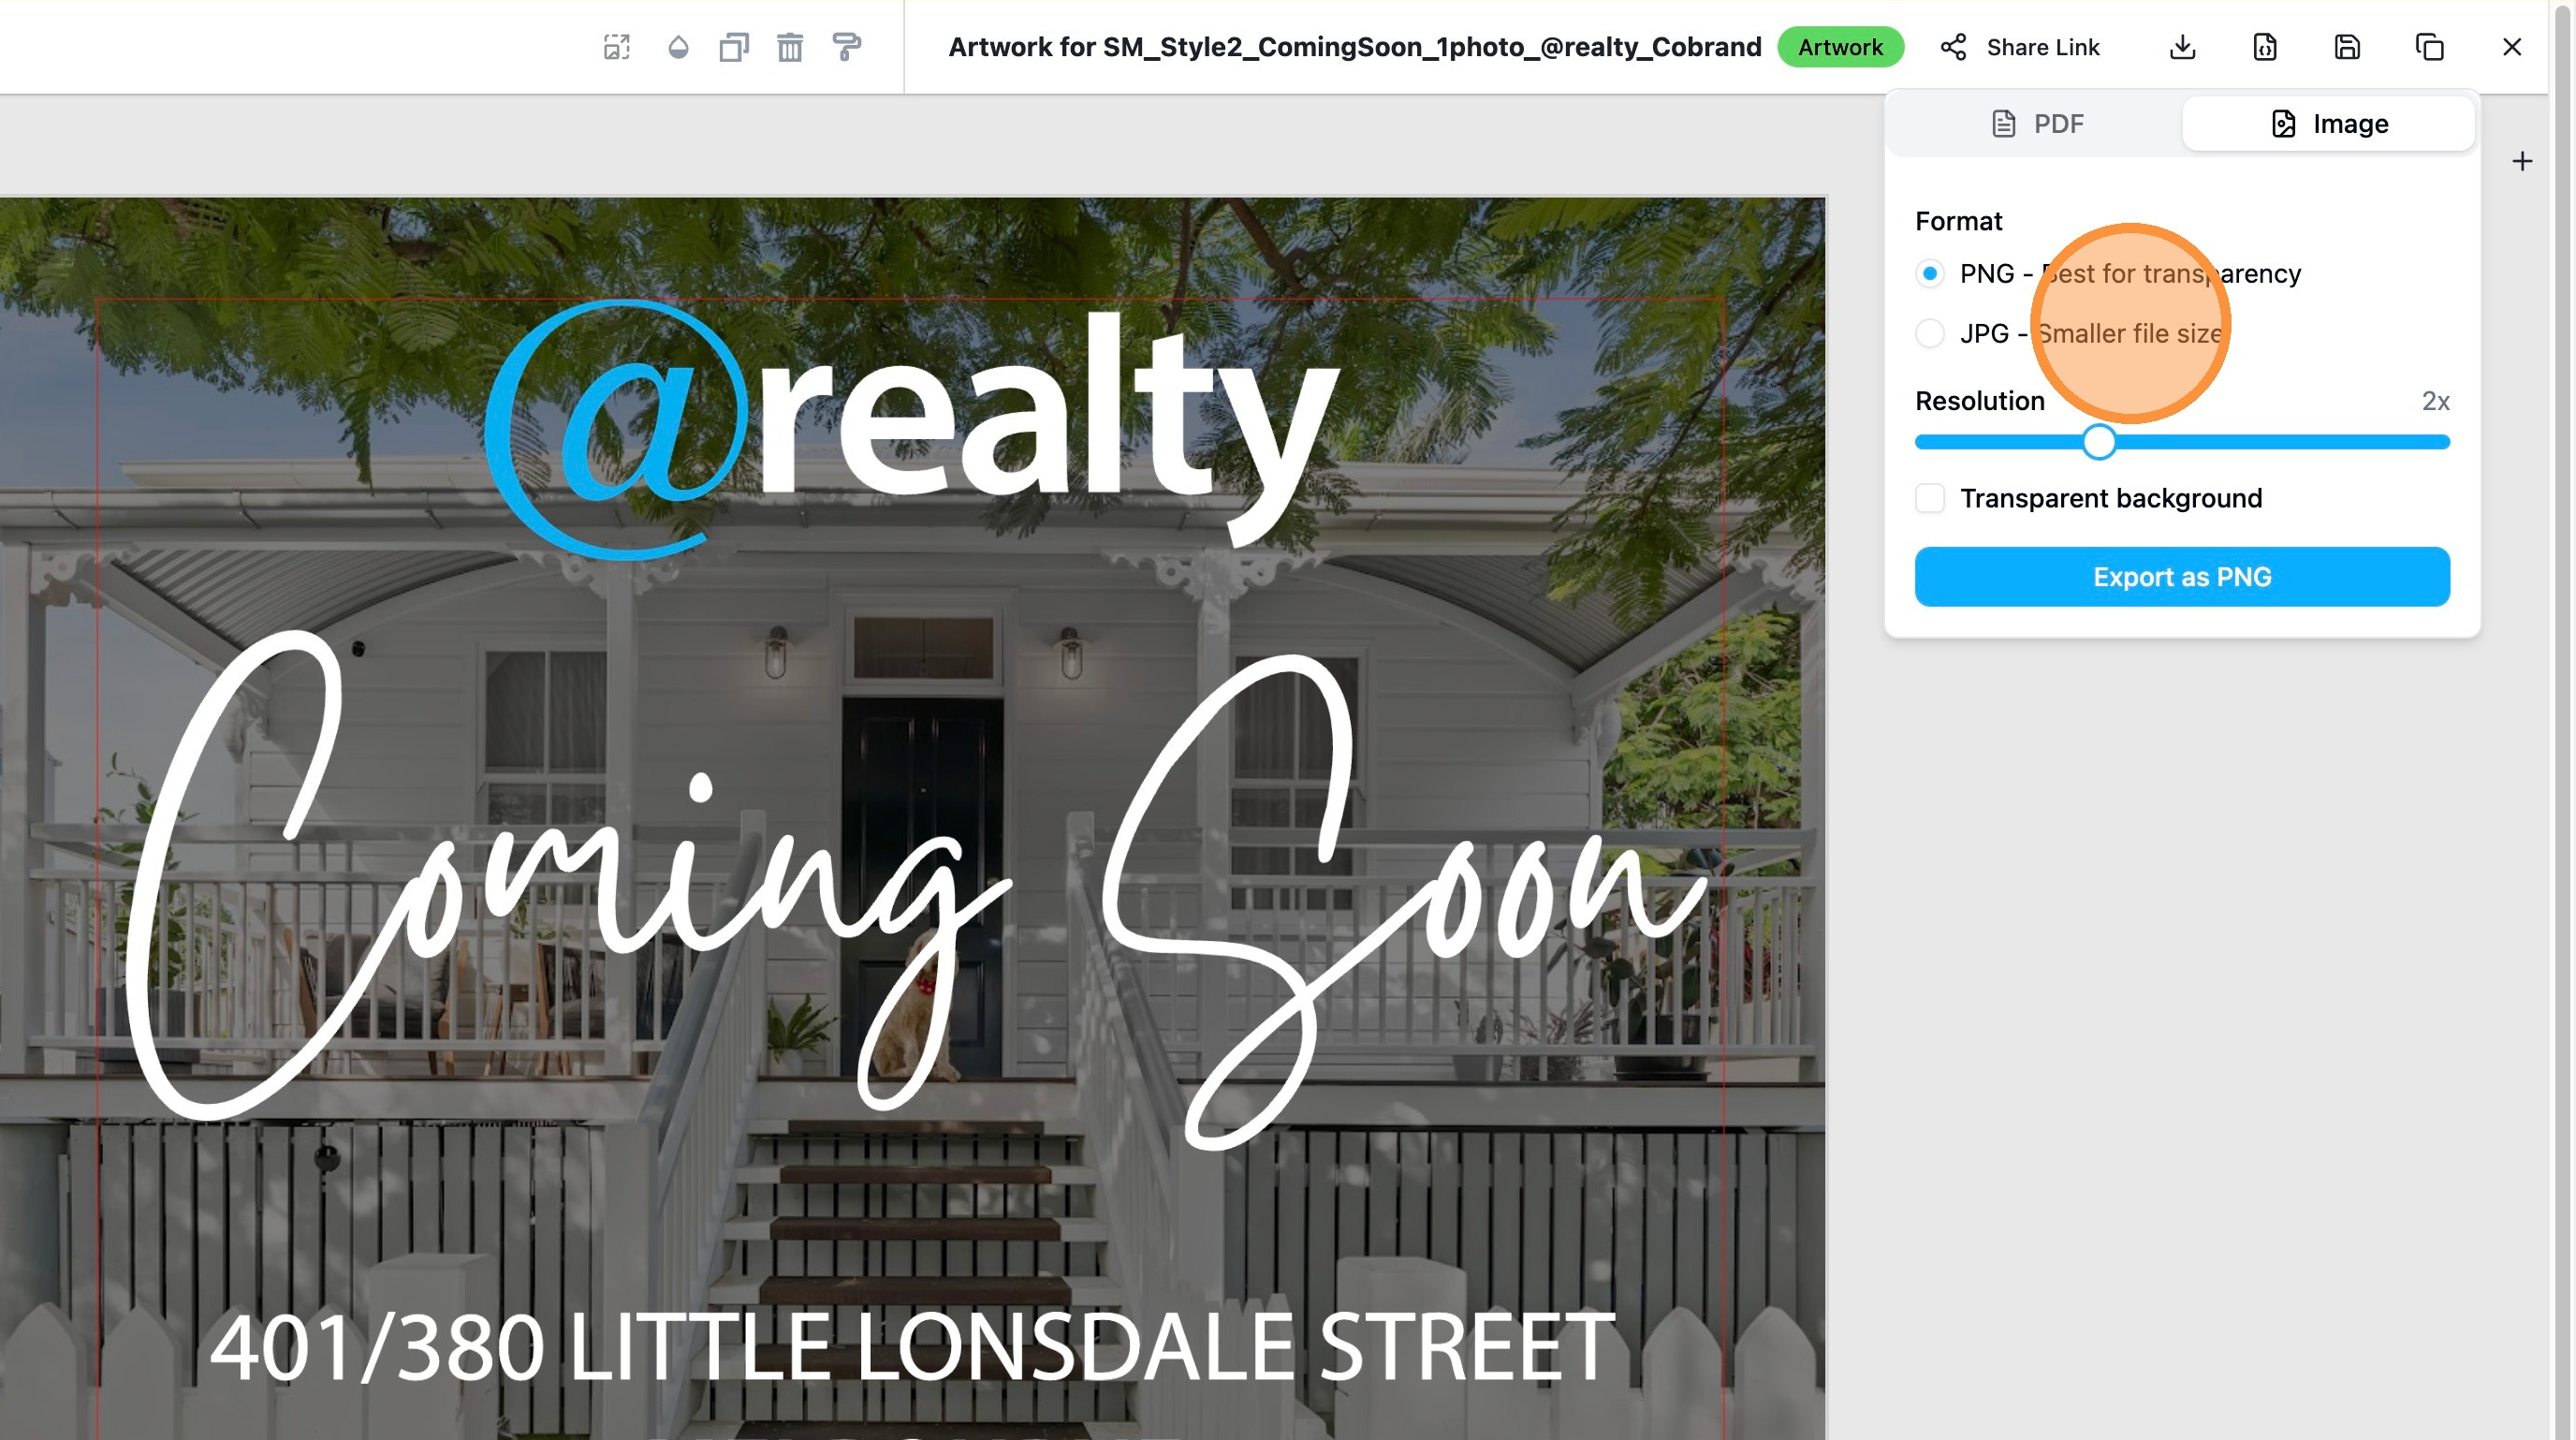
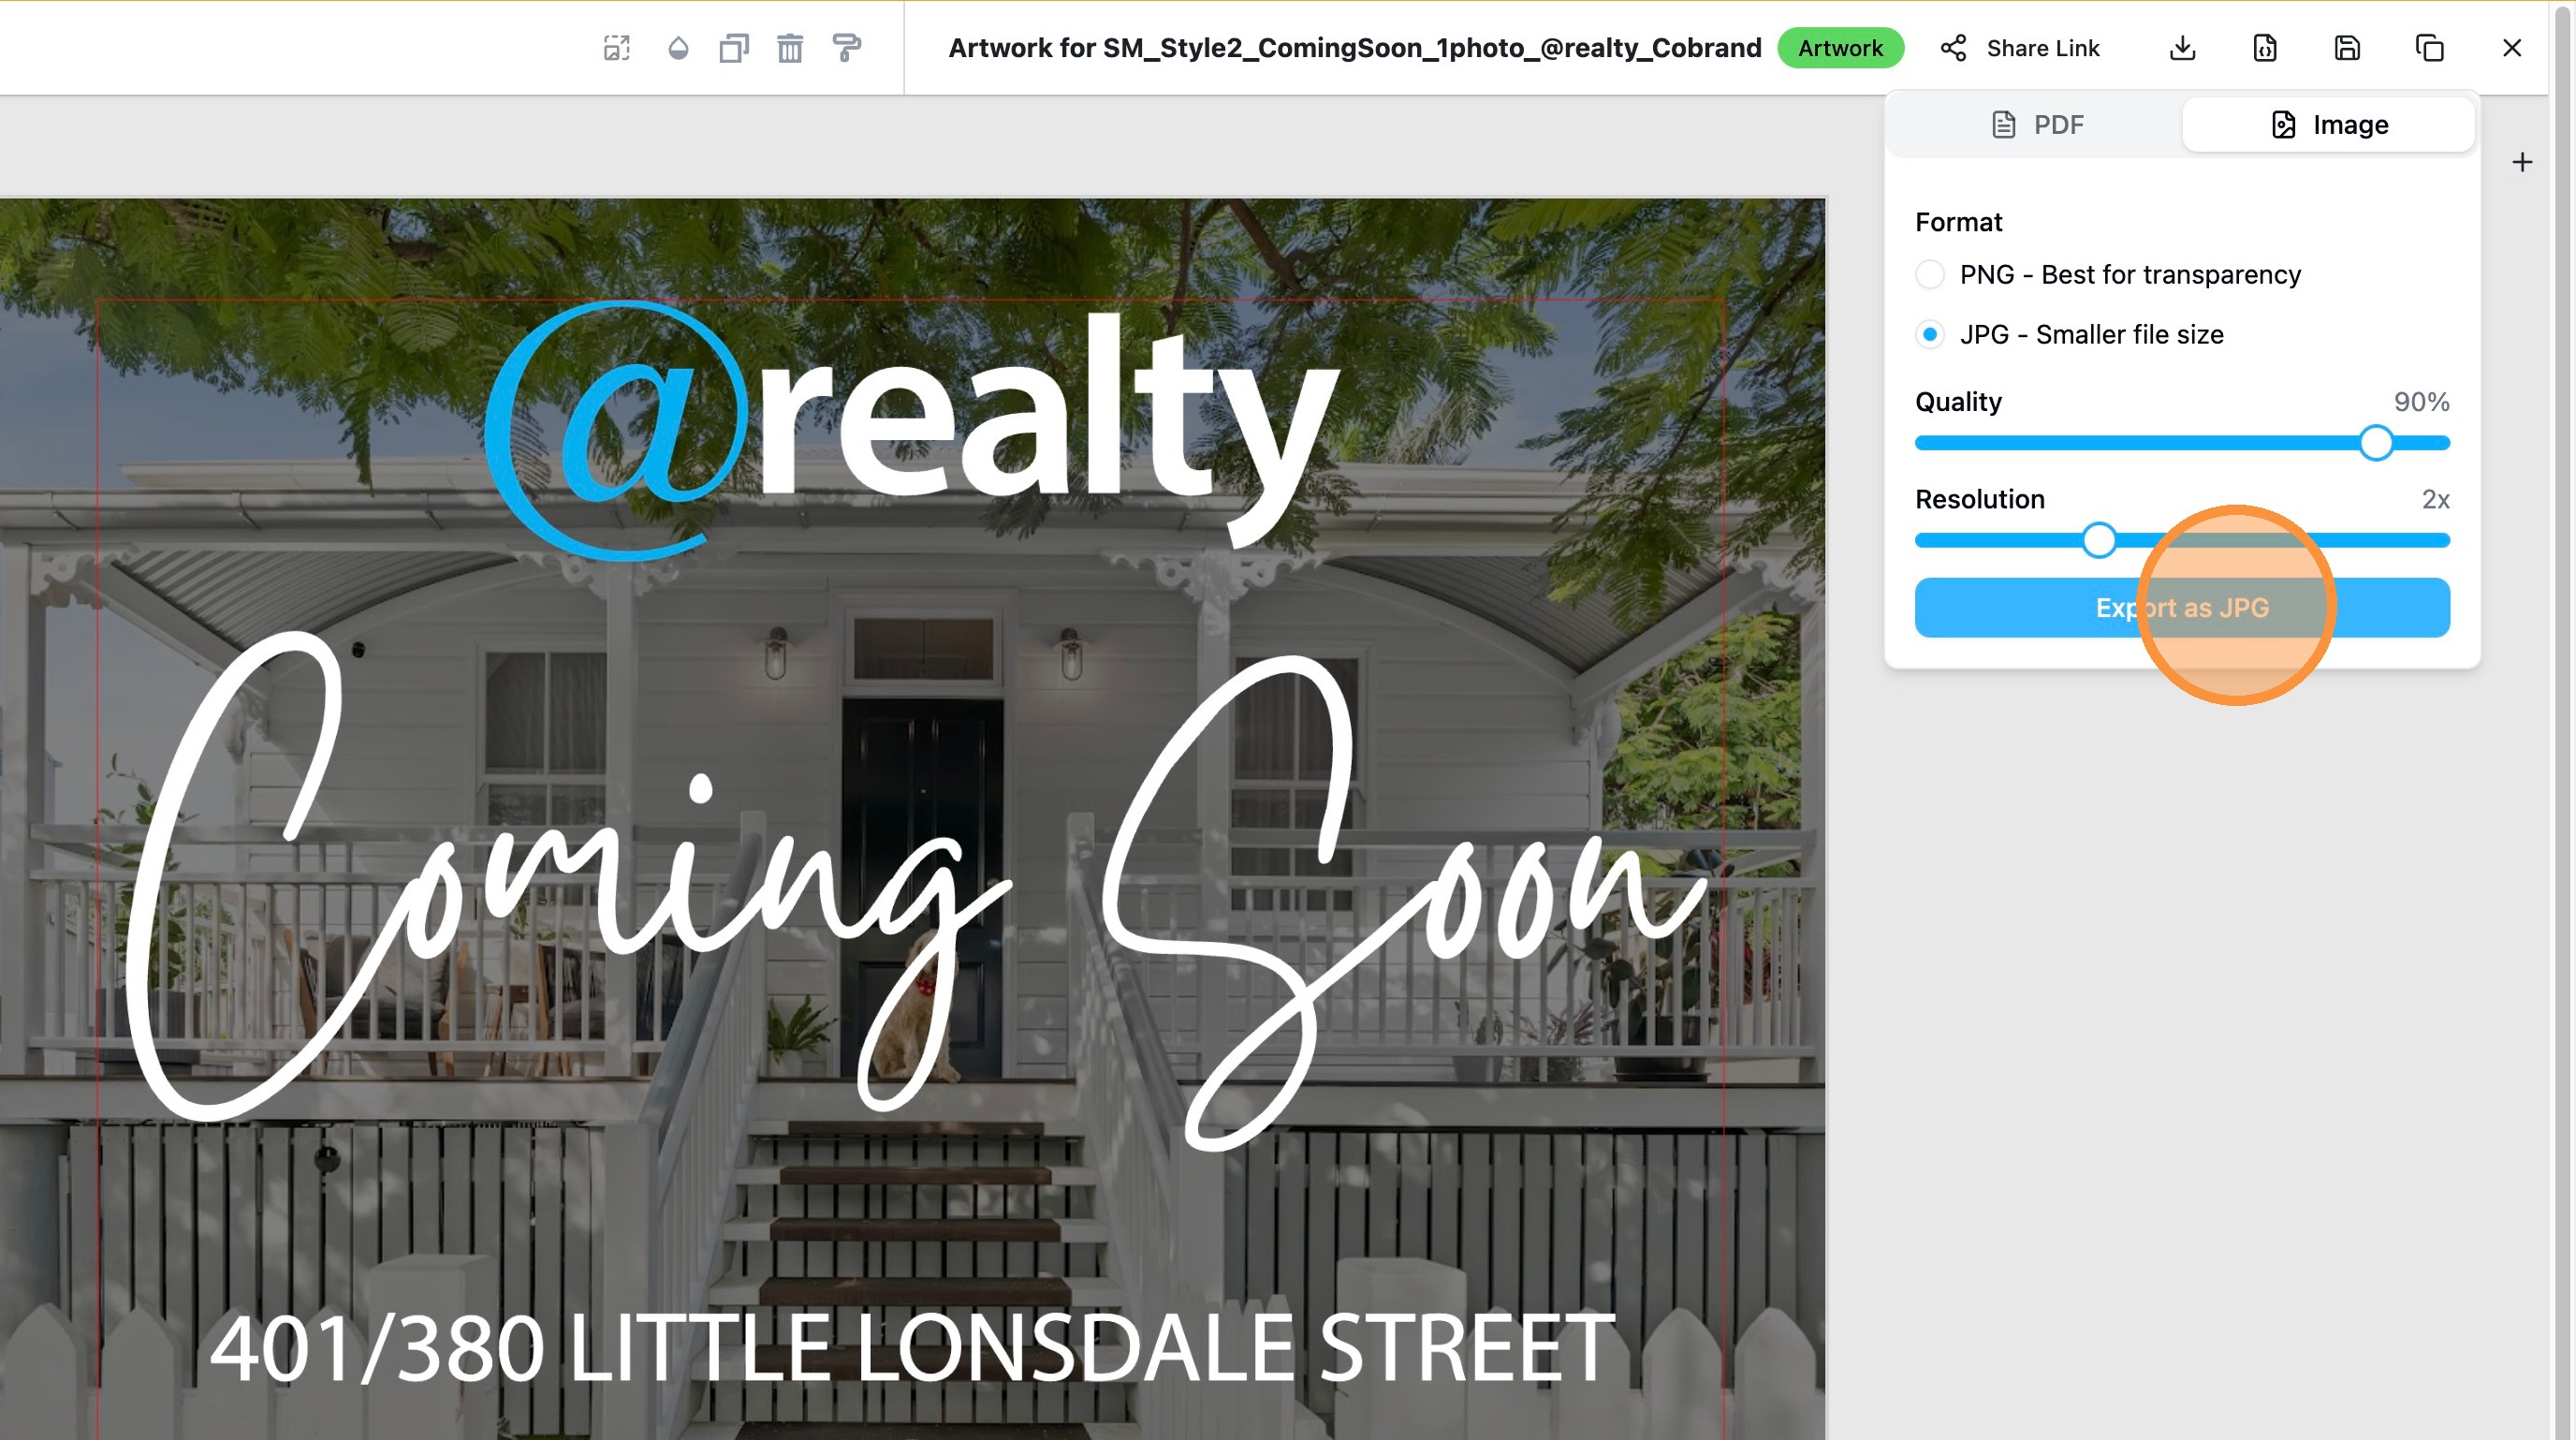
11. Click "Export as JPG".
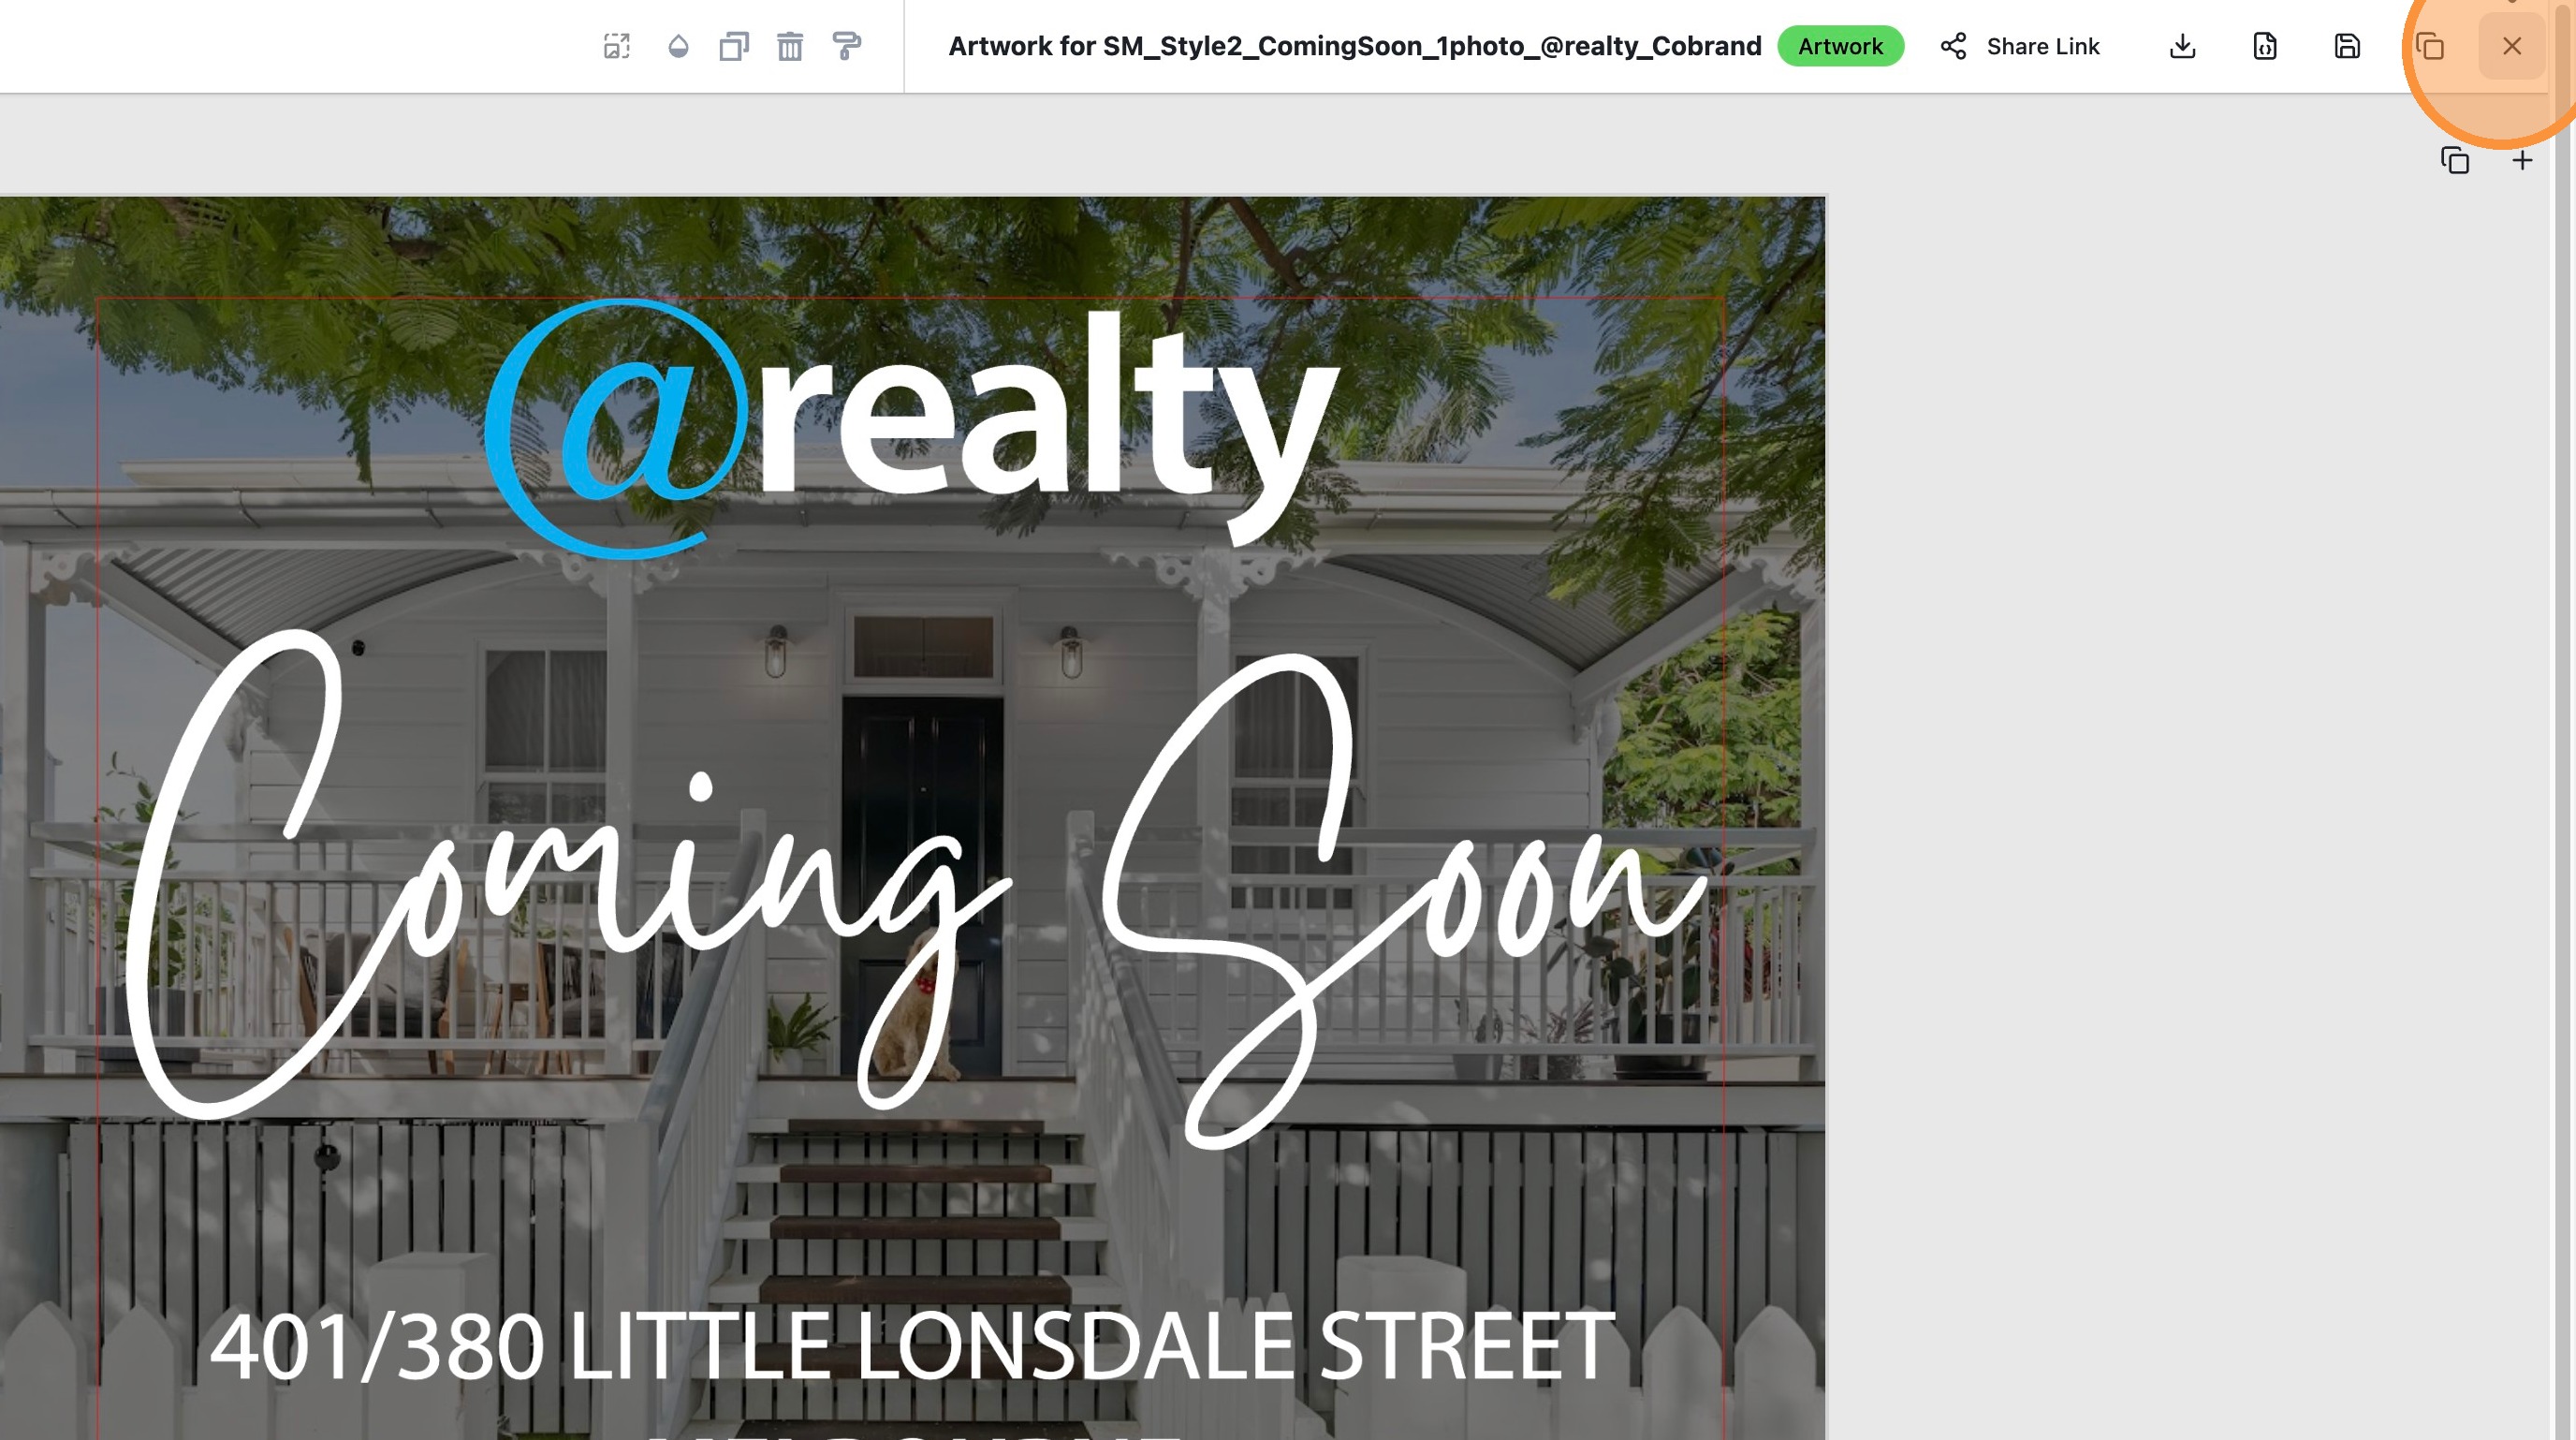
12. Click "Close" to exit the creative editor.
Click Here for the interactive guide
If you missed the webinar introducing the features Watch Here
Was this article helpful?
That’s Great!
Thank you for your feedback
Sorry! We couldn't be helpful
Thank you for your feedback
Feedback sent
We appreciate your effort and will try to fix the article