What is remote eIV?
Remote Electronic Identity Verification (eIV) is used when your client's identity can't be verified in person with the AMLHUB ID2 mobile app ID-scanning feature. Instead, the client completes their ID check remotely from their own phone or computer via a secure link.
This article walks through exactly what the process looks like from your client's side, so you can set their expectations and help them through it if they get stuck.
How the check is started
Your client receives the verification link automatically once the check is initiated it usually takes around 30 minutes from initial submission to be sent out:
- Fully outsourced model: an AMLHUB outsourcing agent initiates the process.
- Hybrid model (you complete checks internally): your company's AML admin sends the e-check from the AMLHUB desktop app.
A note on accepted ID documents
The standard remote eIV service allows verification via NFC documents or certified document upload. All other document types require a data access agreement submitted by your company granting permission. The client can also type in another country if their ID is issued elsewhere. Please refer to the AMLHUB data access agreement article for details on enabling additional document types.
Step 1 – The client receives a link
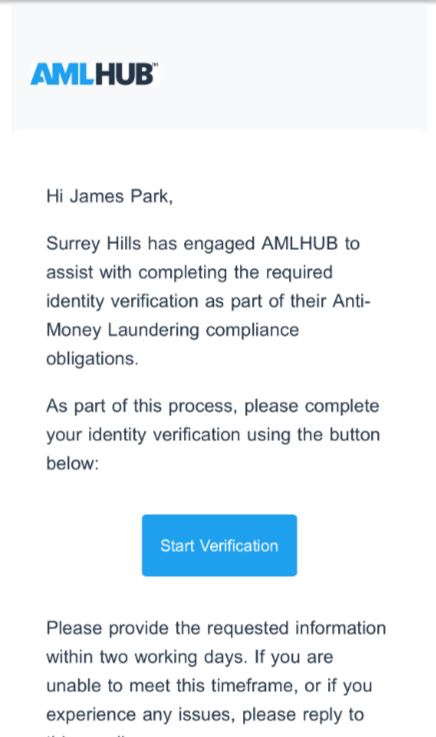
The client receives a link by text message and/or email, showing the name of the company the request was sent from. From the email, they click the blue Start Verification button (or tap the link in the text message) to begin.
Step 2 – Confirm country and document type
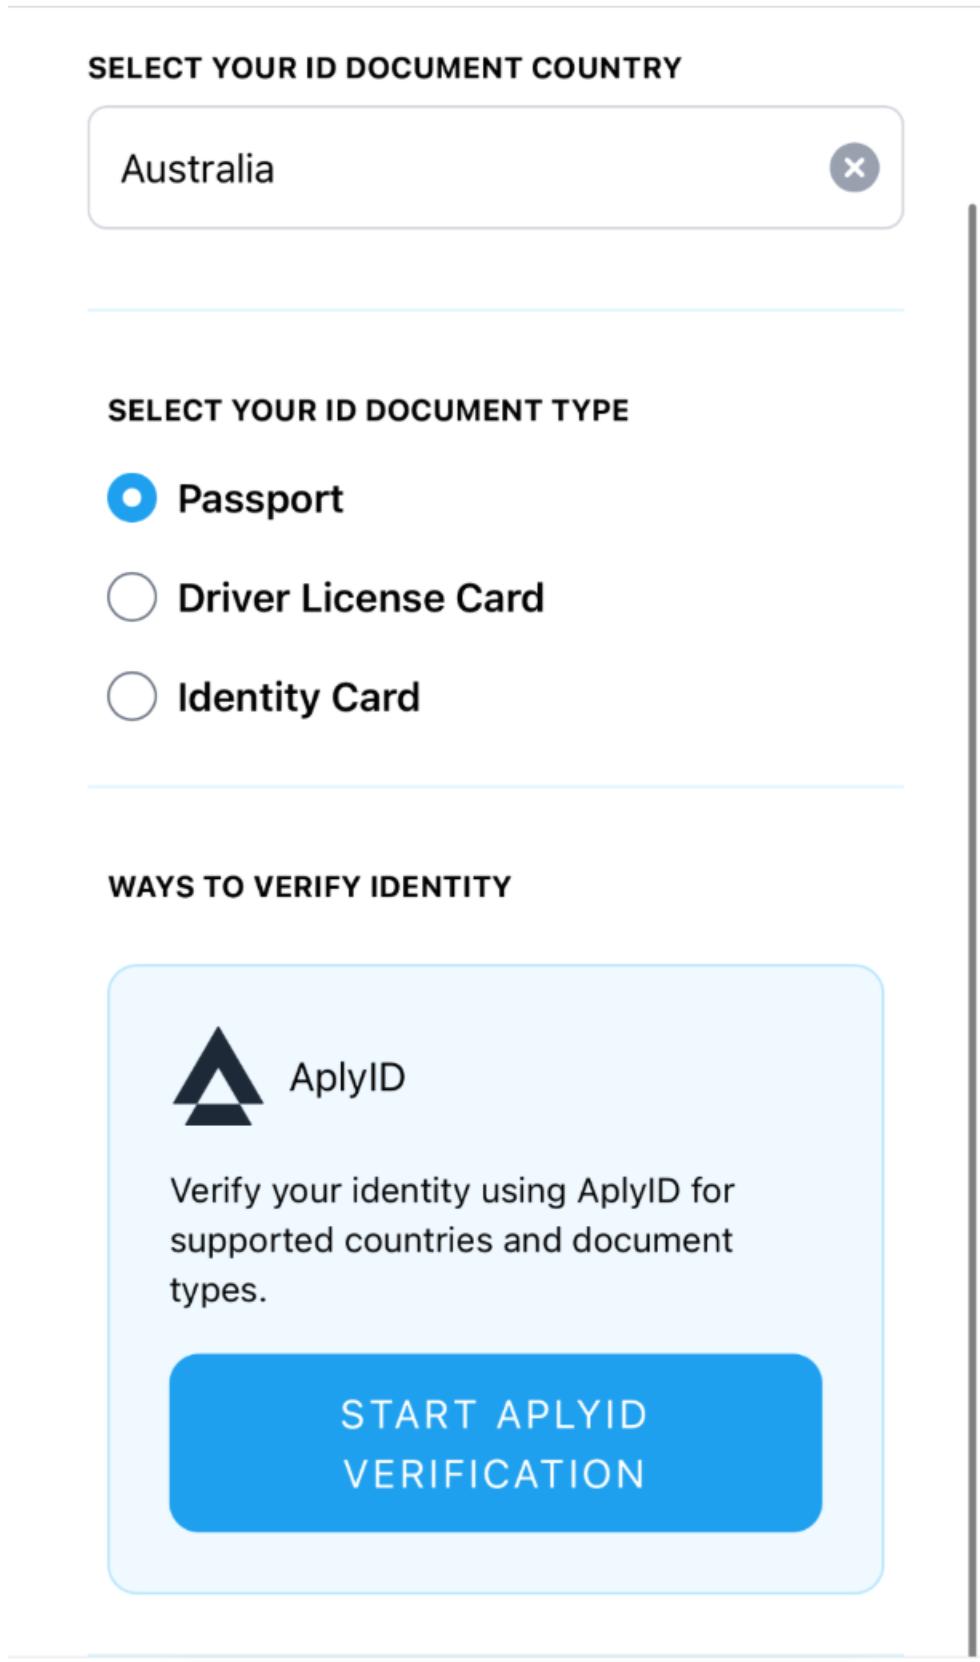
They confirm the country their ID document is from and select the document they'll use to verify. If their ID is from another country, they can type it in.
Step 3 – Start the APLYID verification
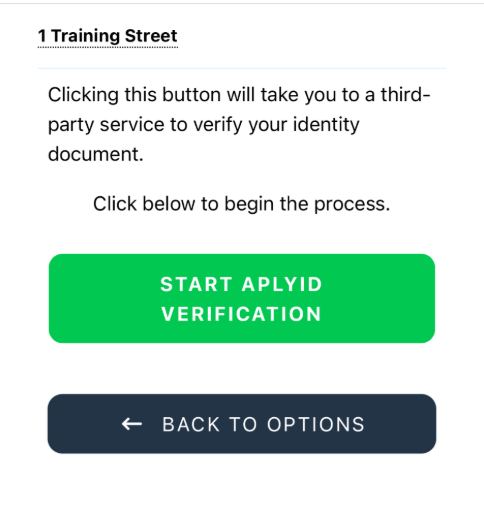
The client taps the green Start APLYID Verification button, then Verify Me to continue.
Step 4 – Read and accept the privacy policy
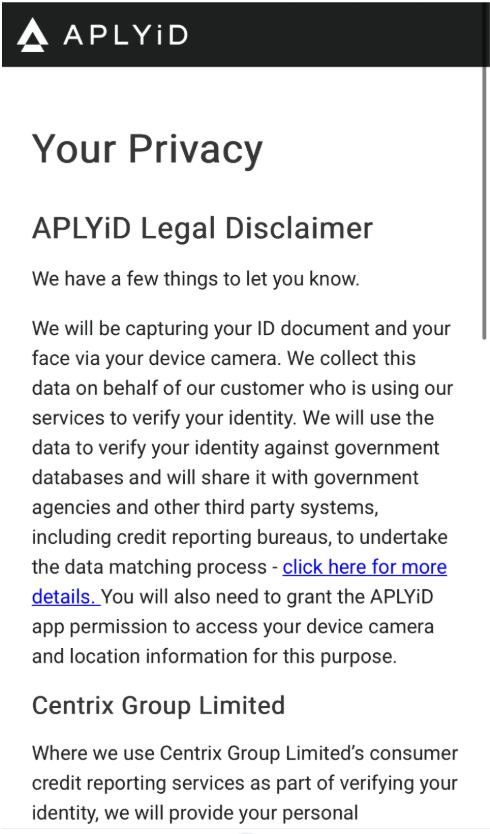
The privacy policy appears. The client reads it, ticks the box to confirm they've read and agreed, and accepts consent.
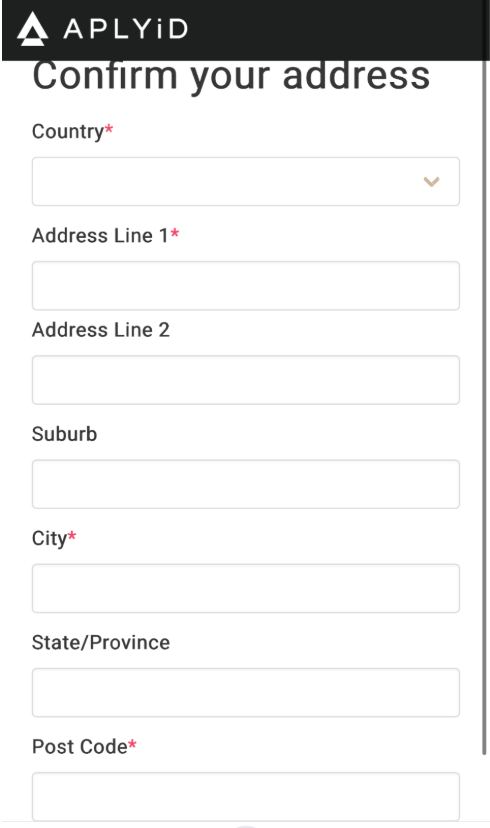
Step 5 – Enter address and begin biometric verification
The client enters their address, then taps Begin biometric verification to start capturing their ID. They'll be asked to Allow location access to proceed.
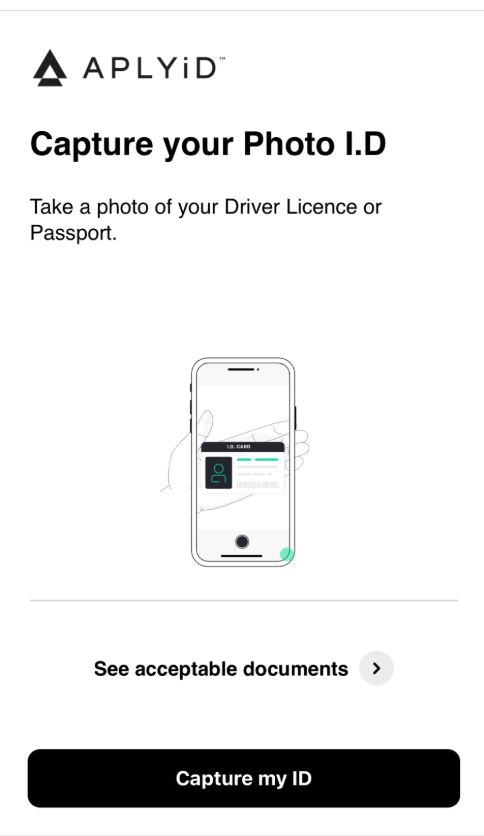
Step 6 – Capture the ID document
The client taps Capture my ID and the camera opens automatically. They place the ID in the middle of the screen with all details clearly visible and take the photo, then tap Use Photo. For a driver licence, they'll be prompted to capture the back of the card the same way. They then check the extracted details and tap My details are correct.
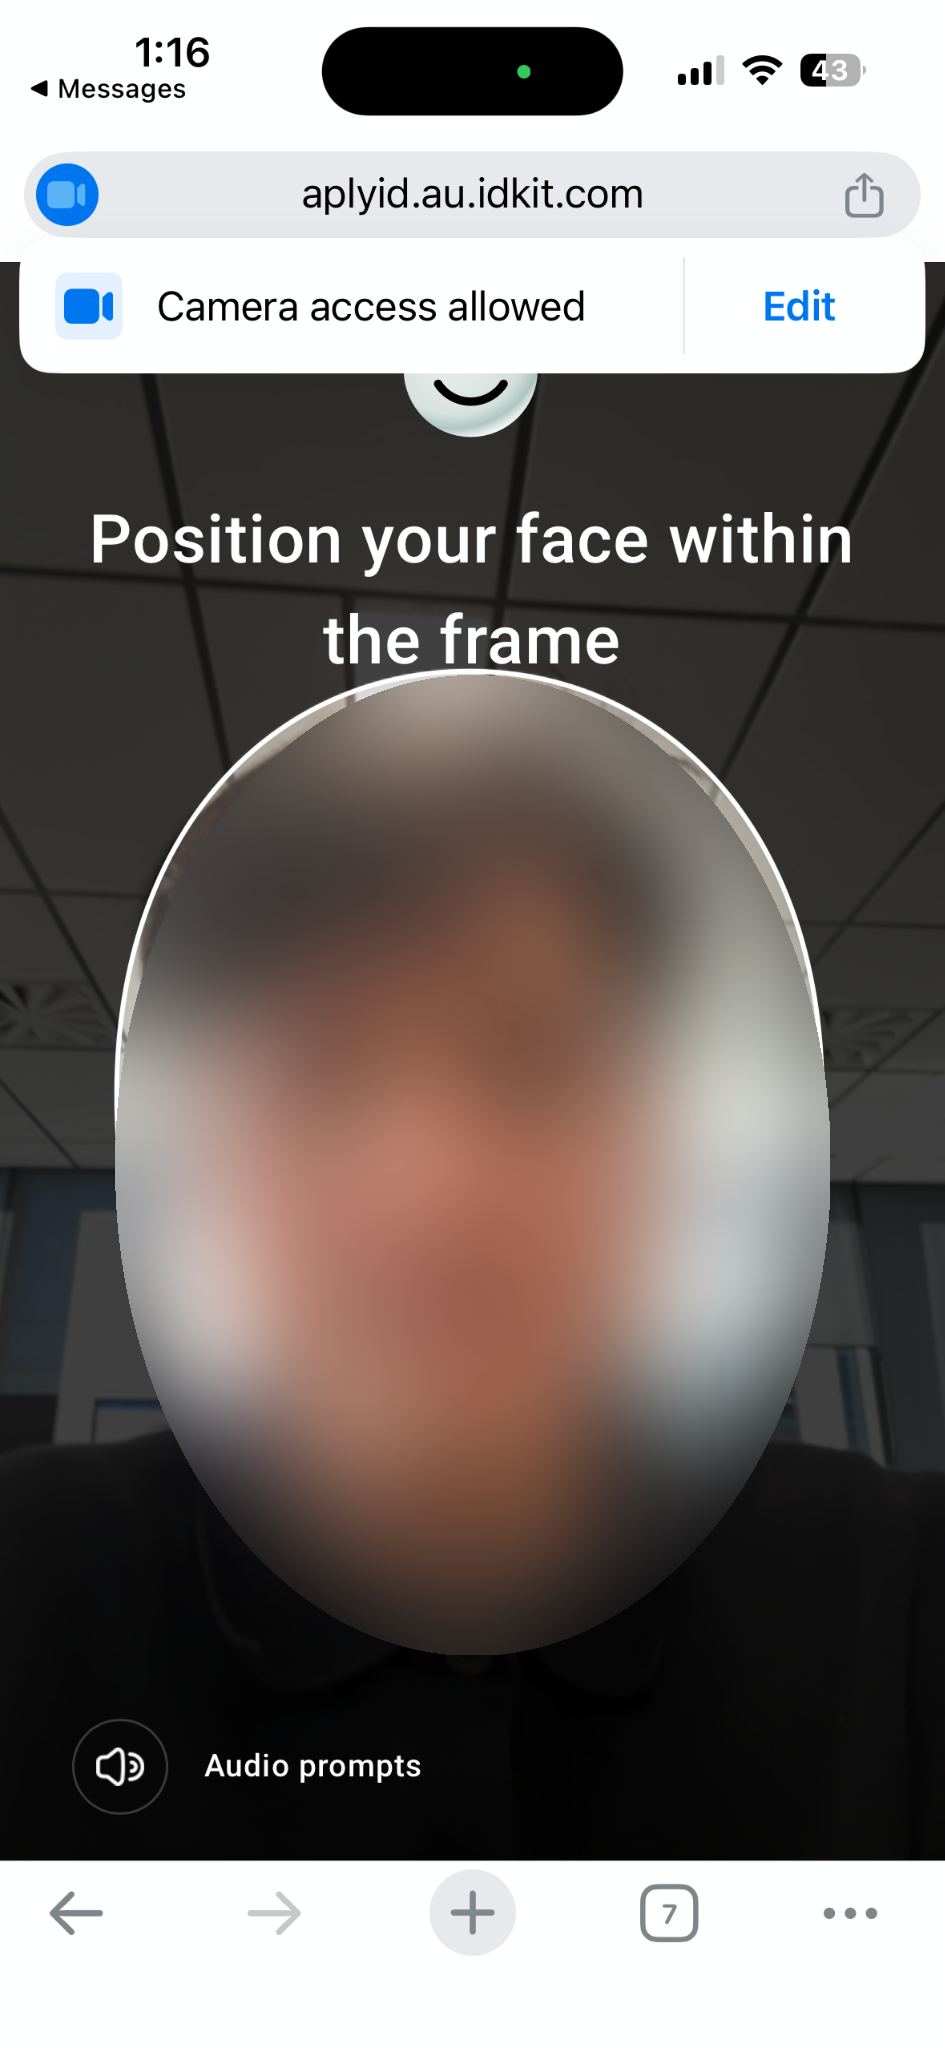
Step 7 – Face verification
The system then asks for face verification. The client taps continue, allows camera access, and positions their face within the frame — a photo is taken automatically.
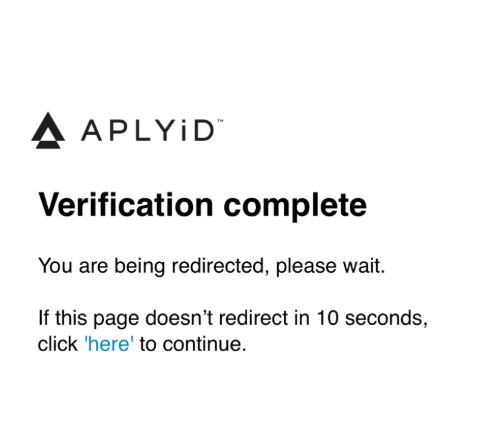
Step 8 – Verification complete
Once face verification is successful, a confirmation screen appears. The page redirects automatically and the client can safely close the process.
Helping your client
If a client is unsure what to expect, let them know it only takes a few minutes usually around 30 minutes, they'll need their ID document on hand and a device with a camera, and they should allow location and camera access when prompted. If they experience any issues, they can reply to the original verification email for assistance.
Was this article helpful?
That’s Great!
Thank you for your feedback
Sorry! We couldn't be helpful
Thank you for your feedback
Feedback sent
We appreciate your effort and will try to fix the article