Contact Notes
Summary
Notes are a great way for Agents to keep track of key information about Contacts that can be used for future reference.
How to Create Notes
Header
The User can create a note by clicking the Create + button in the header then by selecting NOTE
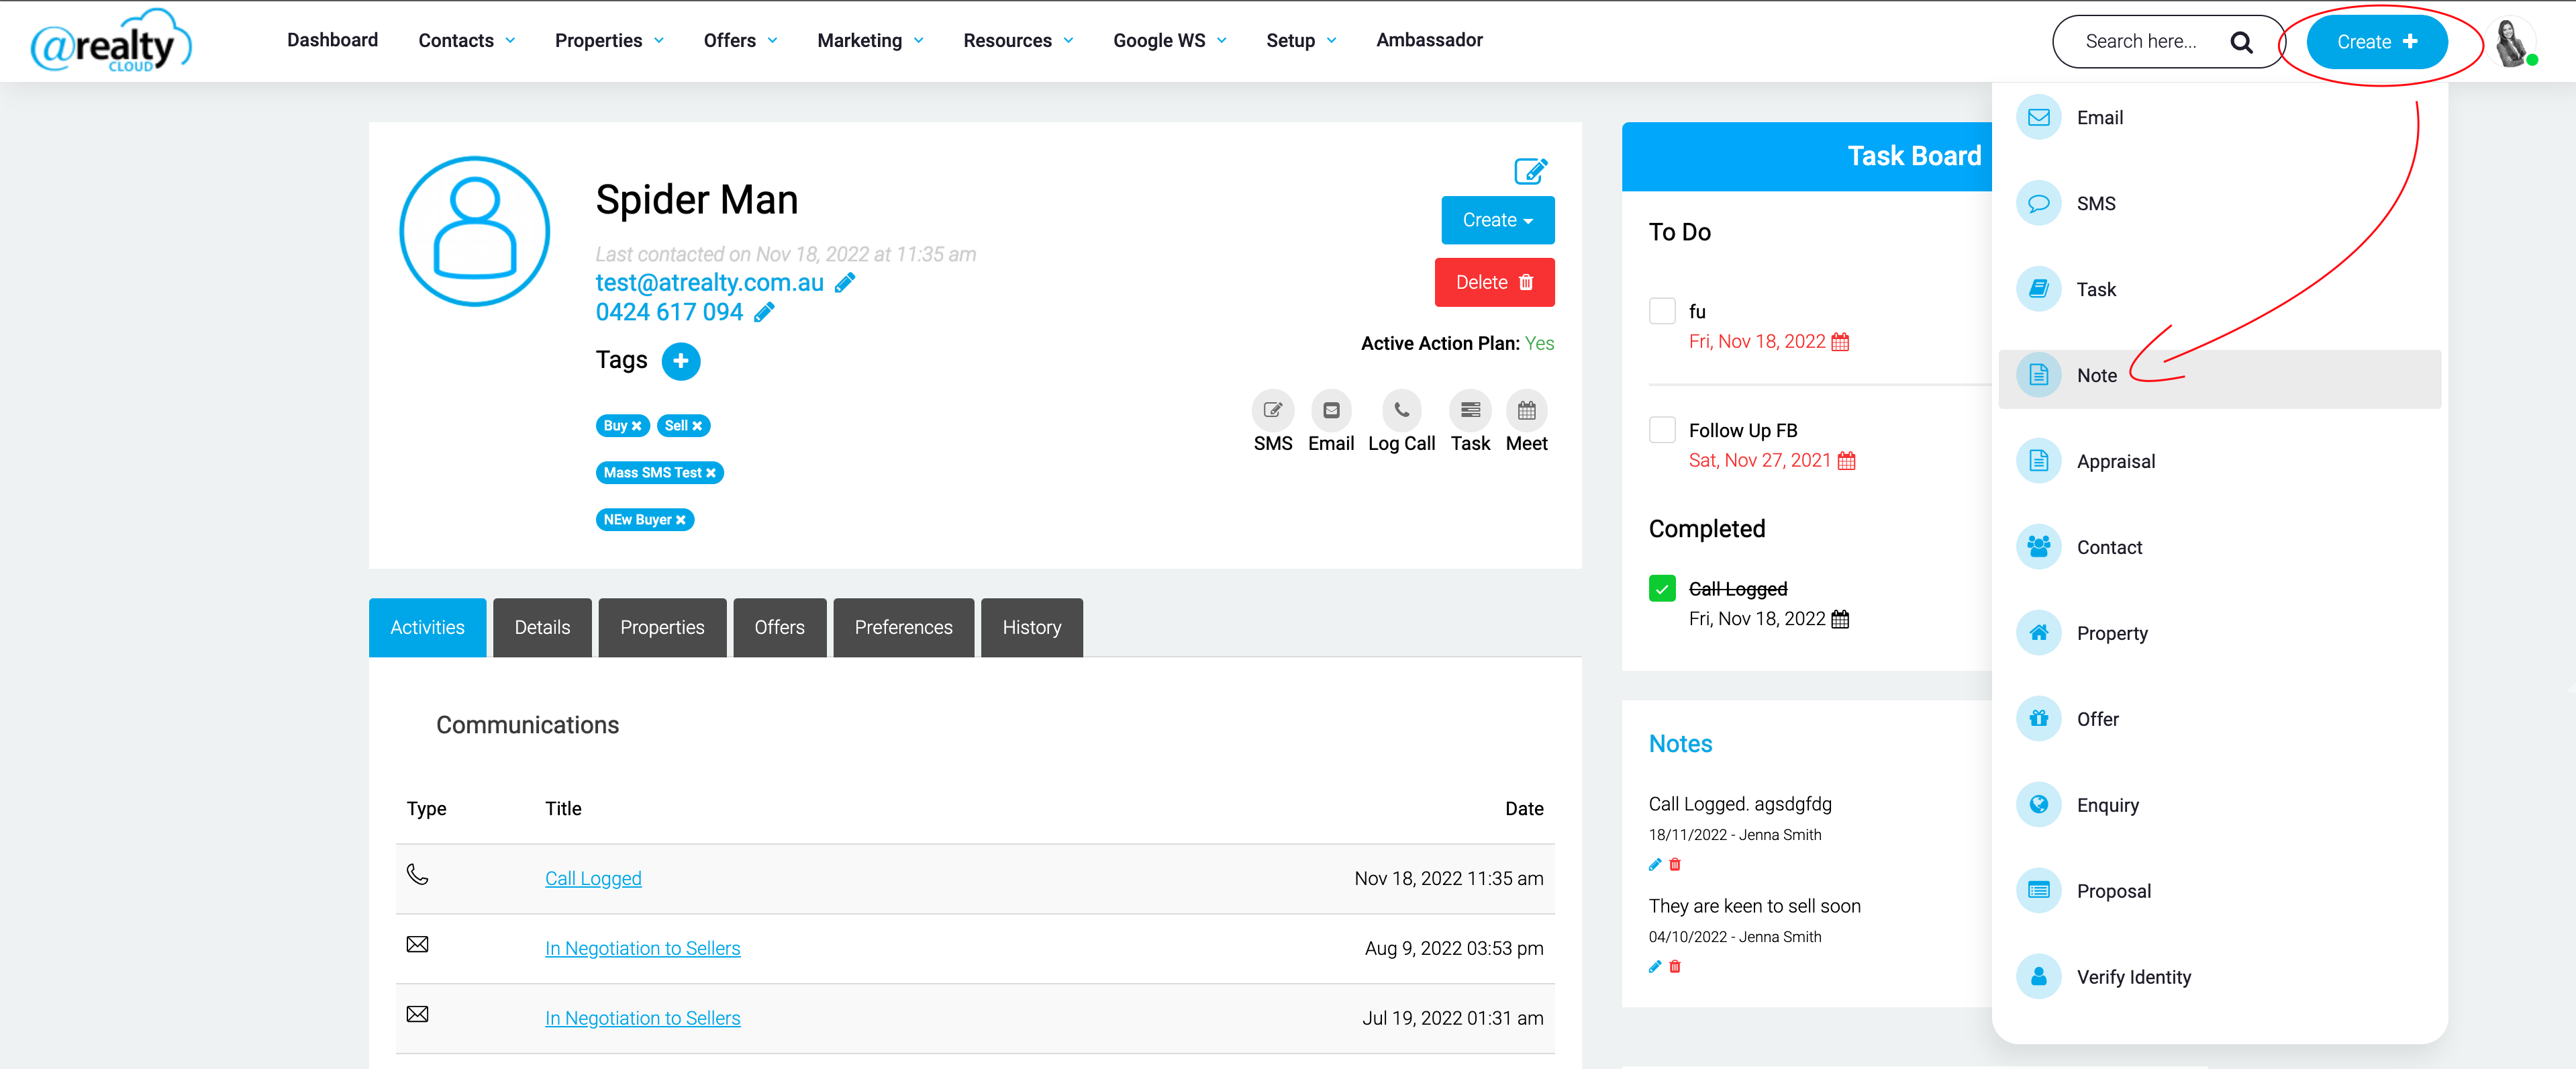
The User will be required to enter the note and select the Contact record the Note is associated to.

Within the Contact Record
When in the Contact Record, there are 2 ways to create a NOTE.

When creating a NOTE from within the Contact Record, the Contact will be automatically selected

Adding a Feedback Record to a Listing
When adding FEEDBACK to a listing Record

The agent can select to ‘Save the Feedback as a Note against the Contact Record’

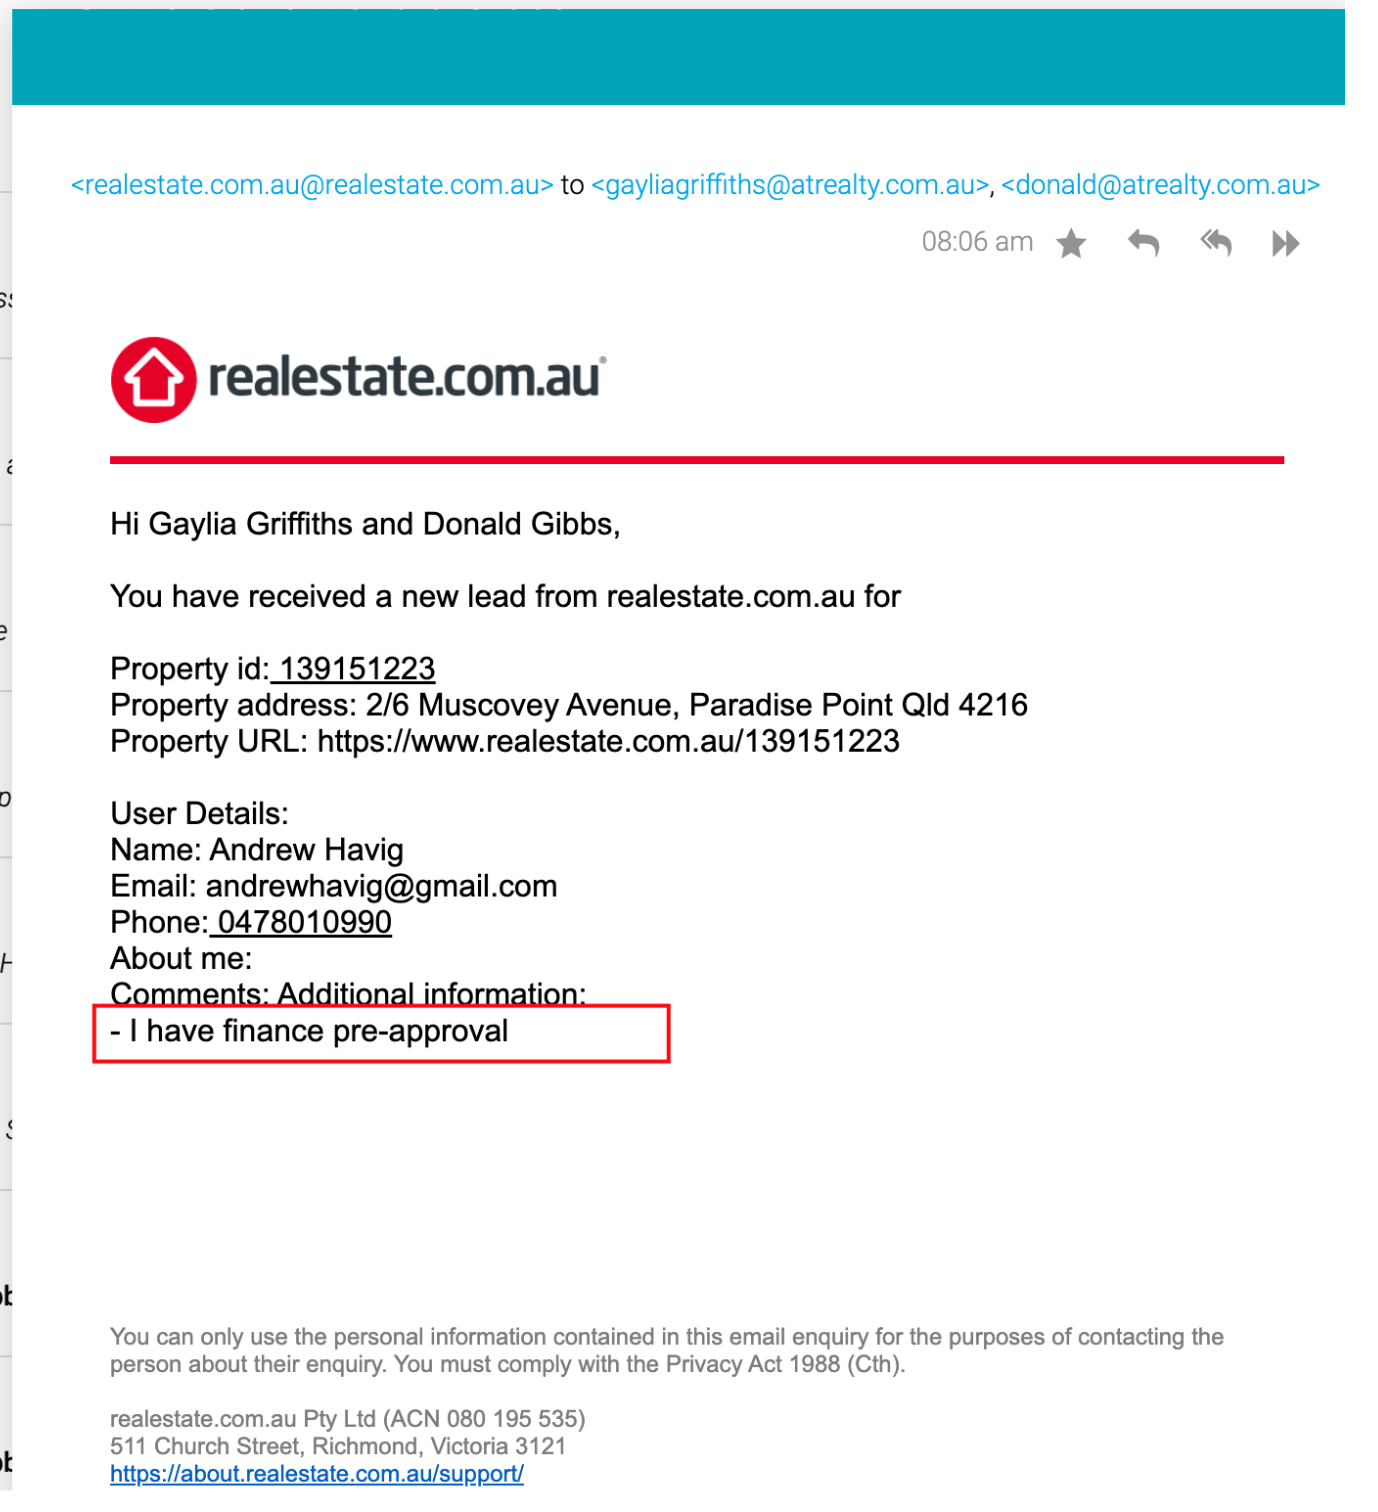
Auto-creation from Enquiries
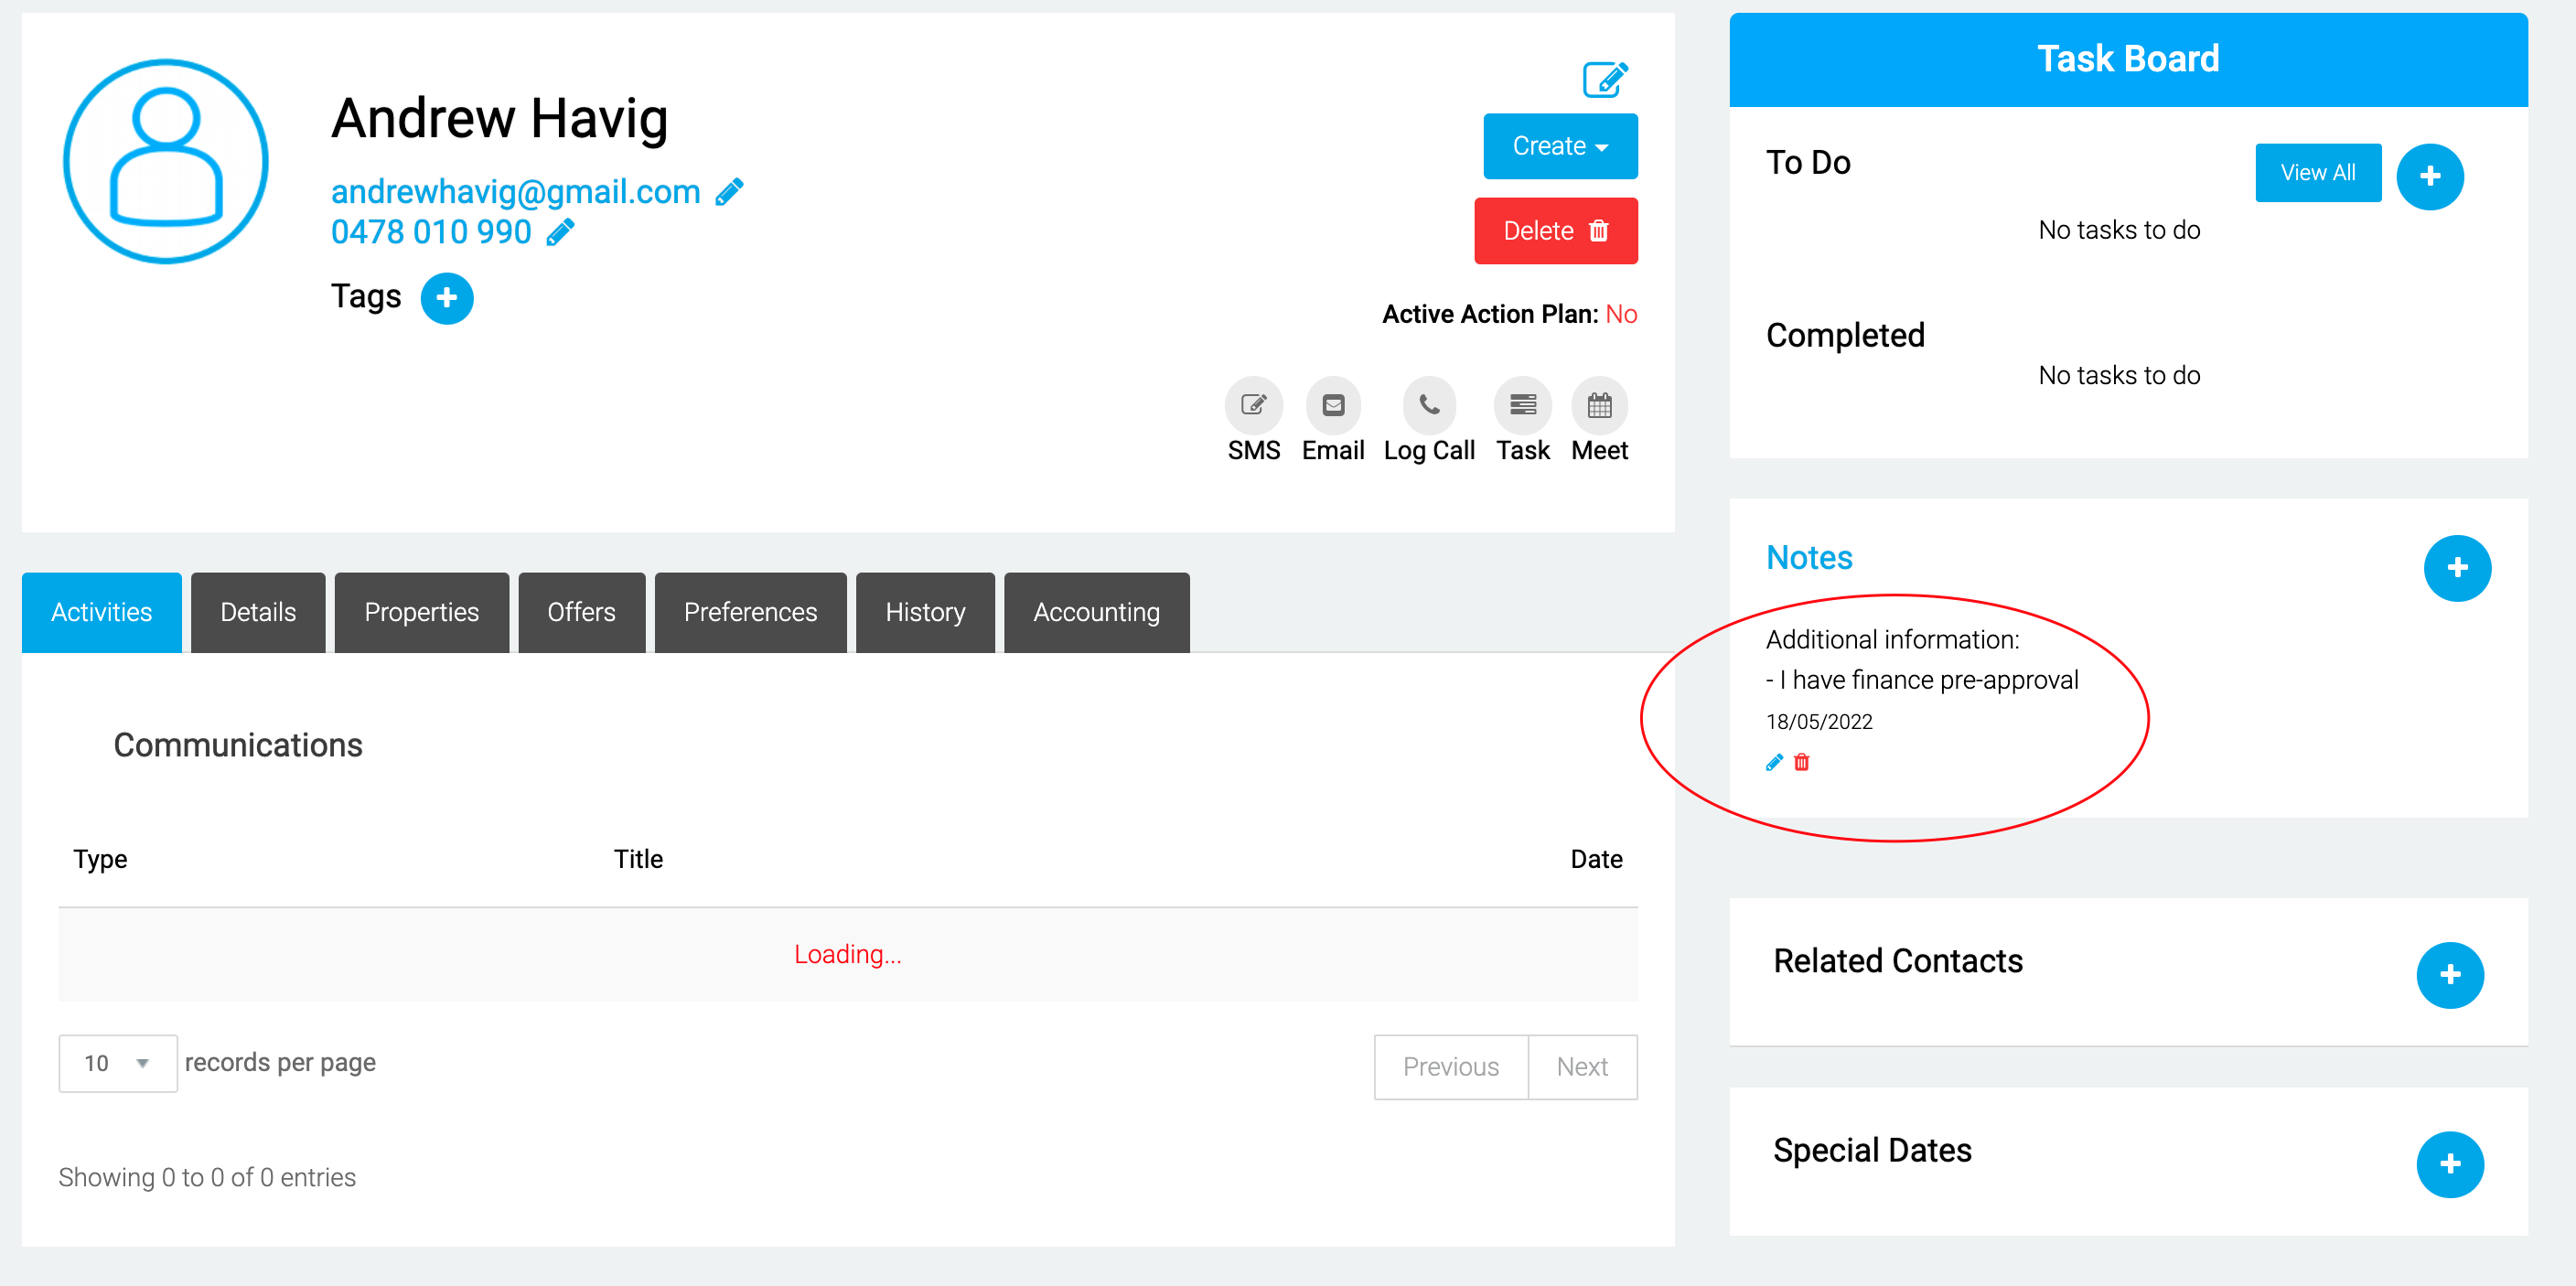
When an enquiry record is automatically created in the CRM, the Comments from the web enquiry are automatically saved as a Note against the Contact Record.
Notes from Homepass are also automatically saved as Notes against the Contact Record.
Action Plan Creation
https://atrealtycloud.atlassian.net/browse/REAL-5449
Adding Images to Notes
The User can attach one or more images to a note when creating or editing a note against a Contact record. Images appear inline in the note body once the note is saved, and are accessible to all agents with access to the Contact record.
Supported file formats: JPG, PNG, GIF, WEBP. Maximum file size: 10 MB per image.
How to Add an Image to a Note
Navigate to the Contact record and open the Notes section. The existing notes list is displayed with the option to create a new note.
Click Create Note or the + (Add) button to open the rich-text notes editor. The editor opens with the toolbar at the top of the editor body.
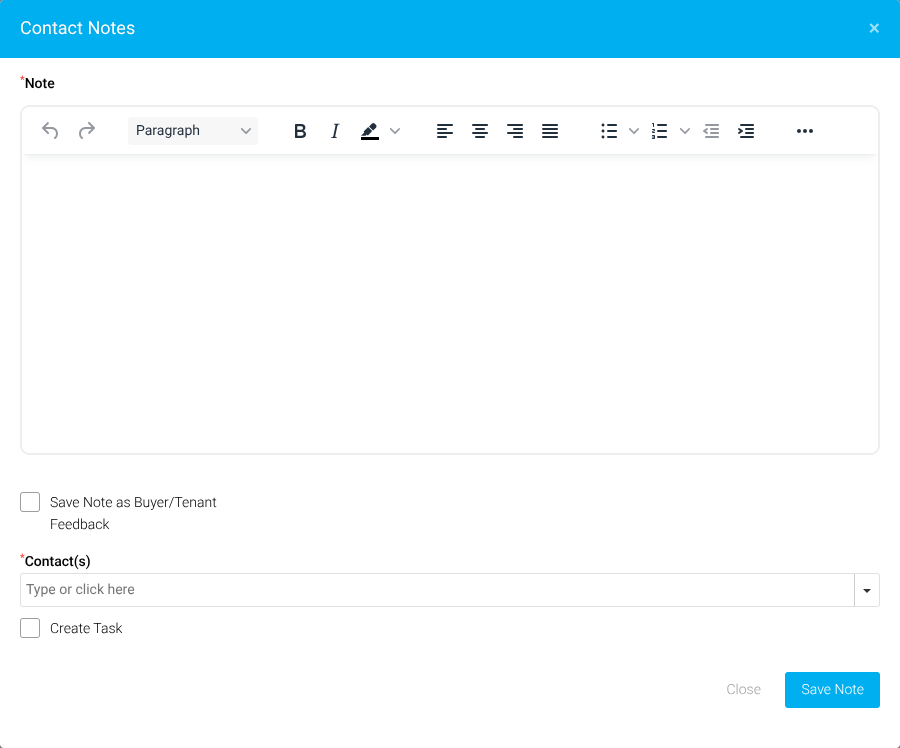
Enter the note text. Click the ... (More) button in the toolbar to expand additional options, then click Insert/edit image to open the image upload dialog. Drag and drop an image file, or click Browse for an image to select a file from the device.
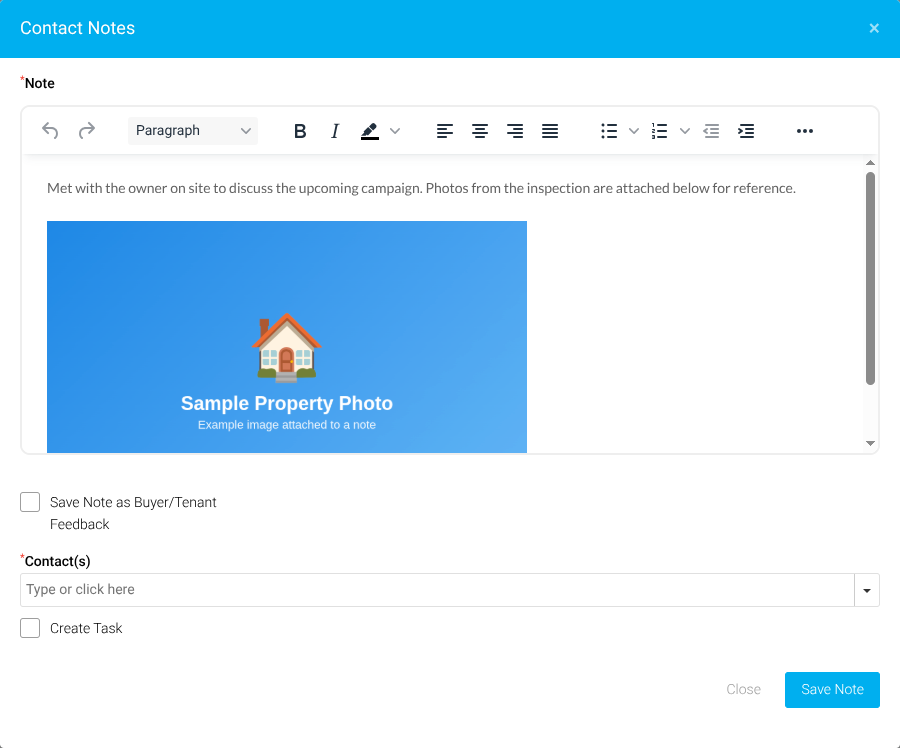
Once the image is loaded in the editor, click Save to insert it into the note body. After the note is saved, the image appears inline in the note body and is visible to all agents with access to the Contact record.
Editing an Existing Note to Add or Remove Images
To add or remove images on an existing note, click the Edit (pencil) icon on the note. The rich-text editor opens with the existing note content and any previously uploaded images displayed inline. Use the Insert/edit image button in the ... (More) toolbar to add more images, or select an existing image and press Delete to remove it. Click Save Note to confirm changes.
Existing notes without images are not affected by this change.
Troubleshooting
If an image upload is rejected, check the following:
- The file format is one of: JPG, PNG, GIF, or WEBP.
- The file size does not exceed 10 MB per image.
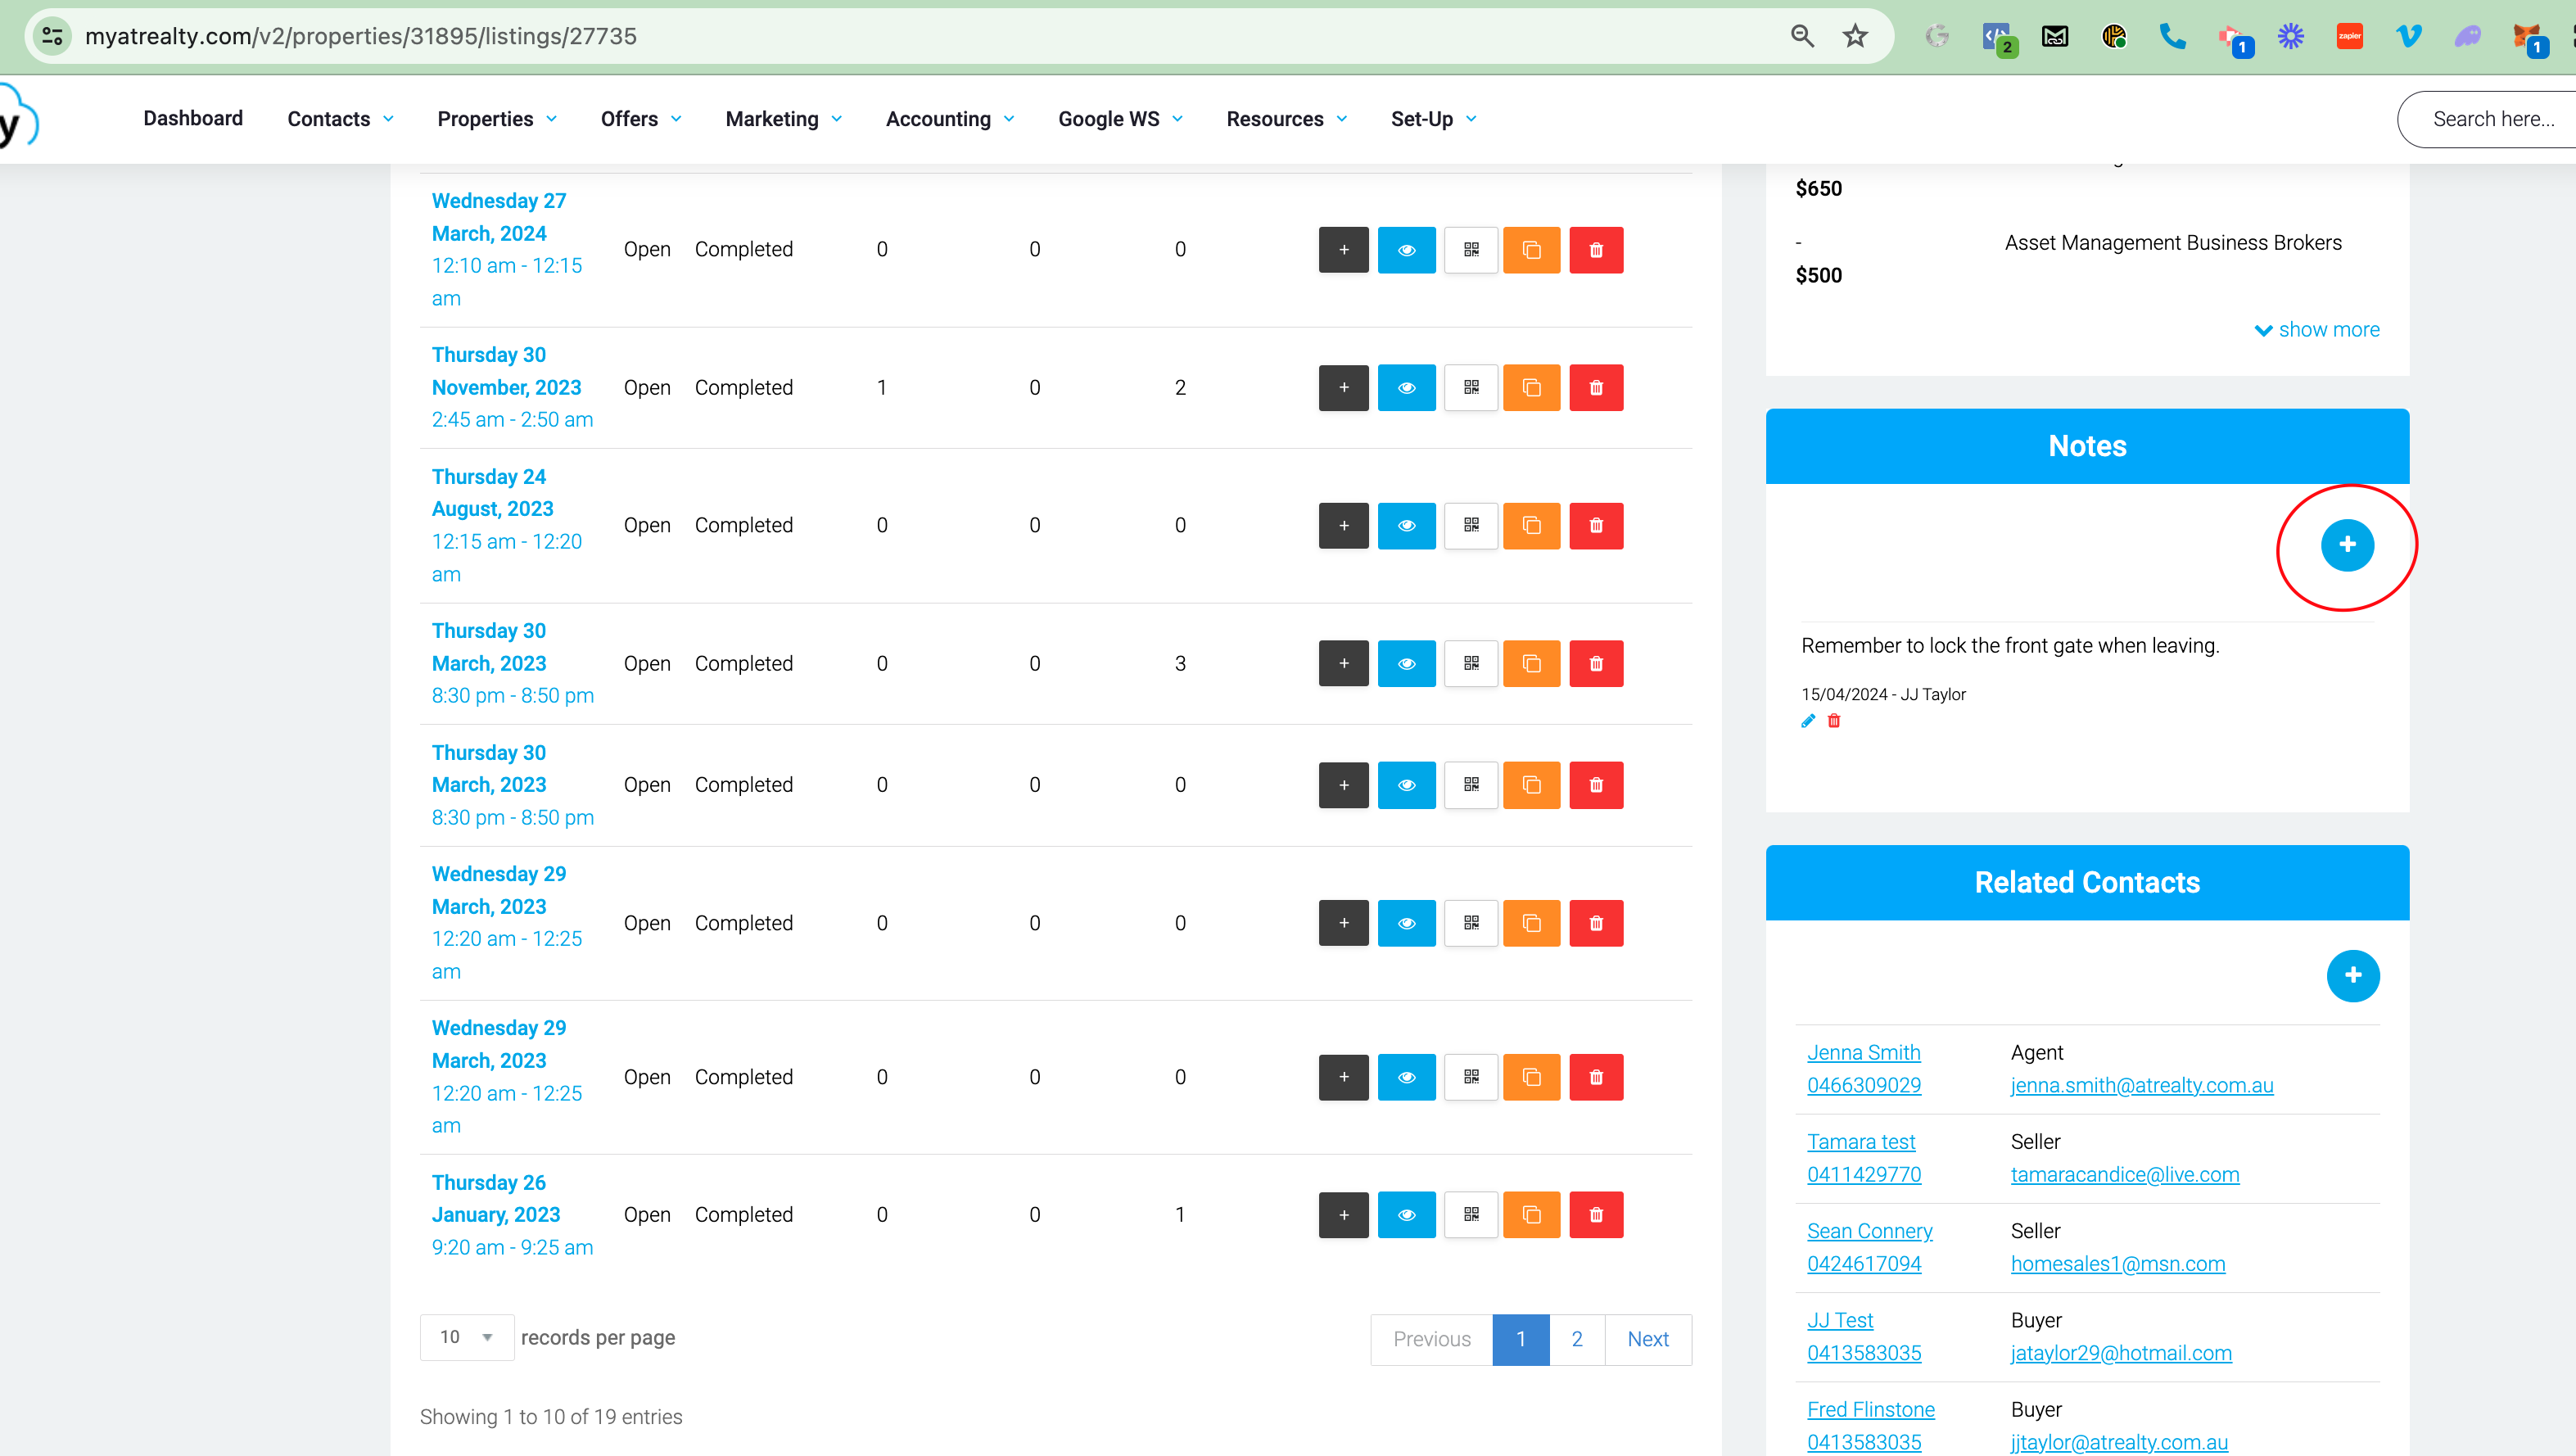
Listing Notes
Summary
Users can leave notes against Listing Records. This can be internal reminders or updates relating to the listing.
How to Add Notes
Within the Listing Record
The User can create a note directly from within the Listing record. Navigate to the Notes section on the Listing record and click Create Note or + (Add) to open the rich-text notes editor. Enter the note content and click Save Note to save.
Adding Images to Notes
The User can attach one or more images to a note when creating or editing a note against a Listing record. Images appear inline in the note body once the note is saved, and are accessible to all agents with access to the Listing record.
Supported file formats: JPG, PNG, GIF, WEBP. Maximum file size: 10 MB per image.
How to Add an Image to a Note
Open or create a note in the Listing record. The rich-text notes editor opens with the toolbar displayed at the top of the editor.

Click the ... (More) button in the toolbar to expand additional options, then click Insert/edit image to open the image upload dialog. Drag and drop an image file, or click Browse for an image to select a file from the device.
Once the image is loaded in the editor, click Save to insert it into the note body. After the note is saved, the image appears inline in the note body and is visible to all agents with access to the Listing record.
Editing an Existing Note to Add or Remove Images
To add or remove images on an existing note, click the Edit (pencil) icon on the note. The rich-text editor opens with the existing note content and any previously uploaded images displayed inline. Use the Insert/edit image button in the ... (More) toolbar to add more images, or select an existing image and press Delete to remove it. Click Save Note to confirm changes.
Existing notes without images are not affected by this change.
Troubleshooting
If an image upload is rejected, check the following:
- The file format is one of: JPG, PNG, GIF, or WEBP.
- The file size does not exceed 10 MB per image.
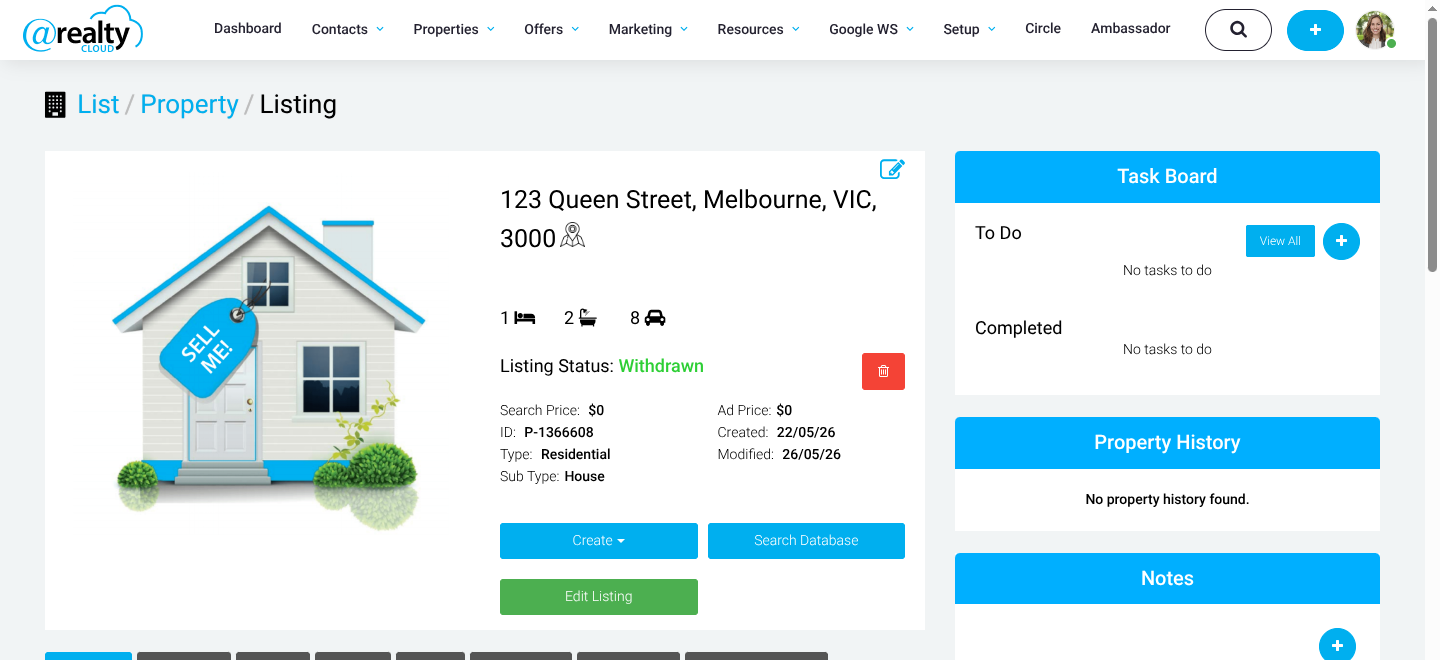
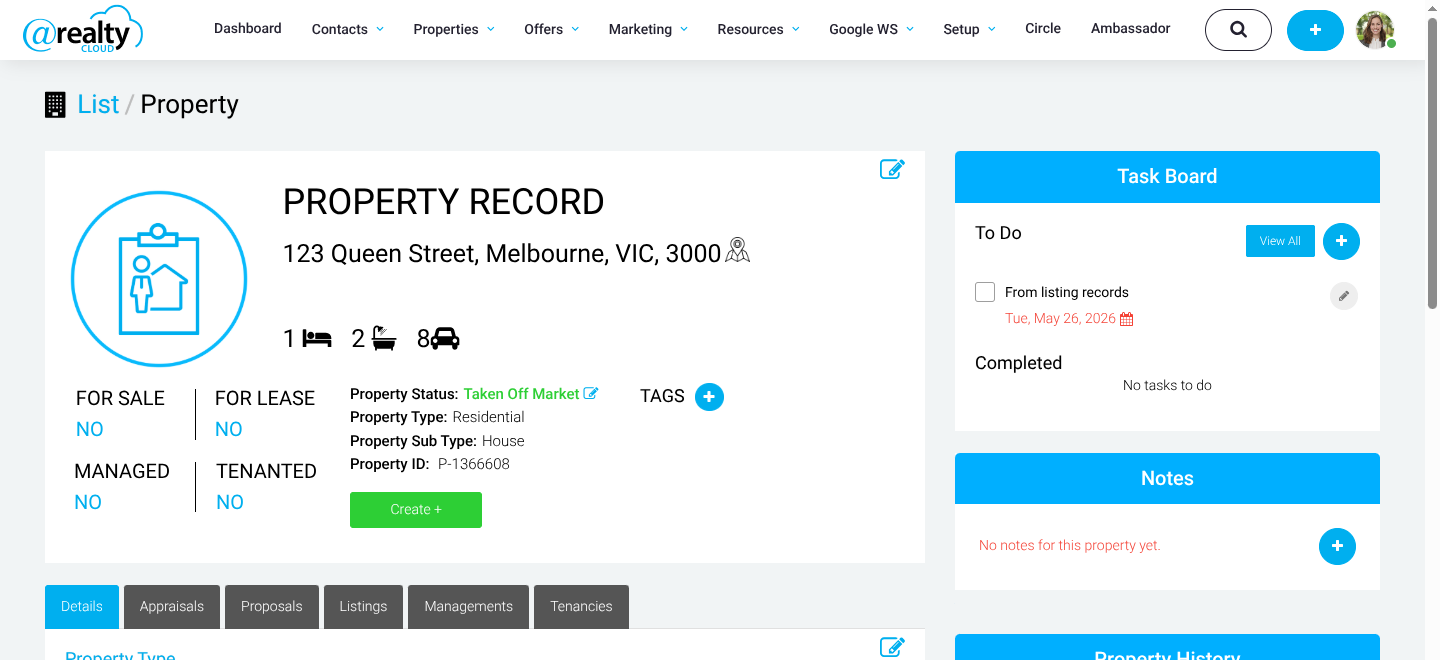
Property Notes
Summary
The User can leave notes against Property records. Notes are a great way to keep track of key information about a Property for future reference, and are accessible to all agents with access to the Property record.
How to Create Notes
Within the Property Record
The User can create a note directly from within the Property record. Navigate to the Notes section on the Property record and click Create Note or + (Add) to open the rich-text notes editor. Enter the note content and click Save Note to save.
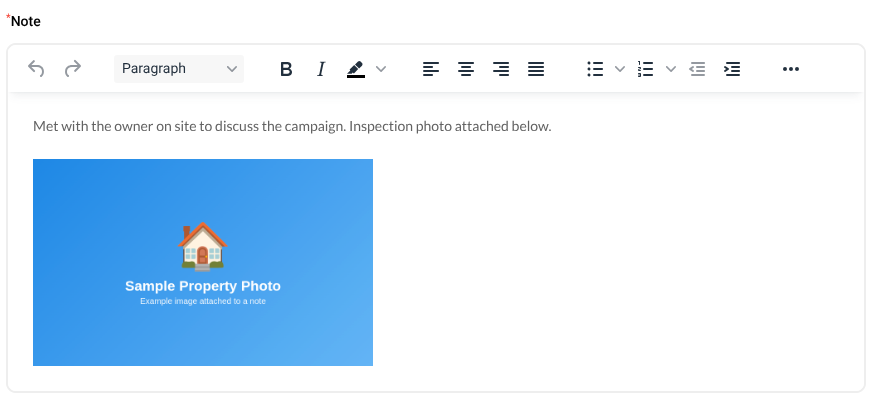
Adding Images to Notes
The User can attach one or more images to a note when creating or editing a note against a Property record. Images appear inline in the note body once the note is saved, and are accessible to all agents with access to the Property record.
Supported file formats: JPG, PNG, GIF, WEBP. Maximum file size: 10 MB per image.
How to Add an Image to a Note
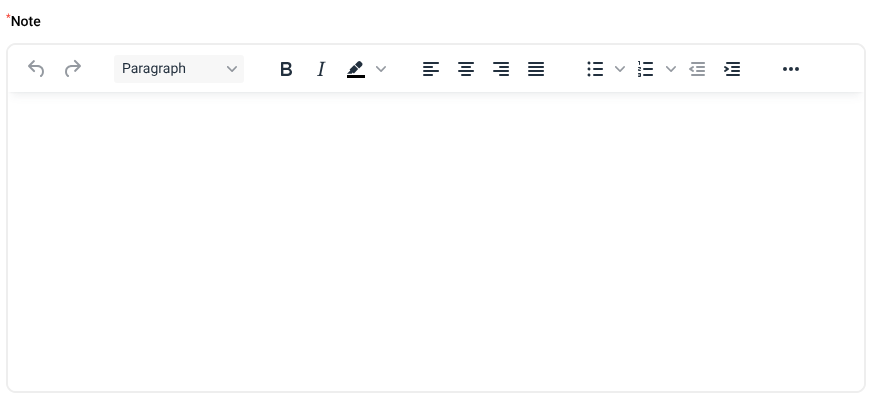
Open or create a note in the Property record. The rich-text notes editor opens with the toolbar displayed at the top of the editor.
Click the ... (More) button in the toolbar to expand additional options, including the image insert button.
Click the Insert/edit image button. The Insert/Edit Image dialog opens — drag an image file into the drag-and-drop zone, or click Browse for an image to select a file from the device.

Once the image is loaded in the editor, click Save to insert it into the note body. After the note is saved, the image appears inline in the note body and is visible to all agents with access to the Property record.
Editing an Existing Note to Add or Remove Images
To add or remove images on an existing note, click the Edit (pencil) icon on the note. The rich-text editor opens with the existing note content and any previously uploaded images displayed inline. Use the Insert/edit image button in the ... (More) toolbar to add more images, or select an existing image and press Delete to remove it. Click Save Note to confirm changes.
Existing notes without images are not affected by this change.
Troubleshooting
If an image upload is rejected, check the following:
- The file format is one of: JPG, PNG, GIF, or WEBP.
- The file size does not exceed 10 MB per image.
Was this article helpful?
That’s Great!
Thank you for your feedback
Sorry! We couldn't be helpful
Thank you for your feedback
Feedback sent
We appreciate your effort and will try to fix the article